Review and practice the Lunge and Squat exercises

Familiarize yourself with various LUNGE and SQUAT  exercises (with and without instability), experience the exercises, and recognize when you would coach these exercises (with whom and when in training).

Lunge Exercises:

The lunge movement pattern provides the foundation for walking, running, and climbing. Being a unilateral movement, it provides an excellent way to recognize imbalances in strength and mobility. Both hips contribute to controlled deceleration (eccentric) and acceleration (concentric) phases.

General form and cue reminders:

  • maintain an active plank
  • maintain a tall torso throughout the movement
  • level pelvis
  • near vertical shin angle
Squat Exercises:

Vertical moving plank – with maximal knee flexion.

General form and cue reminders:

  • maintain core stability
  • maintain neutral posture
  • keep torso tall
  • keep feet rooted into the ground
  • hips will open at the bottom (no valgus collapse)
  • on the return, the hips and shoulders move together.

After reviewing and practising these exercises, mark this task as complete, and move to the final task of completing a full (Hinge or Rotate) Peer Review (full rubric).

Review FMS ‘Big Three’ Movement Patterns

In small groups and using the Functional Movement Screen (FMS) developed by Gray Cook, assess the quality of two classmates’ movement in the ‘Big Three’ functional movement patterns.

FMS Scoring reminders: 0 – pain (referral), 1 – can’t complete either movement pattern correctly, 2- completed a less demanding variation or part of the movement pattern, 3 – perfect completion of movement pattern.

A split pattern is where the movement involves on one side at a time (e.g., 1 leg hurdle step). A straight pattern where the movement involves both sides (e.g., 2 leg squat).  The split pattern will demonstrate asymmetry that may not be noticed during a straight pattern movement.

In split pattern movements, record right and left sides separately.  Look for asymmetry (i.e. differences on right and left side).

Note: The seven FMS movement patterns require familiarity with the following bony structures or superficial landmarks: Tibial tuberosity, ASIS, Lateral and Medial Malleoli, Distal wrist crease, Joint line of knee.

Deep Squat
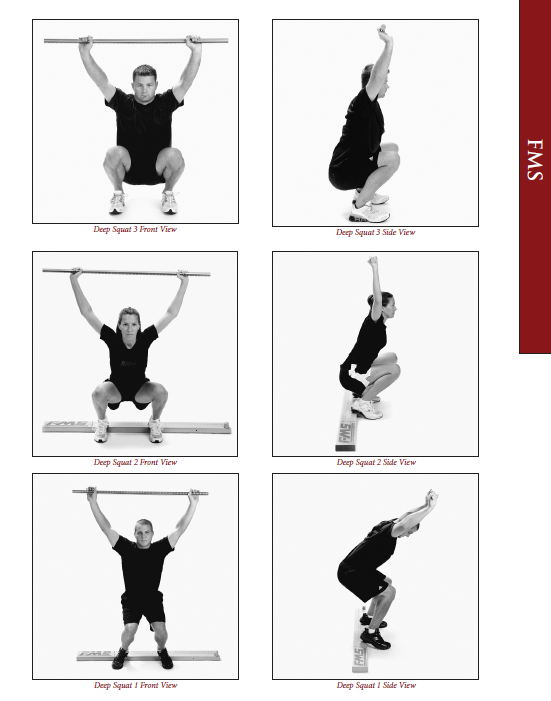
Set-up Verbal Instructions:

  • Stand tall with your feet shoulder-width apart and toes pointed forward.
  • Grasp the dowel in both hands and place it on top of your head so your shoulders and elbows are at 90 degrees.
  • Press the dowel so that it is directly above your head.
  • While maintaining an upright torso and keeping your heels and the dowel in position, descend into a squat as deeply as possible.
  • Hold the bottom position for a count of one, and then return to the starting position.

Tips for testing:

  1. The client can perform the movement up to three times if necessary.
  2. If a score of three is not achieved, repeat above instructions using the board under the client’s heels.
  3. Observe the client from the front and side.
  4. All positions, including the foot position, should remain unchanged when the heels are elevated with either the FMS kit or a similar size board.

Scoring:

3: 

  • Torso is parallel with tibia or toward vertical
  • Femur is below horizontal
  • Knees do not track inside of feet
  • Dowel aligned over feet

2:

  • Same as above but the heels are elevated

1:

  • Tibia and torso are not parallel
  • Femur is not below horizontal
  • Knees track inside of feet
  • Dowel is not aligned over feet

0:

  • Pain
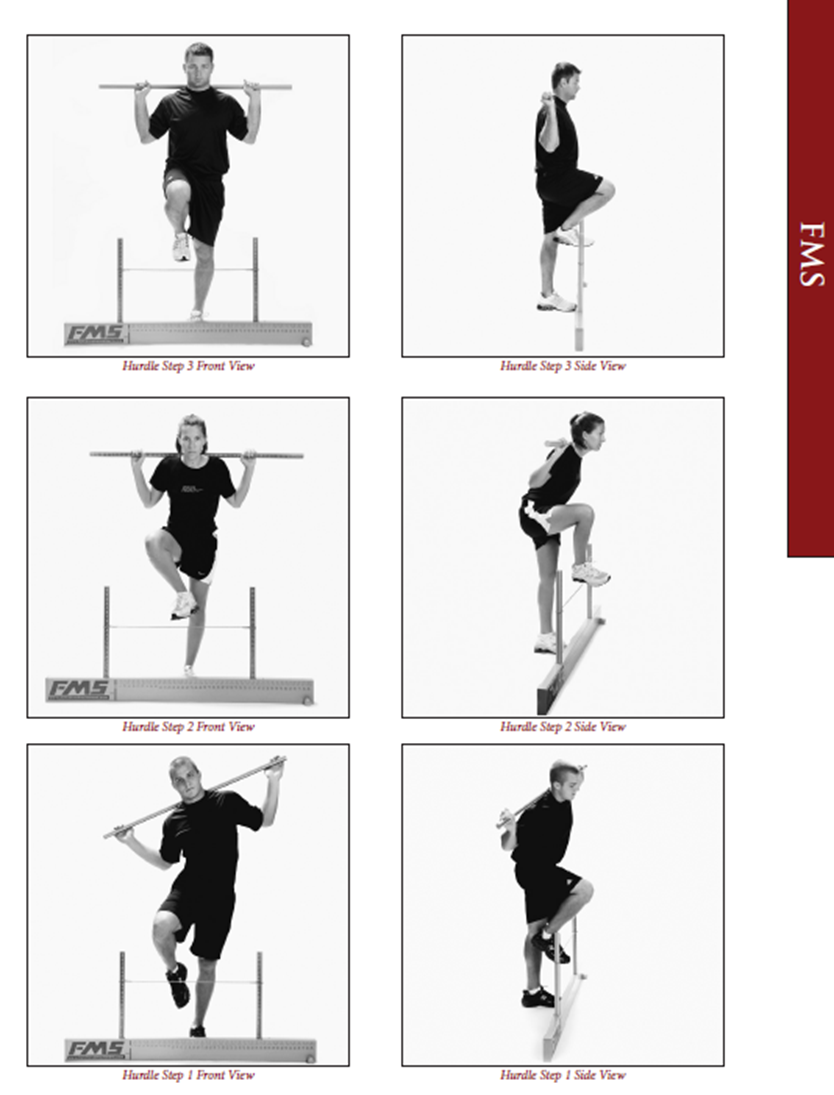
Hurdle Step

Set-up Verbal Instructions:

  • Stand tall with your feet together and toes touching the test kit.
  • Grasp the dowel in both hands and place it on top of your head so your shoulders and elbows are at 90 degrees. Then while maintaining hand position, lower dowel to the base of the neck and across the shoulders.
  • While keeping an upright torso, raise the right leg and step over the hurdle, making sure to raise the foot towards the shin and maintain foot alignment vertically with the ankle, knee and hip.
  • Touch the floor with your heel and return to the starting position while maintaining the same alignment.

Tips for testing:

  1. Ensure the cord is aligned properly.
  2. Tell the client to stand as tall as possible at the beginning of the test.
  3. Score the moving leg.
  4. Repeat the test on both sides.
  5. The client can perform the movement up to three times on each side if necessary.
  6. Watch for a stable torso.
  7. Observe from the front and side.
  8. Make sure the toes of the stance leg stay in contact with the hurdle during and after each repetition.
  9. If the client physically cannot bring the feet together to touch, ask them to bring their feet together as close as possible with toes touching the test kit, then allow them to perform test from that position.

Scoring:

3:

  • Hips, knees and ankles remain aligned in the sagittal plane
  • Minimal to no movement in lumbar spine
  • Dowel and hurdle remain parallel

2:

  • Alignment is lost between hips, knees and ankles
  • Movement in Lumbar Spine
  • Dowel and hurdle do not remain parallel

1:

  • Inability to clear the cord during the hurdle step
  • Loss of Balance

0:

  • Pain
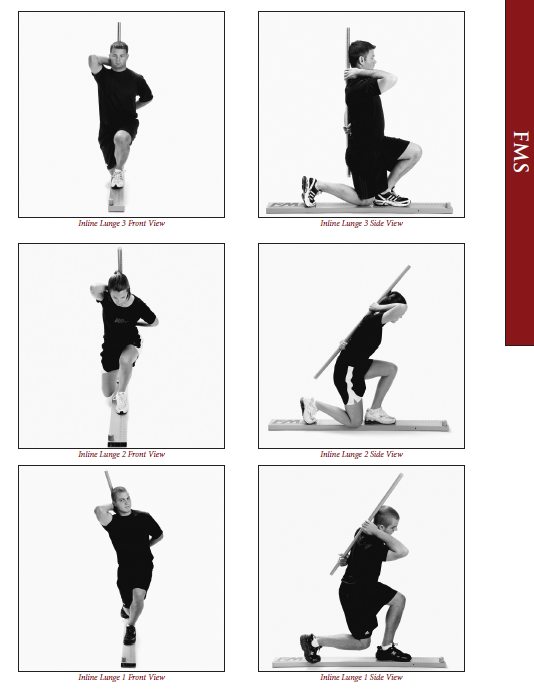
Inline Lunge

Set-up Verbal Instructions:

  • Step onto the center of the board with the right foot and your toe on the zero mark.
  • The left heel should be placed according to your tibial measurement at “__”.
  • Both toes must be pointing forward with the entire foot in contact with the board.
  • Place the dowel along the spine so it touches the back of your head, your upper back and your tailbone.
  • While grasping the dowel, your right hand should be in the curve of your neck, and the left hand should be in the curve of your lower back.
  • Maintaining an upright posture so the dowel stays vertical and you maintain the three points of contact, descend into a lunge position so your right knee touches the center of the board.
  • Then, return to the starting position.

Tips for testing:

  1. The front leg identifies the side you are scoring.
  2. The dowel remains vertical and in contact with the head, upper back and tail bone during movement.
  3. The front heel remains in contact with the board, and the back heel touches the board when returning to the starting position. Watch for loss of balance. For inline lunge, a loss of balance is stepping off the board.
  4. Remain close to the client to prevent a complete loss of balance.
  5. It’s important to remember that if the person does not at least make contact with the board or ground with the knee somewhere, it is the inability to complete the movement pattern, this is a score of one.
  6. Repeat the test on both sides.
  7. The client can perform the movement up to three times on each side if necessary.

Scoring:

3:

  • Dowel contact maintained
  • Dowel remains vertical
  • Minimal to no torso movement
  • Dowel and feet remain in sagittal plane
  • Knee touches the center of the board
  • Front foot remains in start position

2:

  • Dowel contact not maintained
  • Dowel does not remain vertical
  • Movement in torso
  • Dowel and feet do not remain in sagittal plane
  • Knee does not touch center of the board
  • Flat front foot does not remain in start position

1:

  • Loss of balance by stepping off the board
  • Inability to complete movement pattern
  • Inability to get into set up position

0:

  • Pain

Remember to save, then mark this task complete and move onto the next task.

Upper Body Exercises for Wheelchair Users

Case 2: Wheelchair Spinal Cord Injury

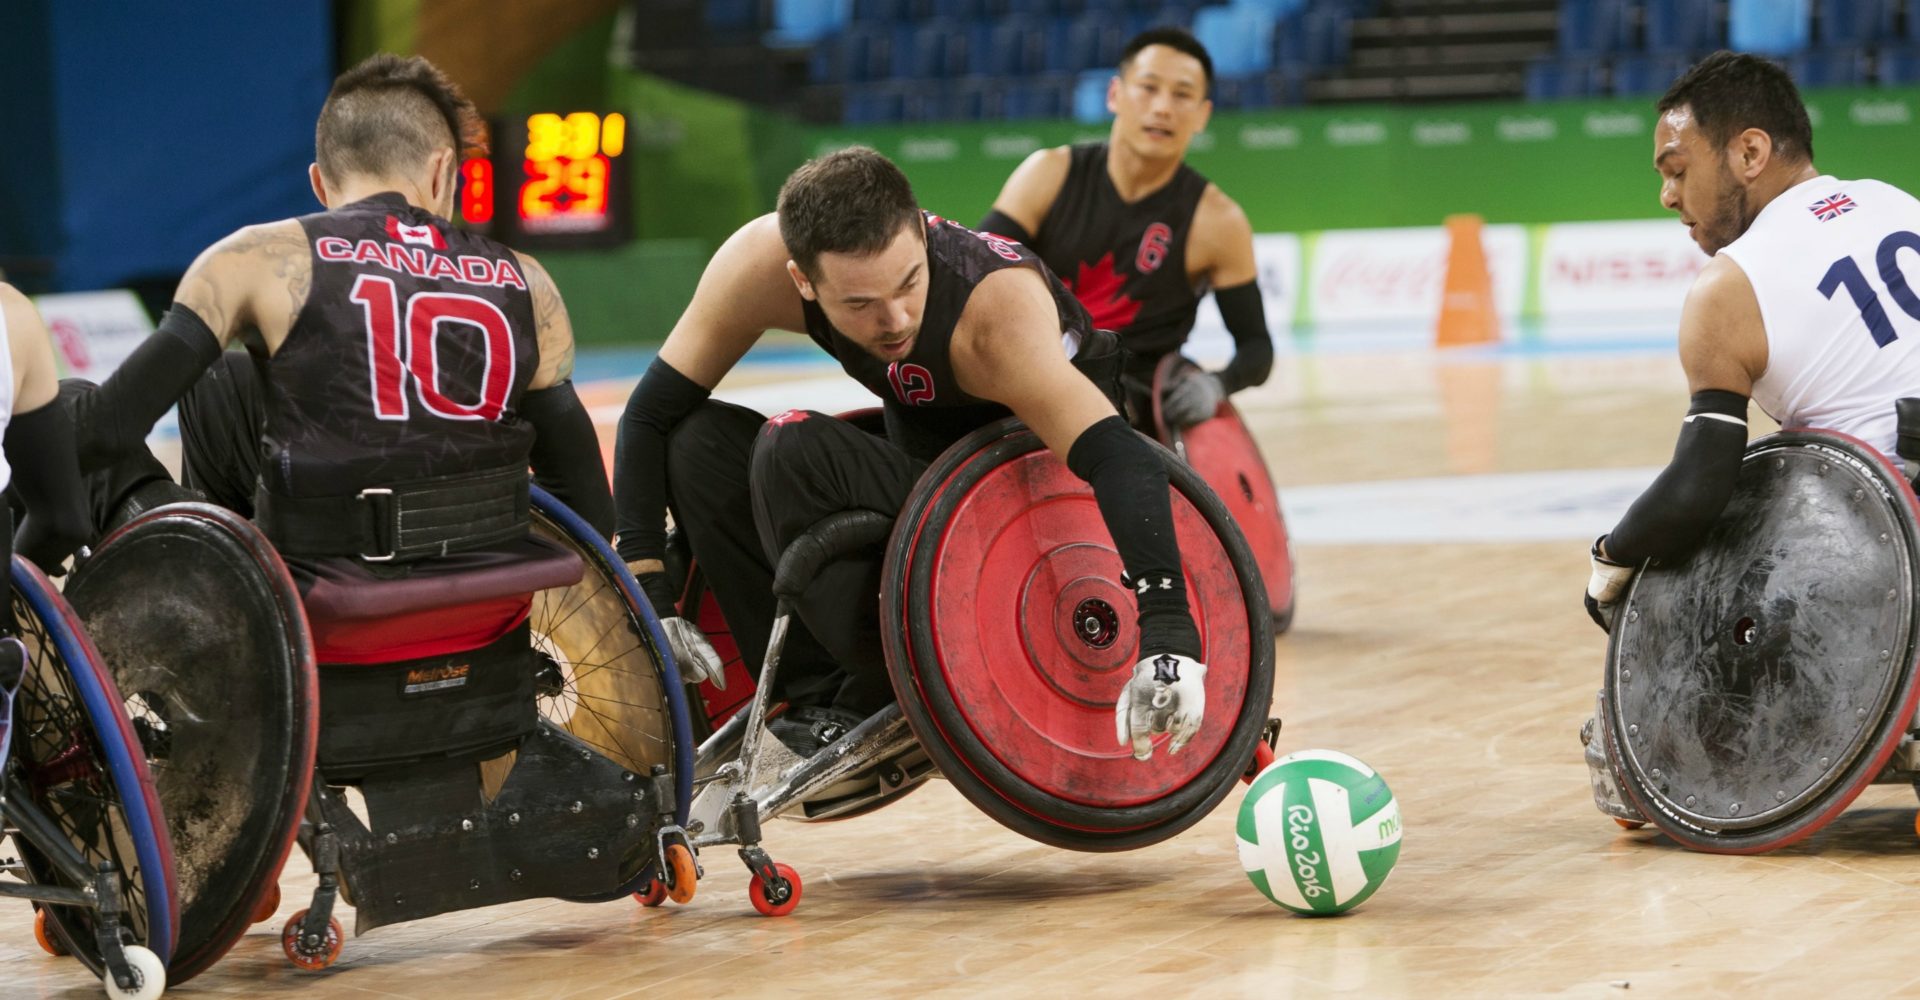
Dave is a 38 year old male. He was injured in an accident three years ago and now has a paraplegic spinal cord injury. Before his accident he played high level hockey. He would like to improve his core strength. His goal is to try out for wheelchair rugby.

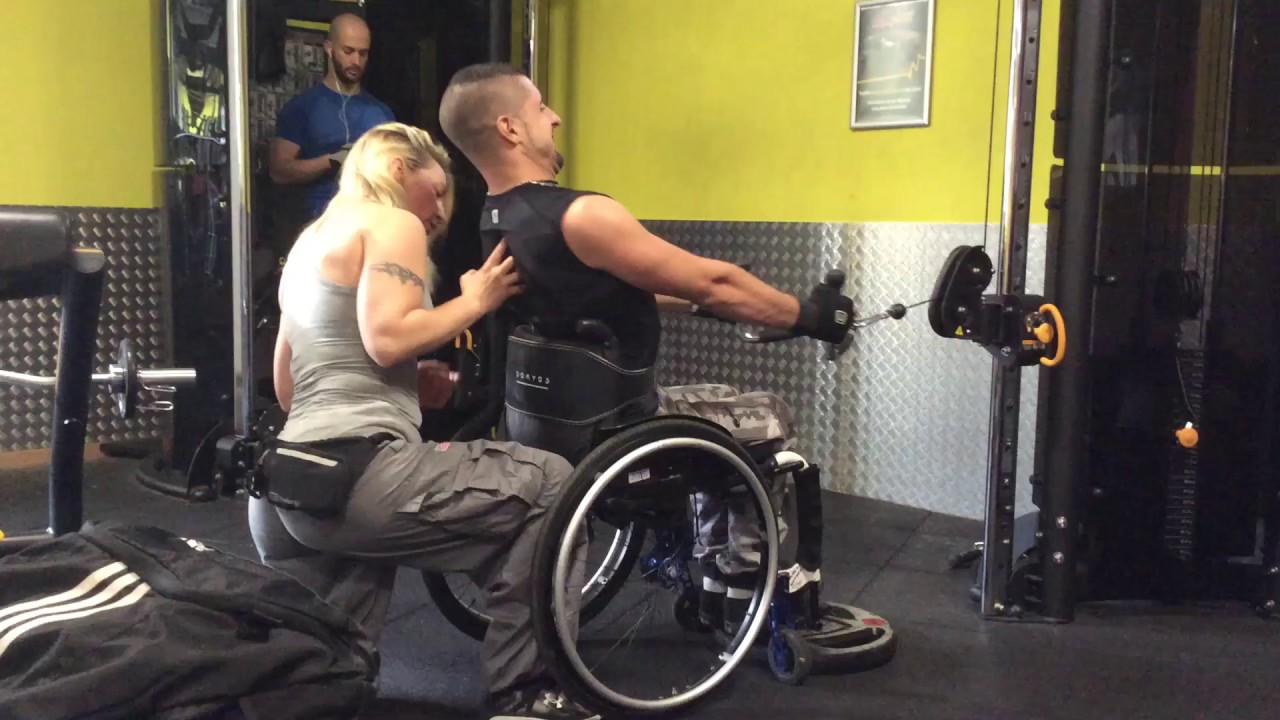
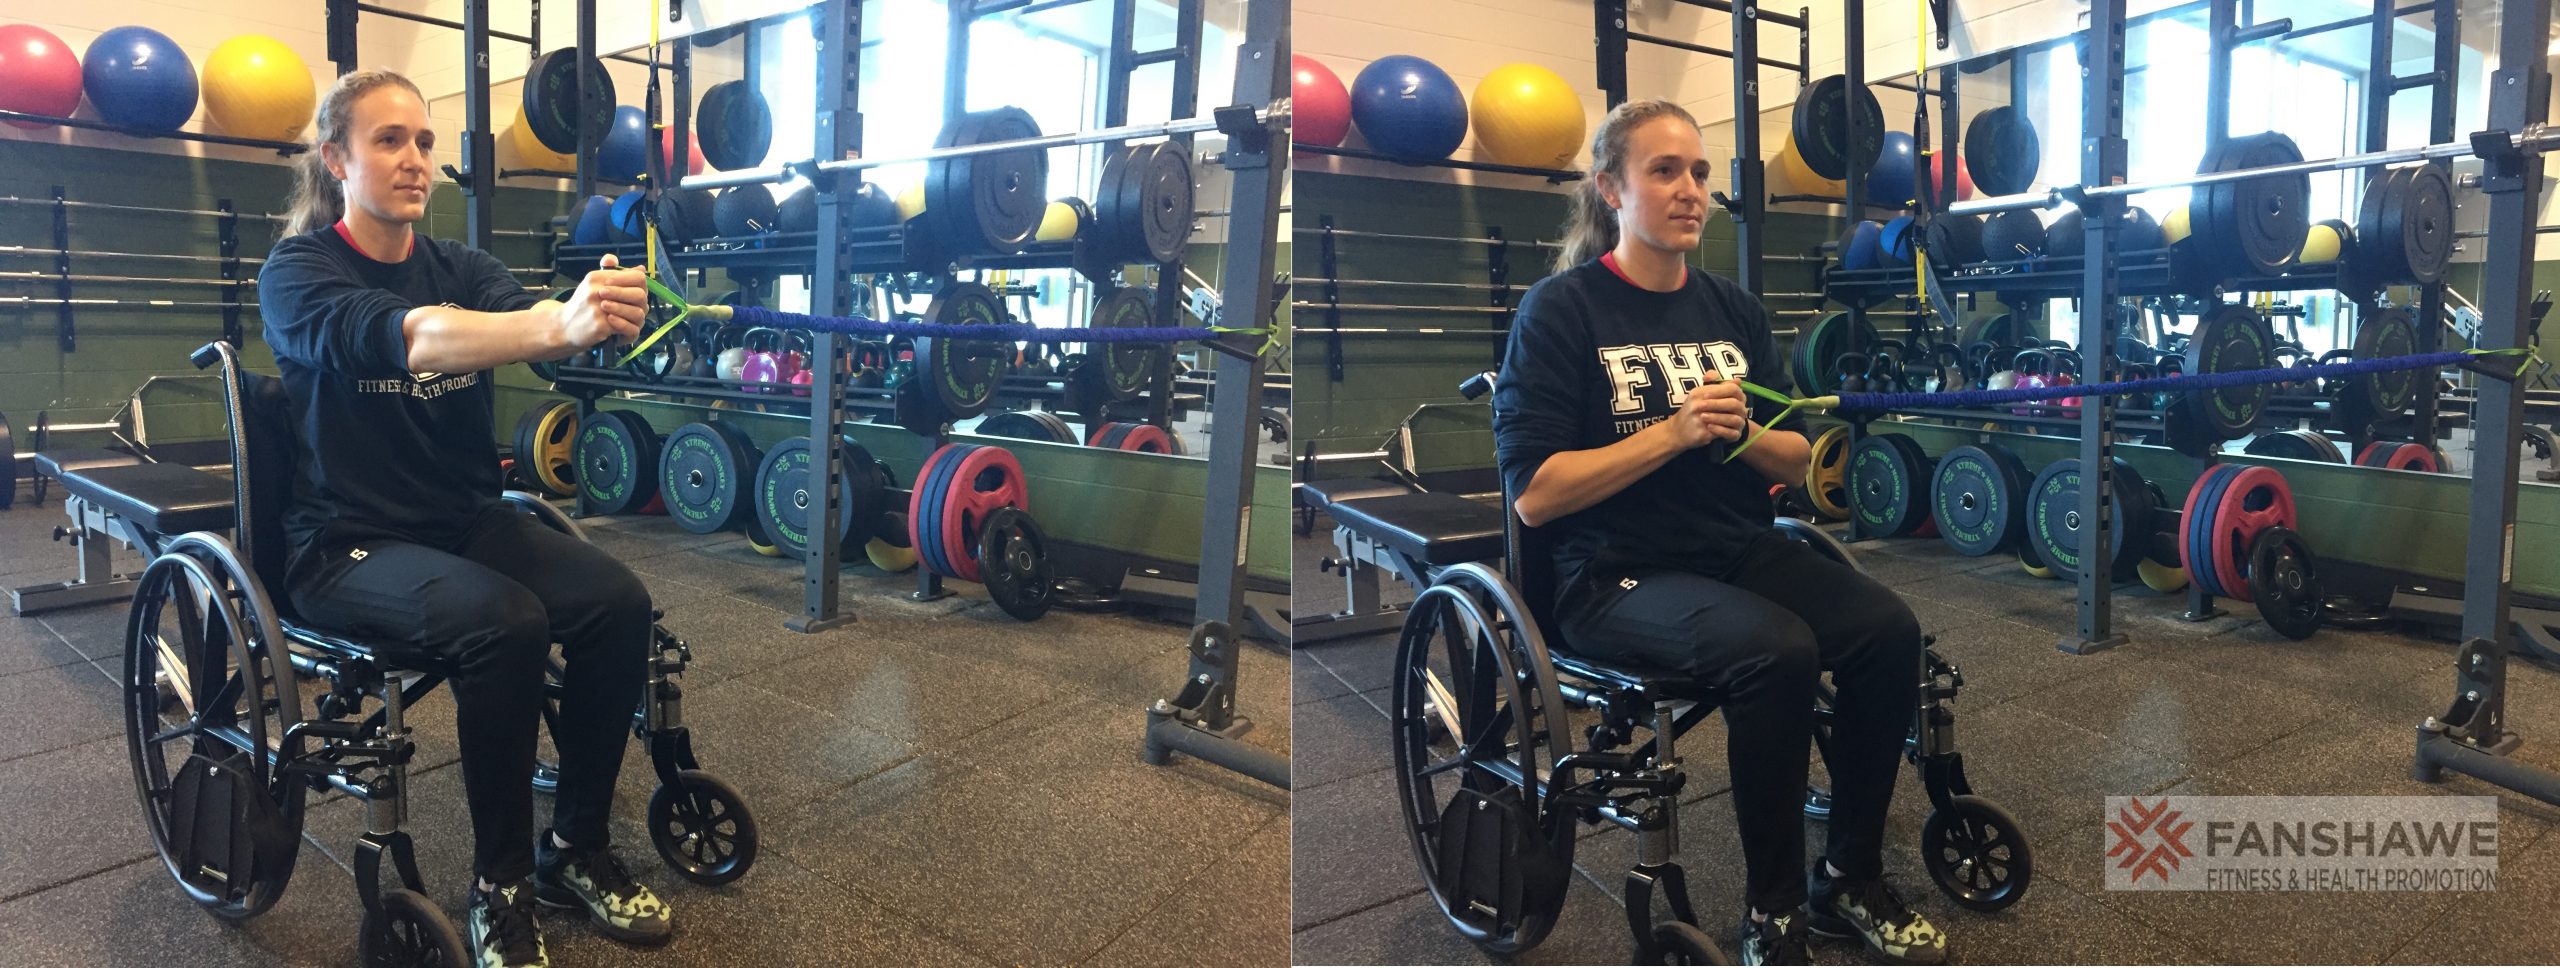
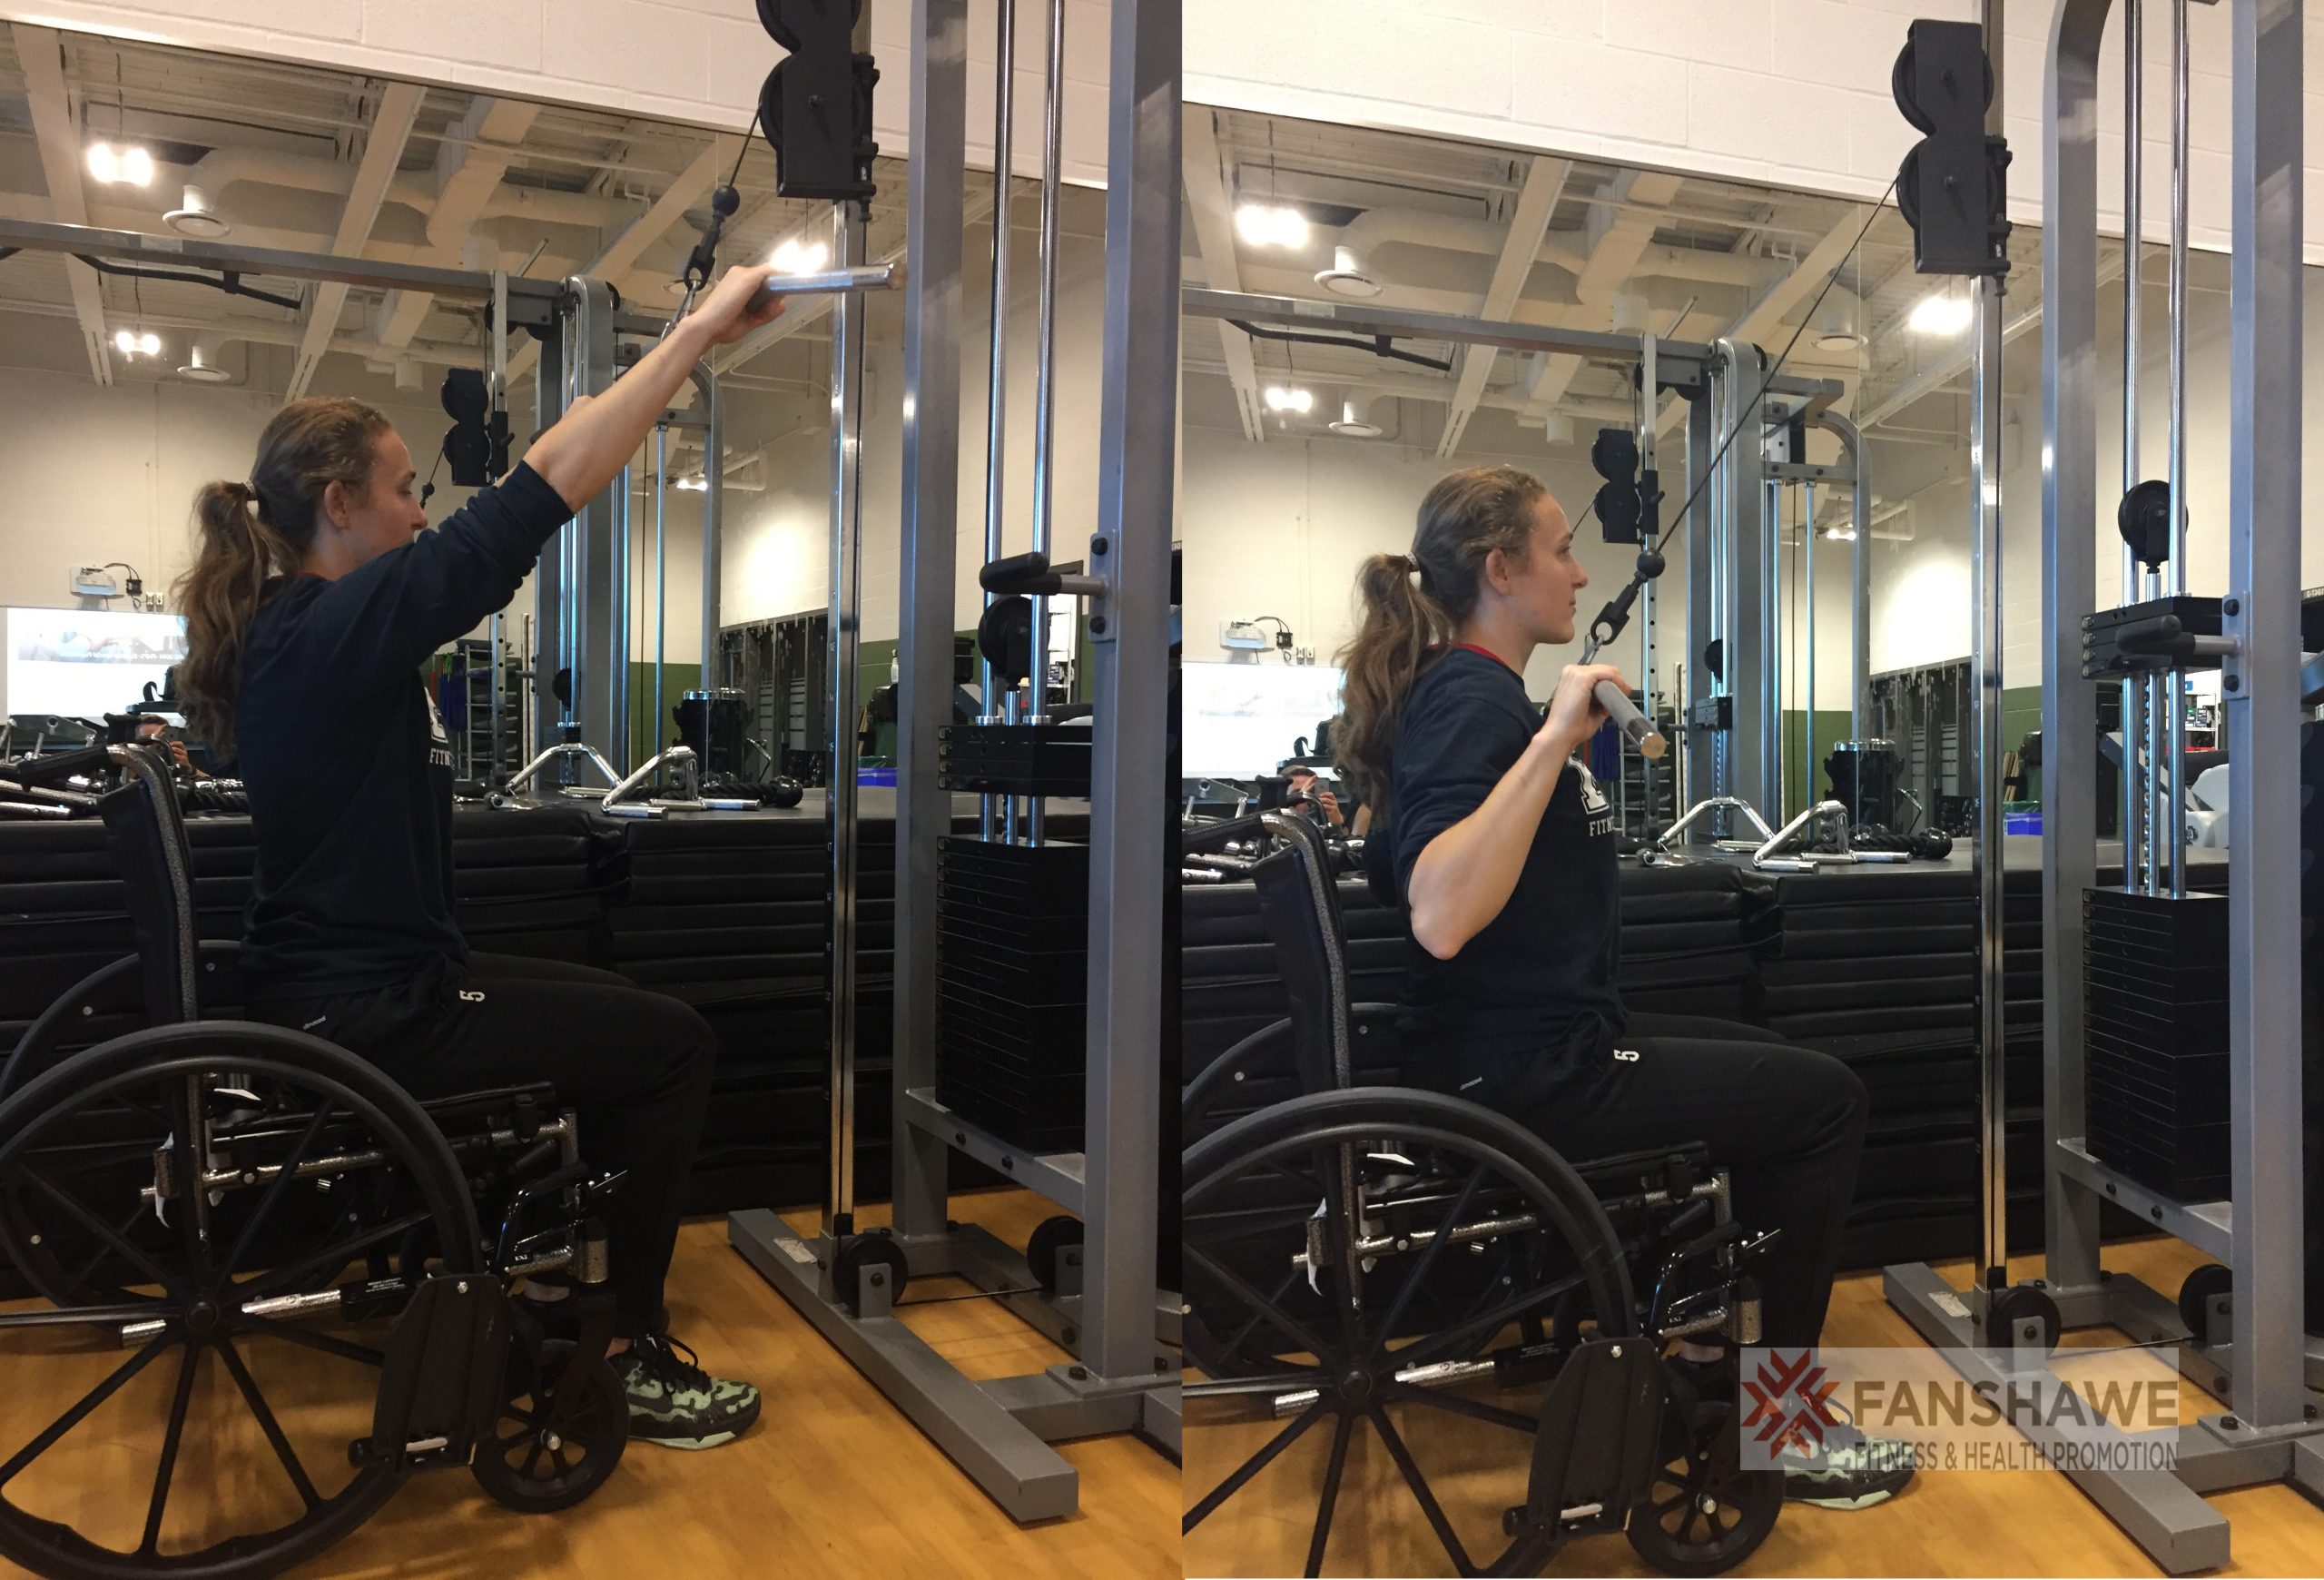
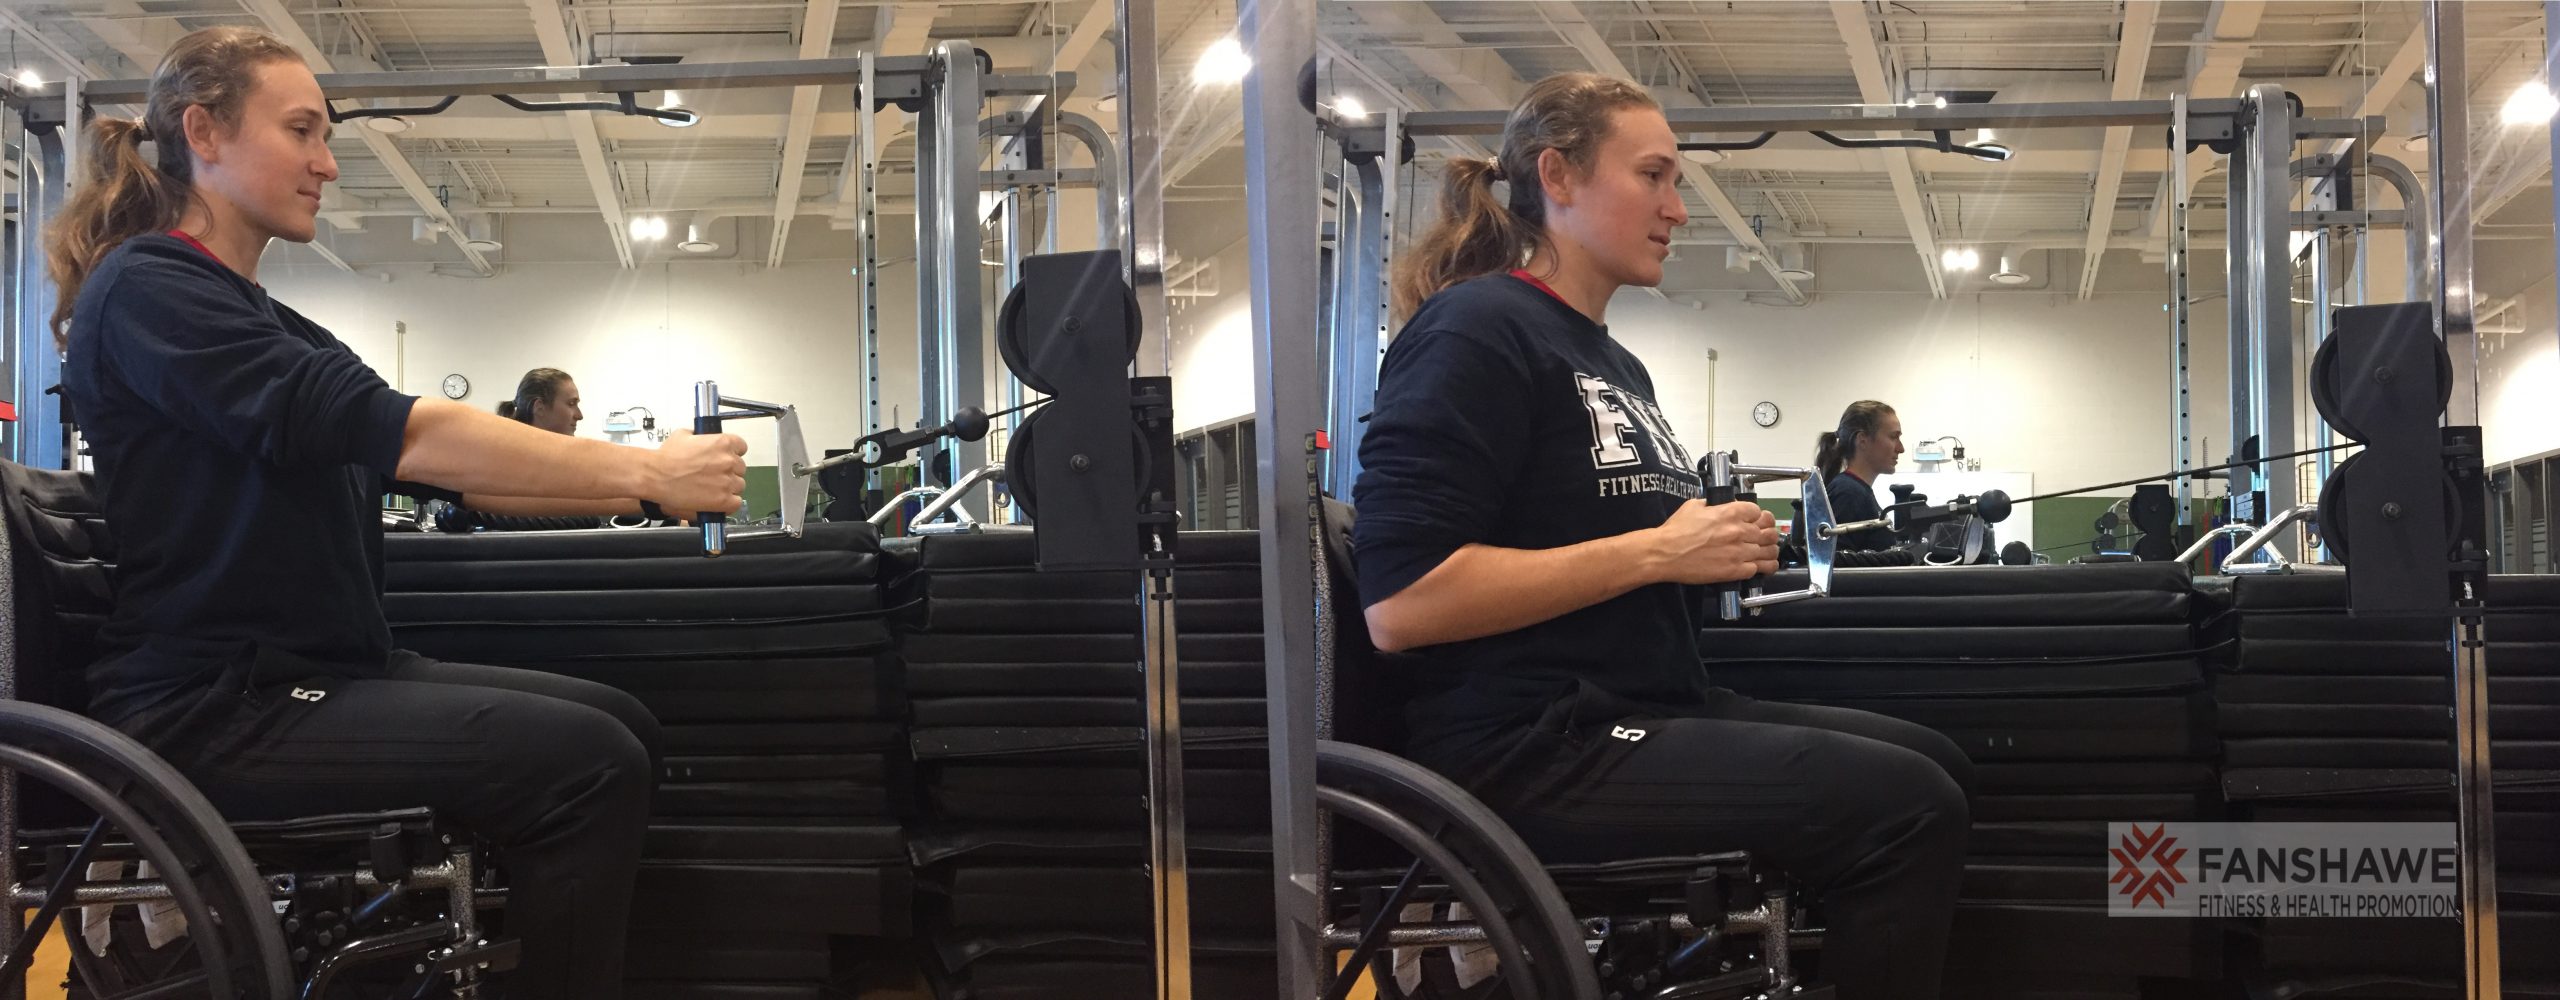
The following are a list of additional upper body exercises for clients that use wheelchairs and/or may need to remain seated during activity.  The cable machine is an excellent equipment choice for wheelchair users as it allows for many adaptive angles and positions to better fit the client.  Wheelchair users that have trunk control (e.g. lower level spinal cord injuries) can benefit greatly from cable machine exercise options.

Please practice coaching the exercises below:

1-Seated Cable Pallof Press

2-Seated Lat Pull Down

3-Seated Cable Row

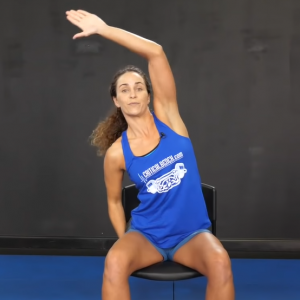
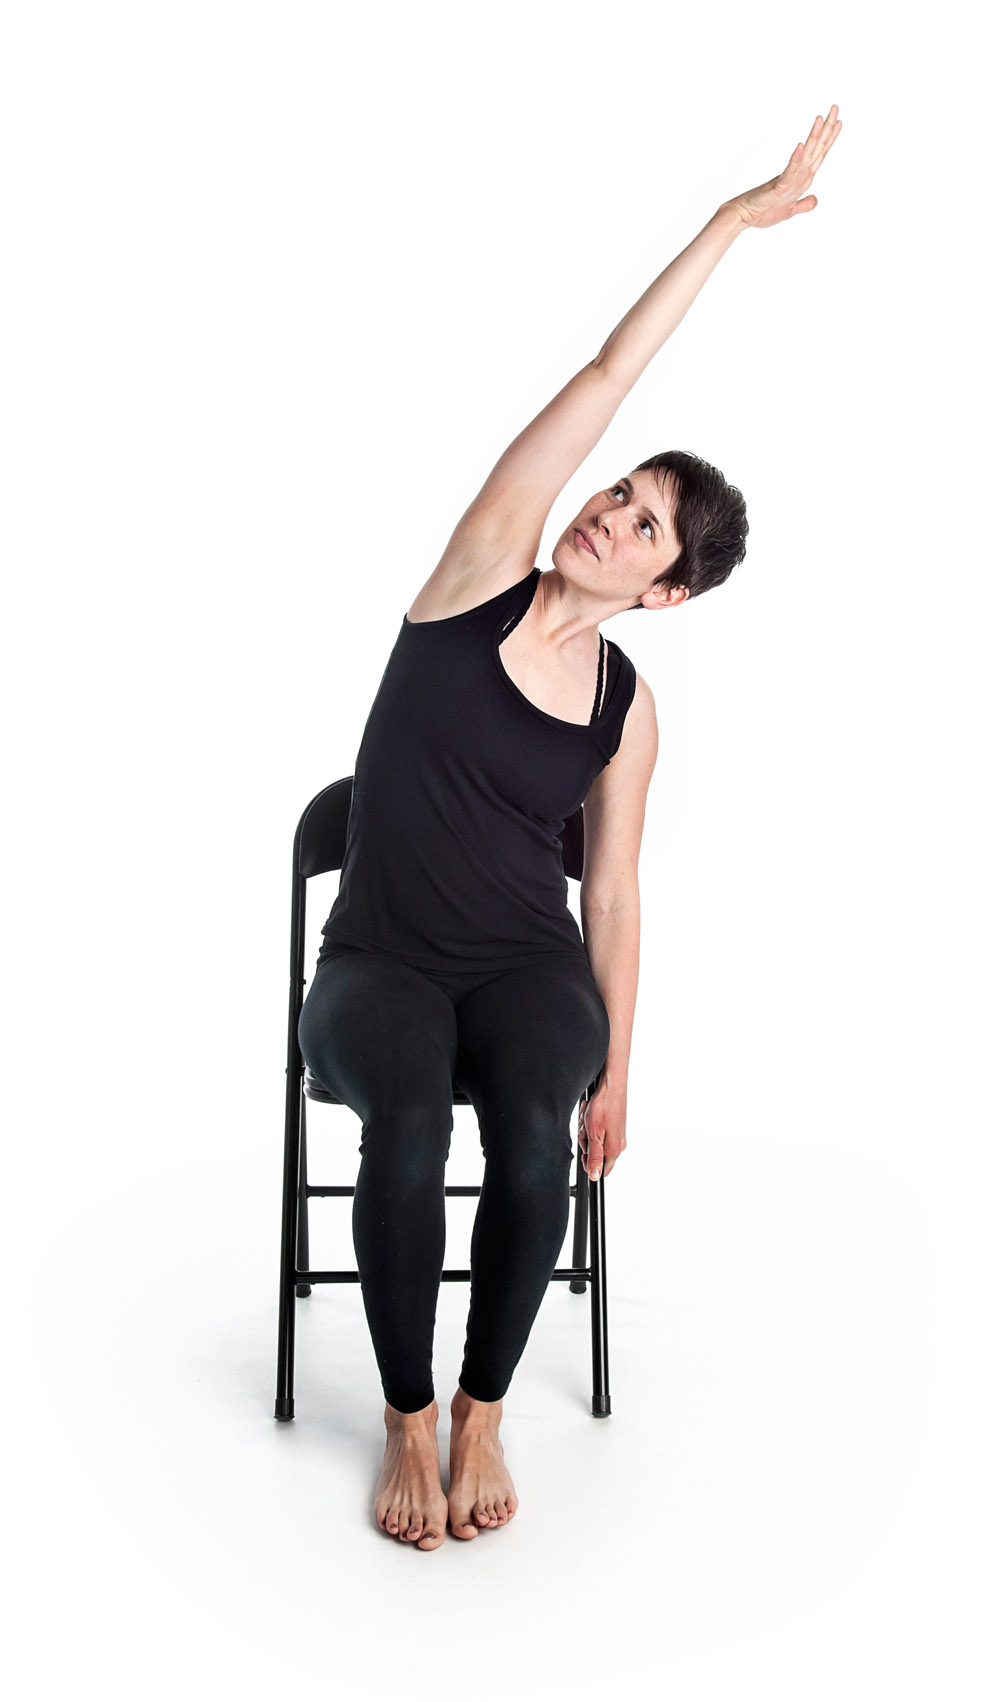
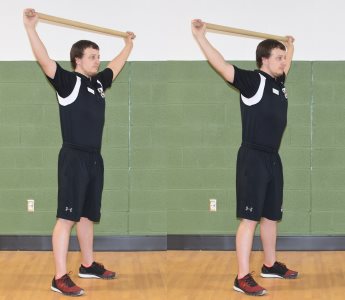
4-Seated Side to Side Overhead Reach

5-Seated Lat Stretch

6-Seated Dowel Overhead Chest Stretch

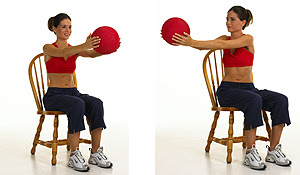
7-Seated Trunk Twist

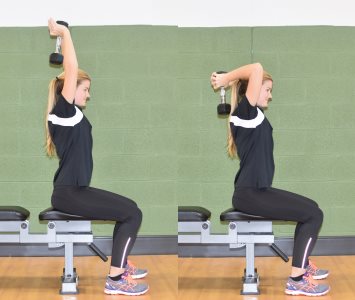
8-Seated French Press

Inclusive Language Interview – Disability

Dave is a 38 year old male.  He was injured in an accident 3 years ago and now has a paraplegic spinal cord injury.  Before his injury he was an intermediate level fitness client and played in a weekly basketball league.  He would like to improve his core strength.  His goal is to try out for wheelchair rugby in the future.   

Open Ended Question Ideas:

  • What brings you here today Dave? Follow Up - empathetic listening; you've come to the right place, we have a facility of educated trainers and adaptive equipment, we are ready to go ...
  • Can you tell me about your physical activities over the past few months? Follow Up - have you been participating in regular exercise?  Have you watched or seen any Paralympic sports?  Do any activities cause you pain or discomfort?
  • What is your ultimate goal with this fitness journey?  
  • Other?

Purpose Ideas:

  • Evaluate current fitness level
  • Work on sport specific training
  • Connect with a wheelchair sport team
  • Other?

No - DON'T

Yes - DO

  • Ask about what they did before the accident
  • Ask them what they would like to do now
  • Use negative terms like confined to or suffering from
  • Use terms like uses a wheelchair or has a spinal cord injury
  • Focus on disability
  • Focus on ability
  • Treat them as overly special
  • Treat them like any other person
  • Overreact if you accidentally make a comment such as "you could also do this in standing"
  • Apologize and move on
  • Talk to them like they have a cognitive limitation
  • Talk to them like any other person

Inclusive Language Interview – Chronic Disease

Kathy is a 45 year old female.  She is a breast cancer survivor.  As part of her treatment she had a bilateral mastectomy.  This has left her with a lot of chest muscle weakness.  Her goal is to regain strength and mobility within her upper body.  She is a bit self conscious and has been reluctant to return to her group fitness class.  She is also worried that she isn't strong enough and may hurt herself.  

Open Ended Question Ideas:

  • What brings you here today Kathy? Follow Up - empathetic listening; you should be proud of yourself for taking the step of coming here today ... we are excited and motivated to help you get back into a rewarding fitness routine.
  • Can you tell me about your physical activities over the past few months? Follow Up - have you been participating in regular exercise?  Do you have a group of friends to exercise with?  Do any activities cause you pain or discomfort?
  • Can you describe your fitness history to me?  Follow Up - what do you want to get out of being here and restarting your fitness journey?
  • Other?

Purpose Ideas:

  • Evaluate current fitness level
  • Work on upper body strength and mobility
  • Re-establish a fitness routine
  • Other?

No - DON'T

Yes - DO

  • Stare at them
  • Display normal eye contact
  • Use negative terms like suffering from or dealing with ... cancer
  • Use terms like Kathy had breast cancer
  • Talk like they have a contagious disease
  • Follow their lead and discuss their limitations with a positive yet realistic approach
  • Assume all cancer is hopeless or imminently terminal. Conversely do not provide false hope.
  • Be prepared by understanding the nature of their cancer. Discuss the situation with a positive yet realistic approach.

Body Weight Core Training

Competency Teaching Points

  1. Mention the importance and demonstrate the concept of neutral spine
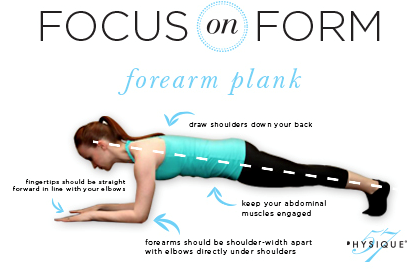
  2. Prom the prone position, have client brace against forearms, with elbows positioned under the shoulders, legs fully extended and the toes pointed down to the floor
  3. Explain and cue engaging the core
  4. Have client attempt to hold position for at least 30 seconds, watch for form errors

Plank

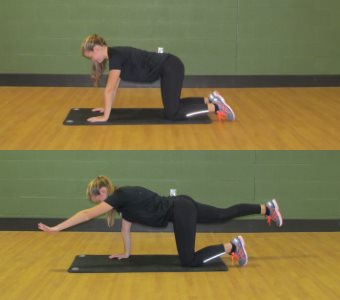
Bird Dog

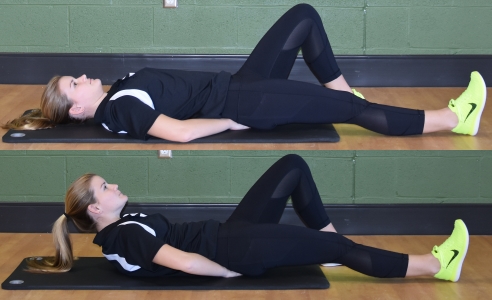
McGill Crunch

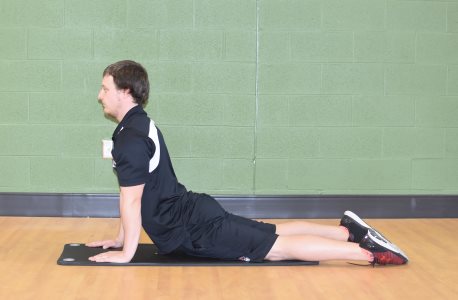
Cobra Stretch

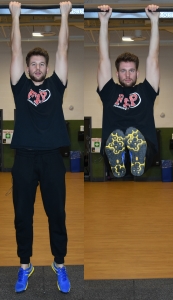
Not Recommended: Hanging Leg Raise

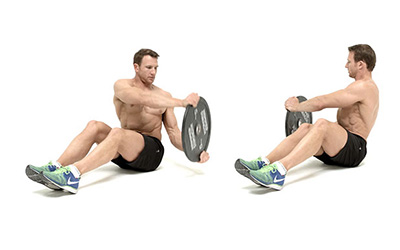
Not Recommended: Russian Twist

Extension

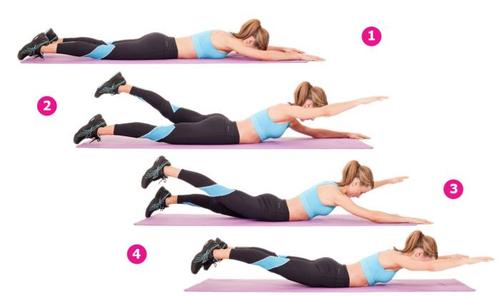
Alternating Superman

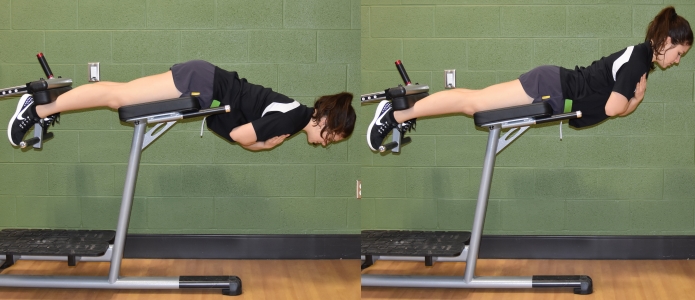
Machine Back Extension

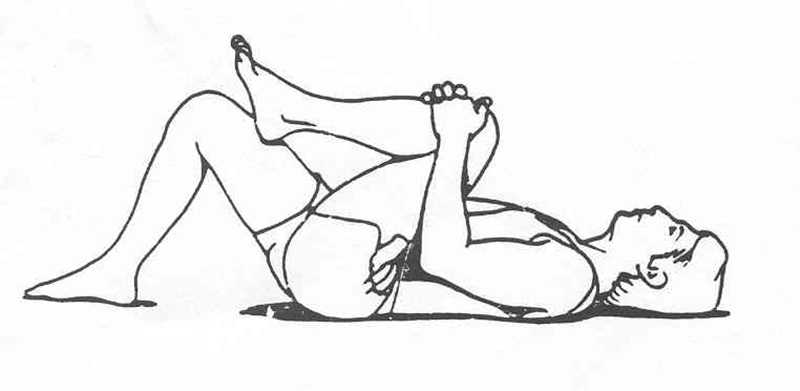
Low Back Stretch

Stability Ball Core Training

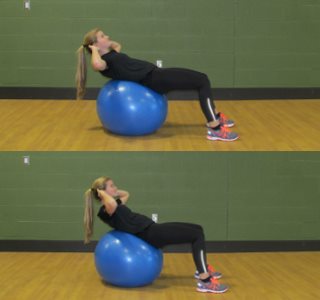
Stability Ball Crunch

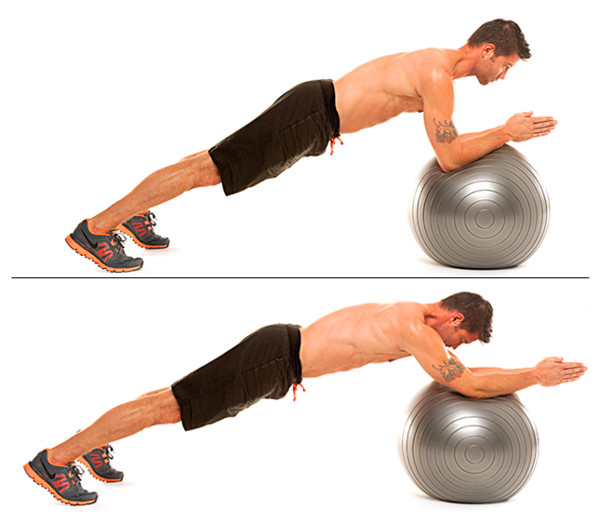
Stability Ball Rollout

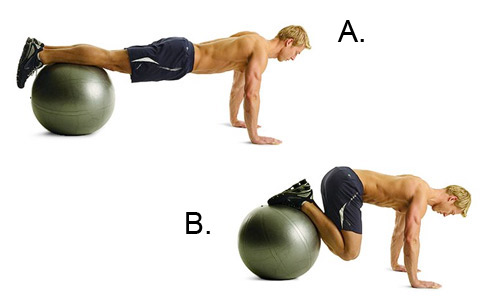
Stability Ball Jackknife

Competency: Inverted Row

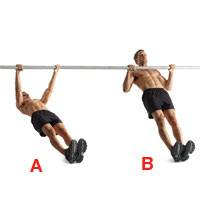
Inverted Row

Movement Pattern: Pull | horizontal Target: Latissimus Dorsi Synergist(s): Deltoid (Posterior), Rhomboids, Trapezius
Exercise
Regressions: 1-Arm Row Progressions: Bent-Over Row
Key Teaching Points
  1. Position a bar in a rack to about waist height. You can also use a smith machine.
  2. Using a slightly wider than shoulder width grip (hands pronated), have client hang underneath the bar. Client’s body should be straight with heels on the ground with their arms fully extended. This will be the starting position.
  3. Instruct the client to initiate movement by flexing the elbow, pulling their chest towards the bar. Cue client to retract their shoulder blades as they perform the movement.
  4. Pause at the top of the motion, and return back to the start position.

Regression: If client is unable to maintain core stability or unable to pull their chest until it almost touches the bar, you can have client bend their knees to 90° and keep their feet flat while performing the motion.

Common Error(s): Forward Head Posture | Not engaging core
Spotting: Mirror Client Level

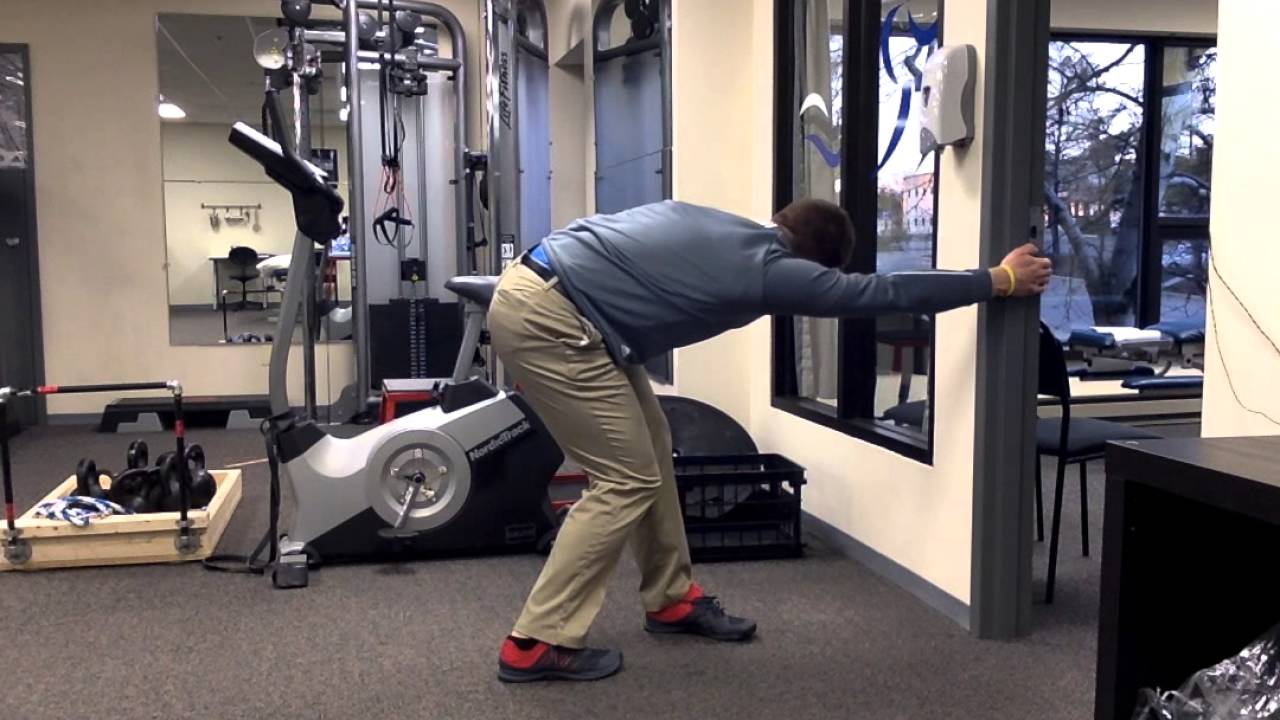
Doorway Lat Stretch

Movement Pattern: Upper Body Target: Latissimus Dorsi Synergist(s):
Exercise
Regressions: Progressions:
Key Teaching Points
  1. Start facing a doorway with feet shoulder width apart.
  2. Then bring up your arm to the door frame, grasping it at shoulder height
    and parallel to the floor.
  3. After holding a firm grasp to the door frame, sink down slowly into the
    stretch by keeping the head down and the butt out.

Note: Make sure that when coming out of this stretch that you come up
slowly, to prevent injuring the shoulder.

Common Error(s):
Spotting:

Push-Up

Competency Teaching Points

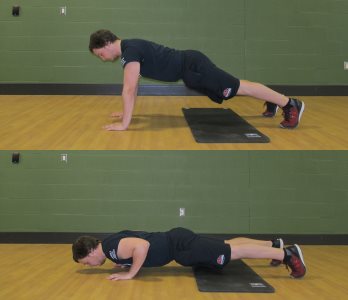
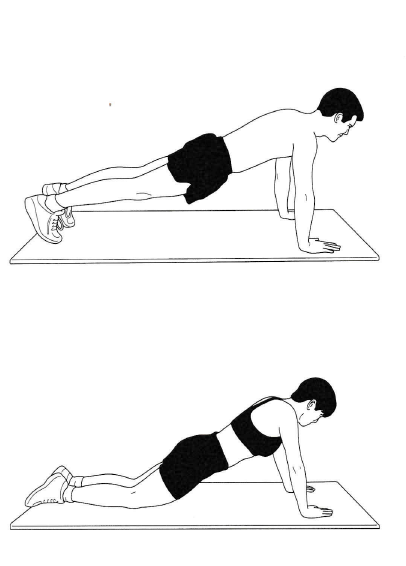
  1. Review start position: prone (facing down), hands on the floor under shoulders, elbows pointed out at no more than 45°, legs fully extended.
  2. Discuss neutral spine/need to keep torso rigid throughout the movement
  3. Discuss target ROM (lower the body by allowing the elbows to flex until chest is hovering 1-2″ above the ground).
  4. Review common errors
    1. Leading with chin/bum in air
    2. Letting hips sag

Movement Pattern: Press | horizontal Target: Pec Major Synergist(s): Deltoids (Anterior), Triceps
Exercise
Regressions: Incline Push Up Progressions: Bench Press
Key Teaching Points
  1. Assume a prone position (lying face down) on the floor with the legs fully extended and the toes pointed down to the floor.
  2. Place the hands on the floor, palms down, ~ 2 to 3 inches wider than shoulder-width apart with the elbows pointed outward.
  3. Keeping the core engaged (torso should remain in a straight line) push against the floor with the hands to fully extend the elbows.
  4. After completing the push-up phase, lower the body by allowing the elbows to flex to a 90° angle (or a position where the chest is hovering 1-2″ above the ground).
Common Error(s): Not engaging core | Forward Head Posture | Sagging lower back
Spotting:

CSEP: Push-Up Test