Review and practice the Plank, Push, and Pull exercises

Familiarize yourself with various PLANK, PUSH, and PULL instability exercises, experience the exercises, and recognize when you would coach these exercises (with whom and when in training).

Plank Exercises:

The plank protects the spine by bracing to maintain stability, and resist rotation.

General form and cue reminders:

  • neutral spine
  • level pelvis
  • alignment of the ears, shoulders, hips, knees, and ankles
  • all exercises are held with full body tension and controlled diaphragmatic breathing
  • when performing the plank focus on maintaining tension and stability in the core and enable mobility at the extremities when needed
Push Exercises:

General form and cue reminders:

  • focus on resisting flexion, extension, and rotation of torso and hips
  • keep the torso, hips, and lower body stability and aligned
  • maintaining tension and stability in the core
  • arms, chest, and shoulder girdle are driving the movement
  • all exercises are held with full body tension and controlled diaphragmatic breathing
Pull Exercises:

General form and cue reminders:

  • the core should be braced and the torso stable
  • maintain tension and stability in the core
  • the arms and shoulder girdle are mobile
  • initiate the pulling movements with a scapular-J or negative shrug
  • keep the shoulders depressed and retracted
  • all exercises are held with full body tension and controlled diaphragmatic breathing

After reviewing and practising these exercises, mark this task as complete, and move to the final task of completing a full (Plank, or Push, or Pull) competency.

Review and practice the general set-up of TRX

Review and practice the general TRX skills outlined below.

General rules for using TRX:

  1. keep core engaged
  2. maintain good posture
  3. keep straps tight
  4. no sawing strap
  5. move hands higher to prevent straps rubbing on arms.

General rules for making TRX exercises harder and easier:

  1. The steeper your body angle, the greater the resistance for the exercise (move feet toward anchor = more resistance = harder; move feet away from anchor = less resistance = easier)
  2. Decreasing your base of support challenges your ability to stabilize and requires more core engagement (stagger step is easier than wide straight stance; wide straight stance is easier than narrow straight stance; narrow straight stance is easier than one leg stance)
  3. For ground-based exercises (i.e., leg curls), moving body so feet are on far side of pendulum makes it easier, moving it so feet are on near side of pendulum makes it harder.
Setting up the TRX system:


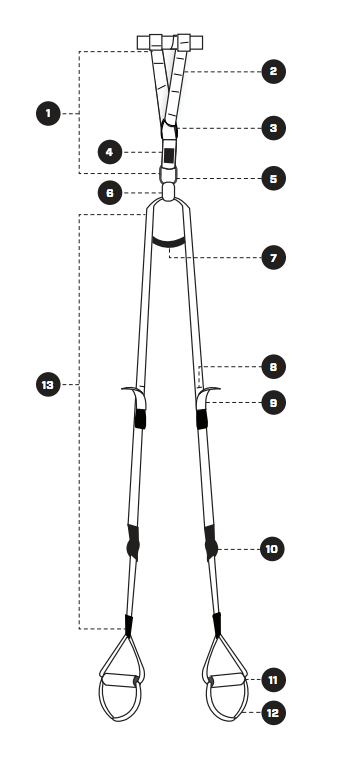
  • The anchor point should be 7-10 feet (top of #1 on picture)
  • Equalizer loop point 6 feet (#6 on picture)
  • Yellow tab (change of colour) is mid-point on the straps (#8 on picture)
  • When straps are fully lengthened, the foot straps should be 3 inches off of the ground (#12 on picture)
Shortening the TRX Straps:


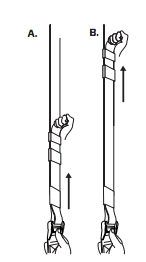
  • Hold one strap of the TRX, depress the cam buckle (#10) with your thumb and grasp the yellow adjustment tab (#9) with the other hand
  • Simultaneously draw backward on the buckle and push the adjustment tab up along the strap

Repeat on other side


Lengthening the TRX Straps:


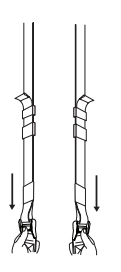
  • Simultaneously depress both buckles (#10) and pull downward, away from anchor point
Setting up the Single Strap design:
  • Hold handle A on top of handle B
  • Pass handle B through the triangle-shaped webbing of hand A. Switch hands.
  • Repeat by passing hand A through the triangle-shaped webbing of handle B. Switch hands.
  • Pull handle A toward you to lock.

Helping the client get feet-in strap design for plank:
  • Lie on back with knees to chest.
  • Put straps around toes with the hard handle (#11) on the bottom of the feet.
  • Roll from your back to your front with knees to chest.
  • Your feet do not need to rotate in the straps because you want the hard handle to the bottom of your feet.

After reviewing and practising all of these skills, mark this task as complete, and move to the next task.

Gripping and/or Grasping Modifications

A number of conditions (both chronic and acute) may lead to gripping and/or grasping difficulties.  Some of these include: stroke, ABI, SCI, repetitive injury, nerve injury, arthritis, diabetes, MS, MD, Parkinson, and other related conditions.  Do to the wide variety of clients that may potentially require gripping modifications it is extremely important that the Fitness professional know how to safely adapt exercises.

1-Active Hands

Look up and review active hands online www.activehands.com

2-Securing a Band

Slide dog lead loop around wrist, wrap the band at least one more time around the wrist and then have client grasp the remaining band as much as possible.  How would you secure the band differently if you were pushing (vs. pulling)?

3-Wrist Weights

Come up with 5 exercises that can be done while using wrist weights instead of grasping a weight.

Spoiler title

Come up with 2 exercises that can be done when using a closed loop band instead of grasping a weight.

Balance Exercises for Older Adults

Case 6: Older Adult Balance

Susan is an 83 year old female. Over the past two years Susan’s vision has worsened. This has had a direct impact on Susan’s balance and confidence. Last year she had a fall that left her bruised and concerned. Her main goal is to improve balance and reduce the likelihood of falling.  

Older adults are often faced with a number of physical limitations (e.g. mobility, vision or cognitive limitations) that can directly impact their ability to complete activities of daily living (ADLs).  A loss of balance and functional strength can be particularly debilitating.  Fear of falling is a significant issue among older adults witch can further minimize maintenance of functional capacity.  A well trained Fitness professional should provide their older adult clients with safe and effective functional exercise strategies.

Other conditions that may result in balance difficulties are: vision impaired, dementia, Parkinson's disease, Stroke, Musculoskeletal injury of the lower limb (e.g. knee or hip arthritis), Peripheral vascular disease impacting foot sensation (neuropathy), MS and other head injuries or inner ear ailments.  

Please practice coaching the exercises below:

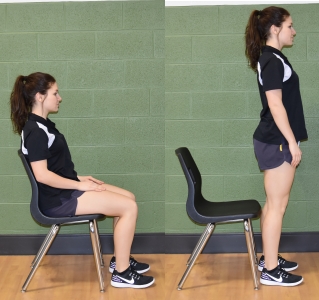
1-Sit to Stand

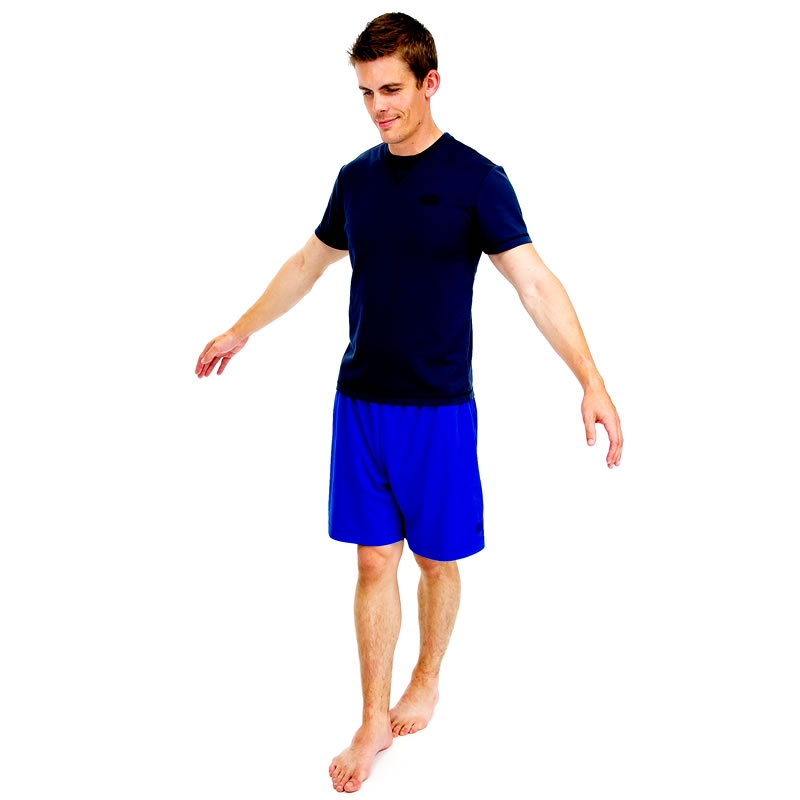
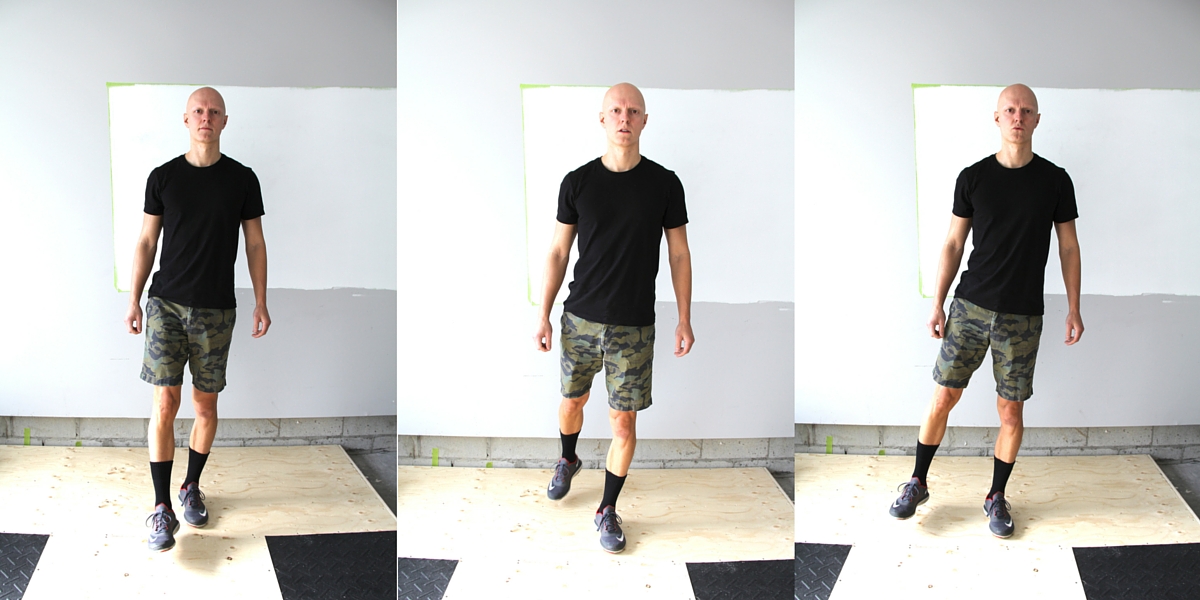
2-Tandem Walk

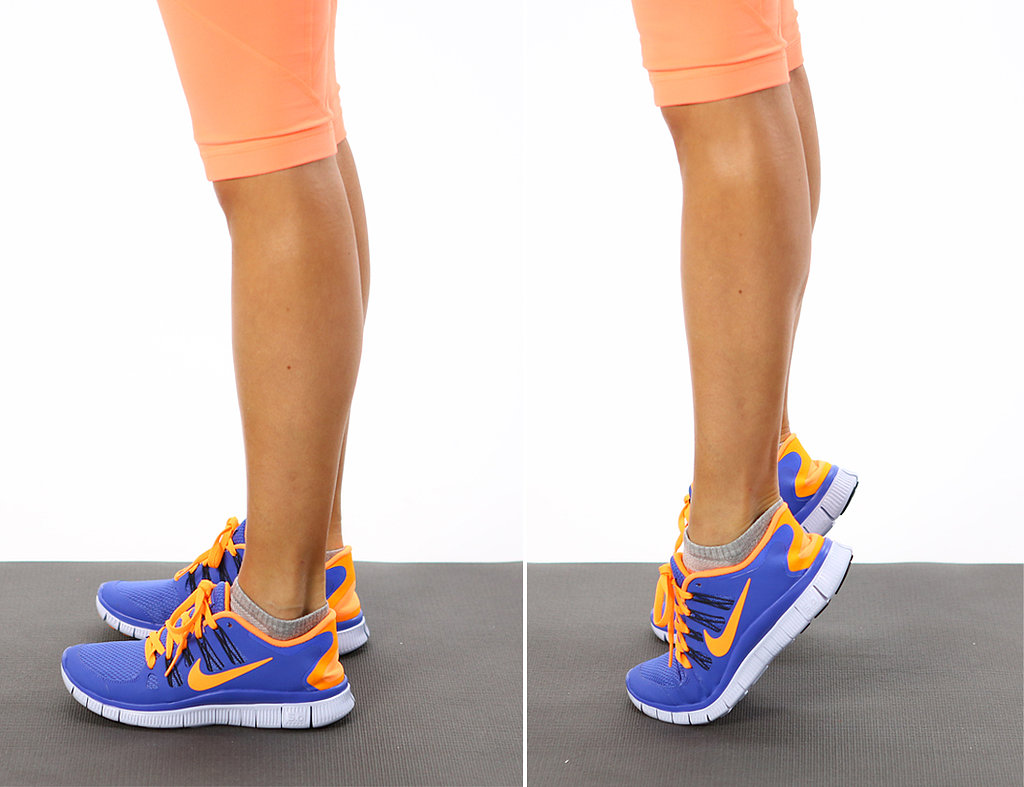
3-Standing Calf Raises

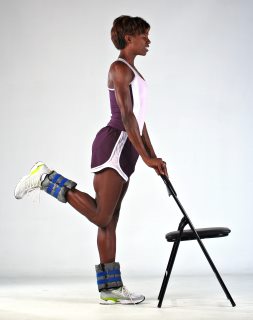
4-Standing Leg Curls

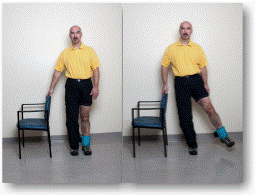
5-Standing Hip Abduction

6-Standing Hip Swings

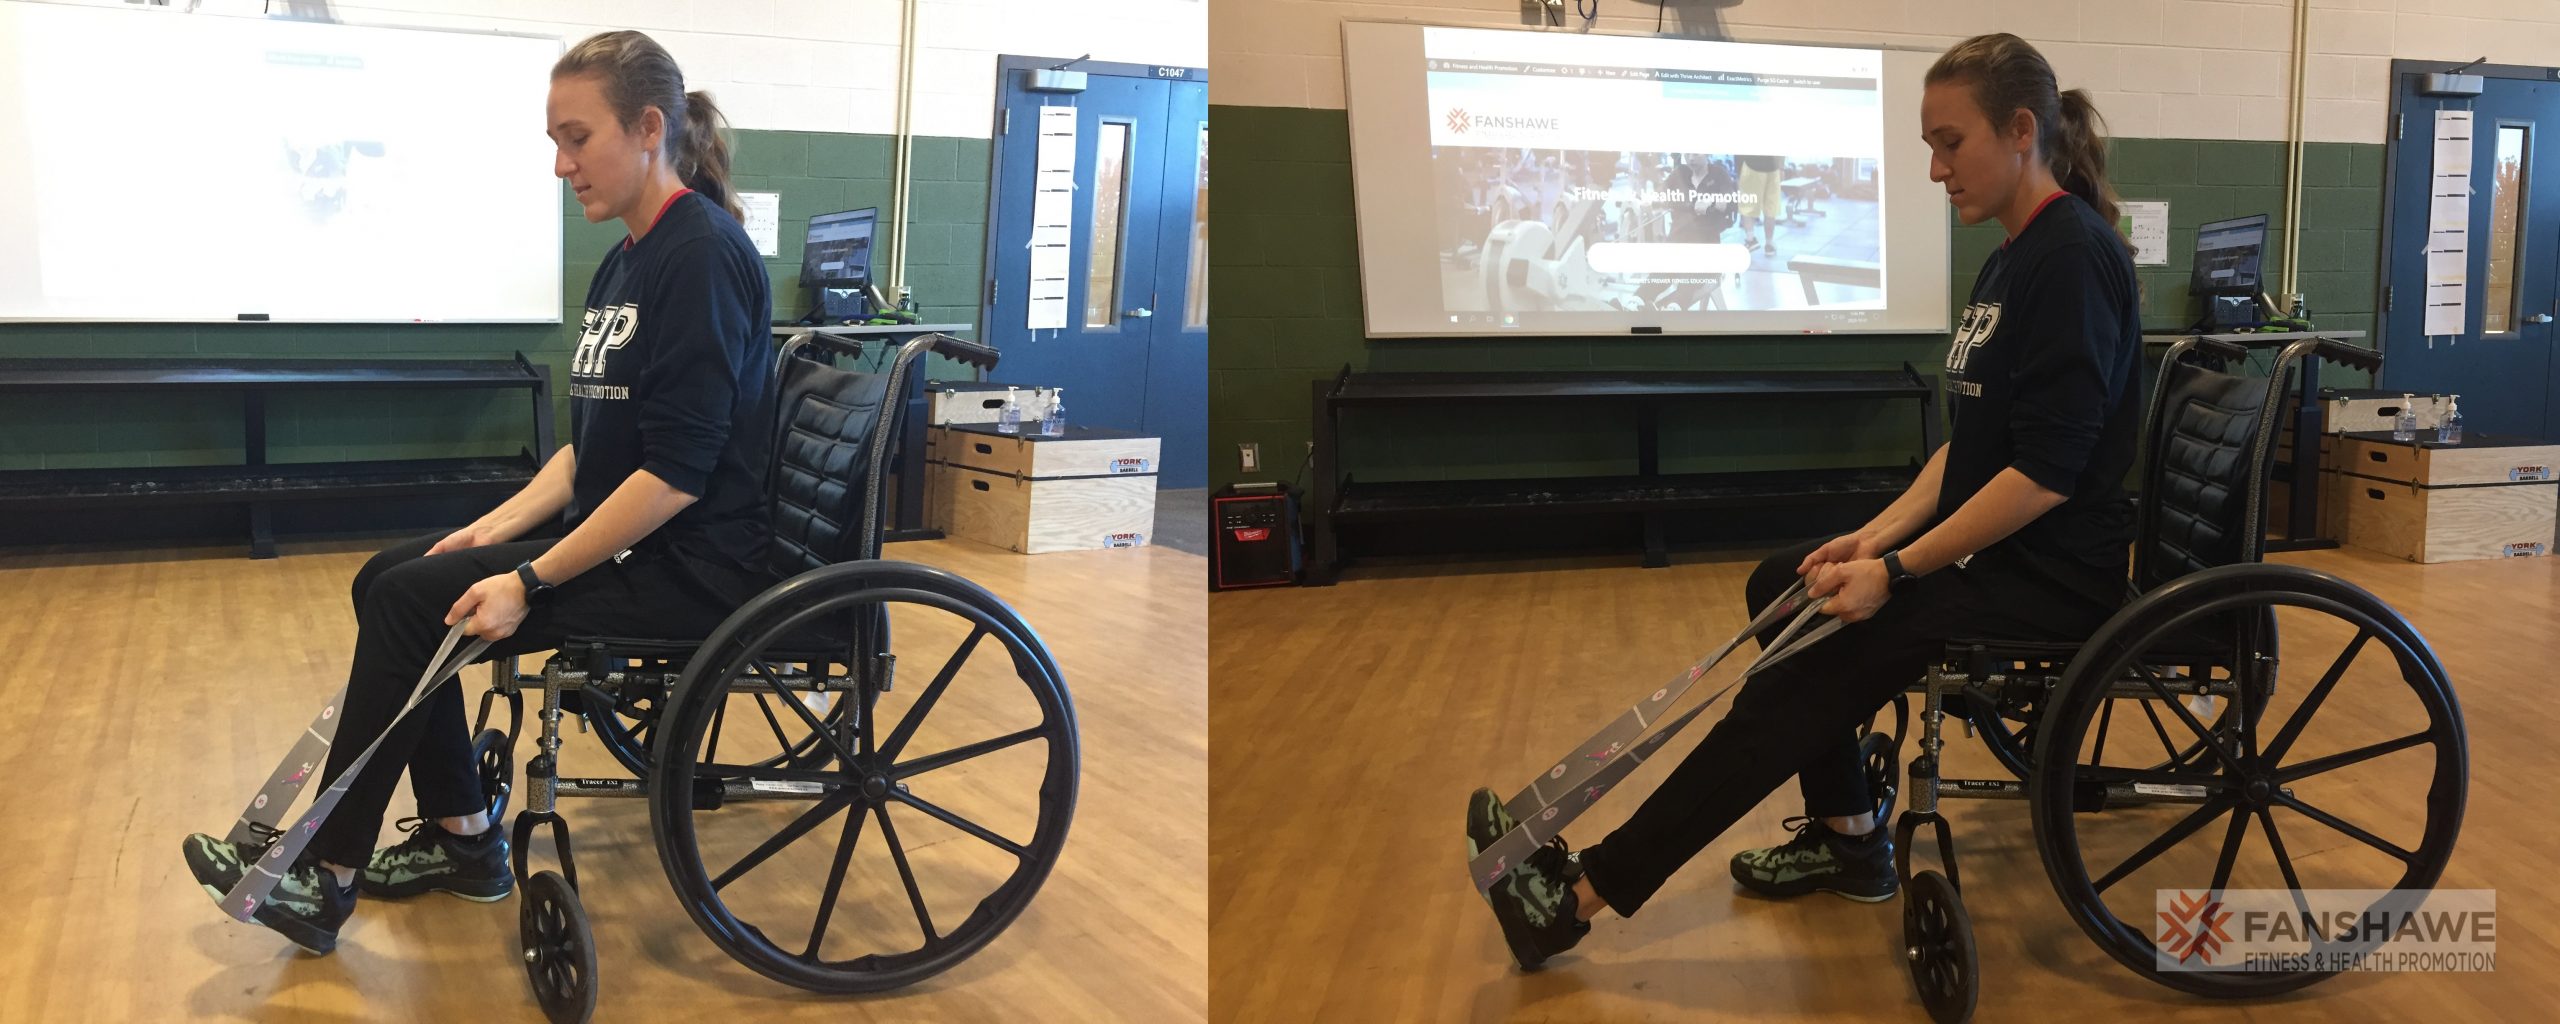
7-Assisted Calf Stretch

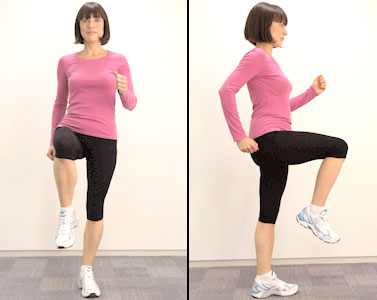
8-High Knees

Experience Burpees

The Burpee was invented in 1939 by Royal H. Burpee (an exercise physiologist). According to Burpee, high repetitions was bad for the client’s knees and back – especially for client’s who lacked core strength. The original Burpee was intended to be done 4 times and involved the following steps: squat down and place both hands on the floor in front of you; jump your feet back into the plank position; jump your feet forward again; return to standing. The Burpee exercise has been modified over time to include a push-up and an explosive jump (see Modern Burpee, below).

 The Burpee is a plyometric exercise done for anaerobic conditioning, to increase power, and/or to exhaust the client. The Burpee puts a lot of stress on joints and is often executed poorly; hence, it should be prescribed for a short duration and to an appropriate client. It should also be noted that other (safer) exercises could be used to accomplish the same goals which do not hold an injury risk as high as the Burpee (i.e., pushing a sled, rowing machine, plyometric push-up, jump squat).

Before a client completes a Burpee ensure they know how to engage their core, hold a plank, and complete a proper push-up. Common errors you will see with the Burpee are: lack of core engagement, sagging lower back, rounding (protracting) shoulders, and inappropriate momentum.

Practice the modern Burpee (with good form). Recognize when and how Burpees can be used appropriately in your coaching practice.

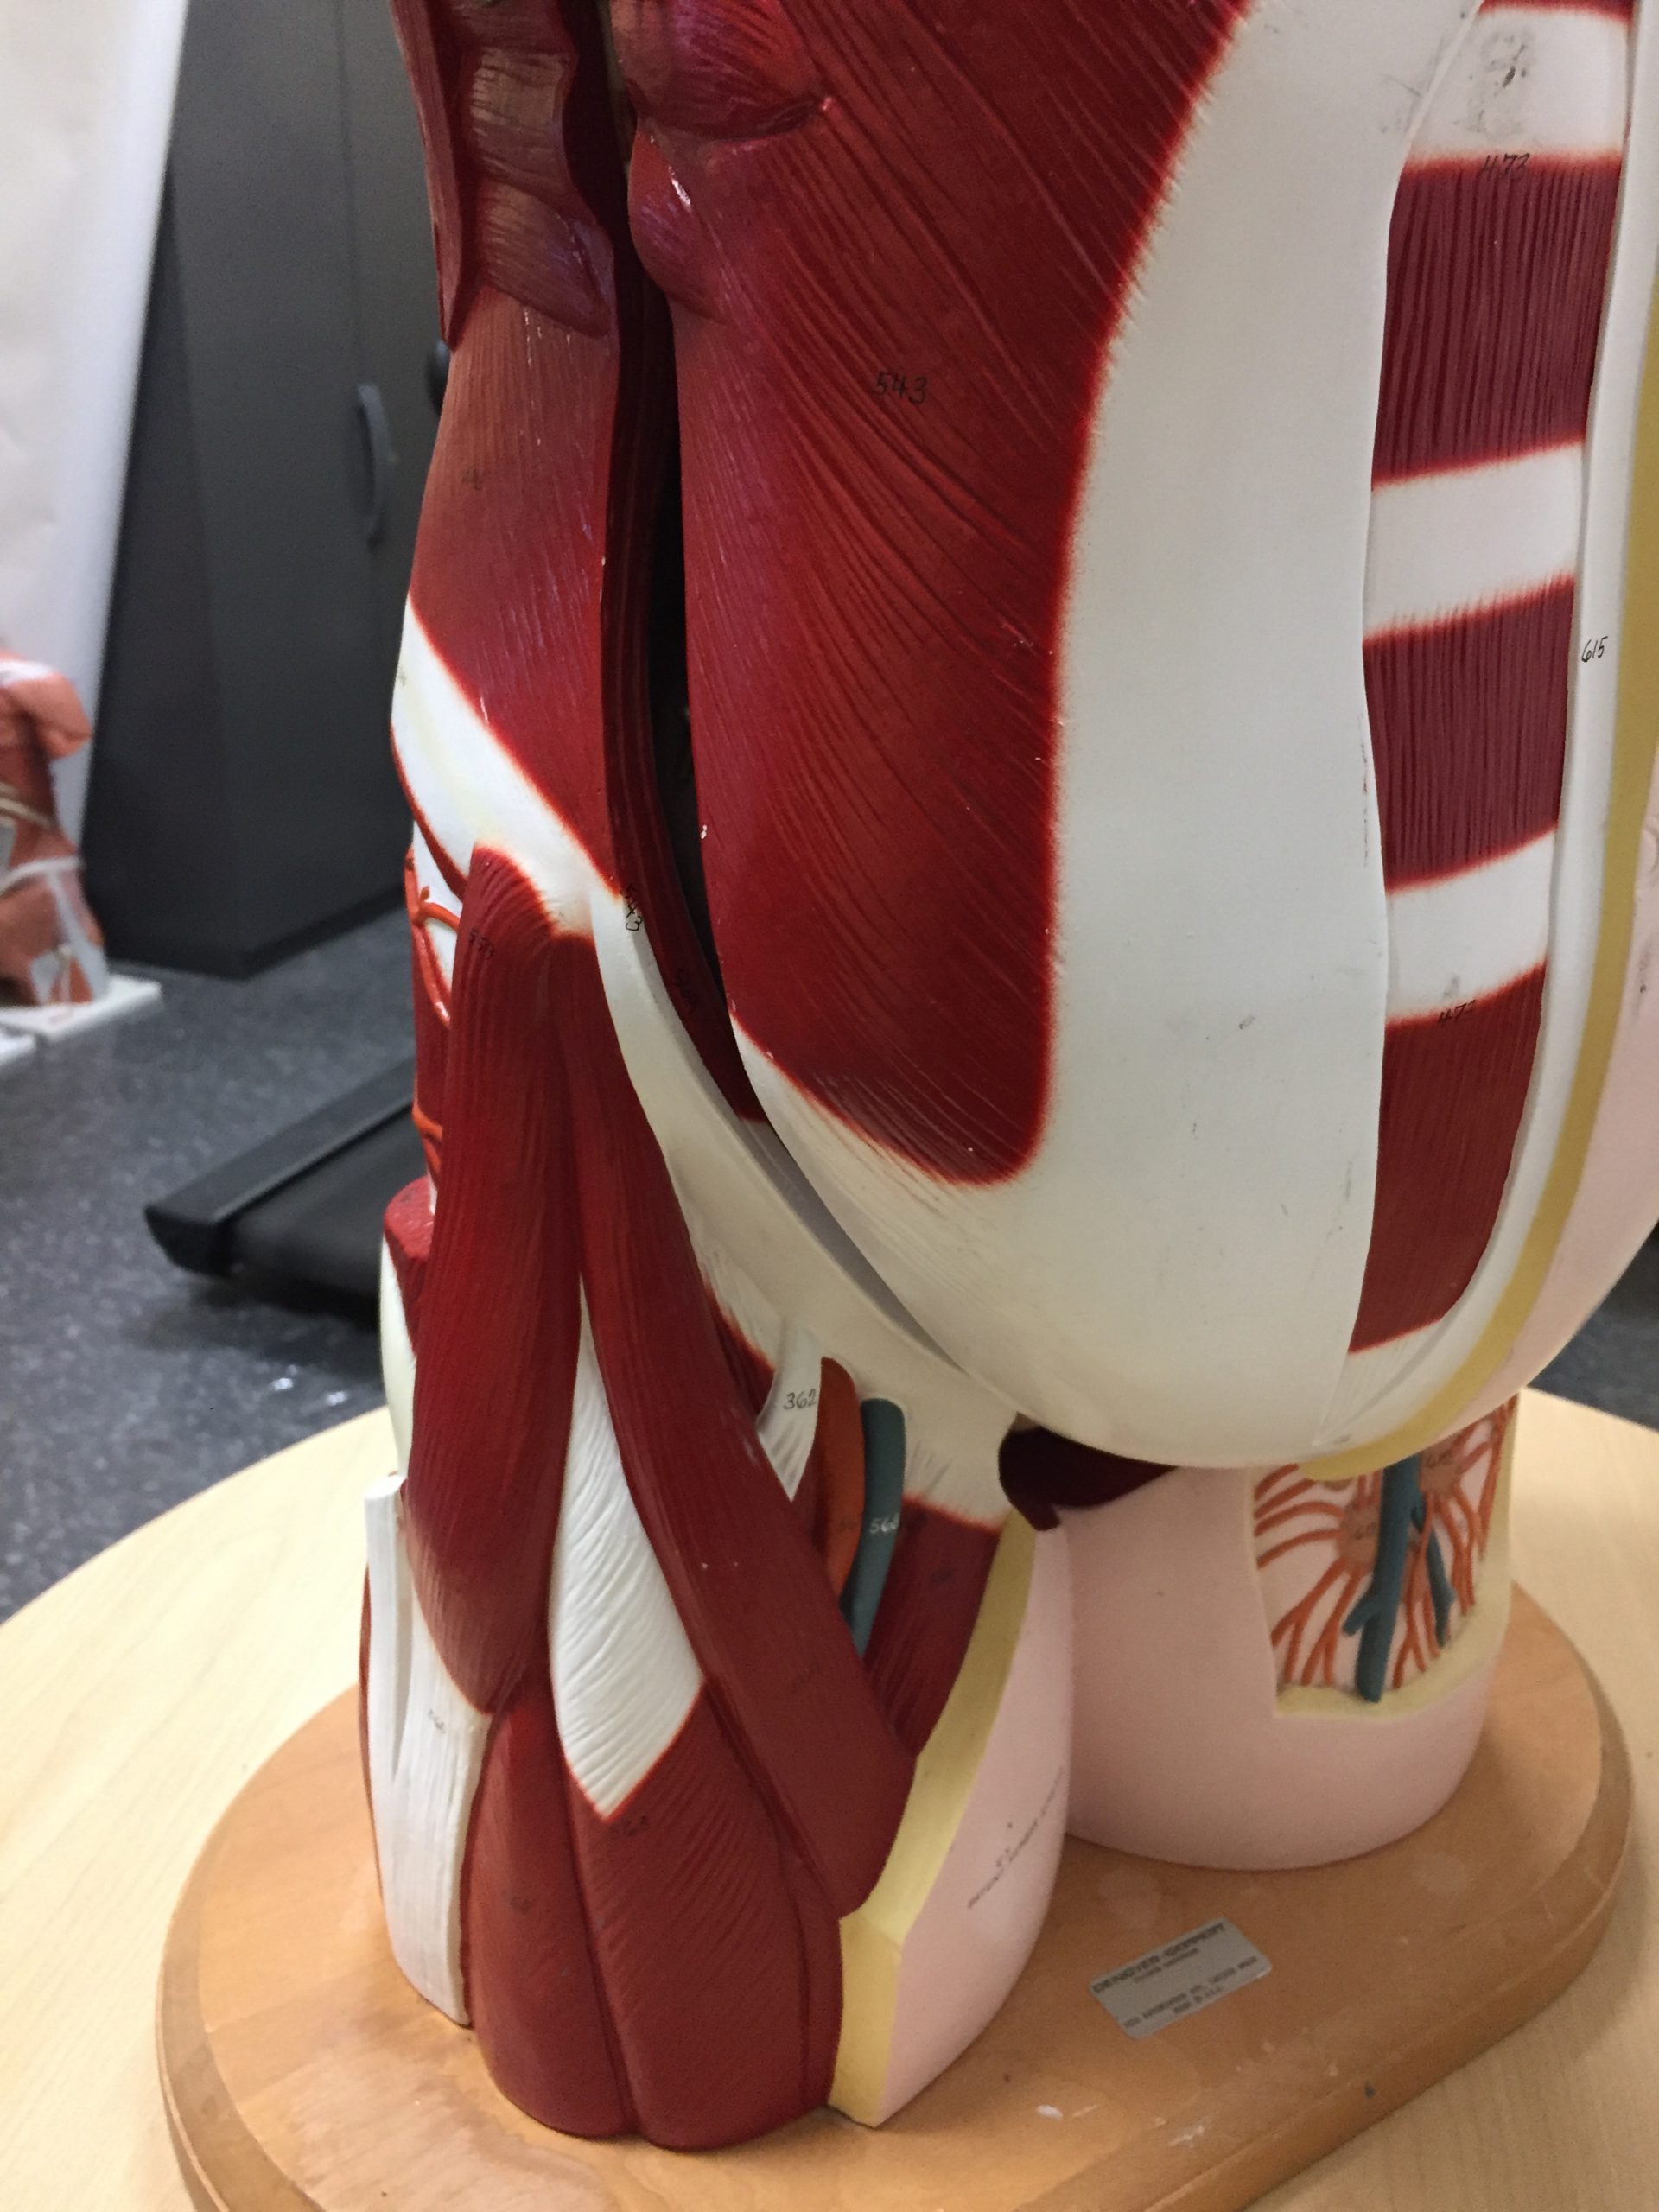
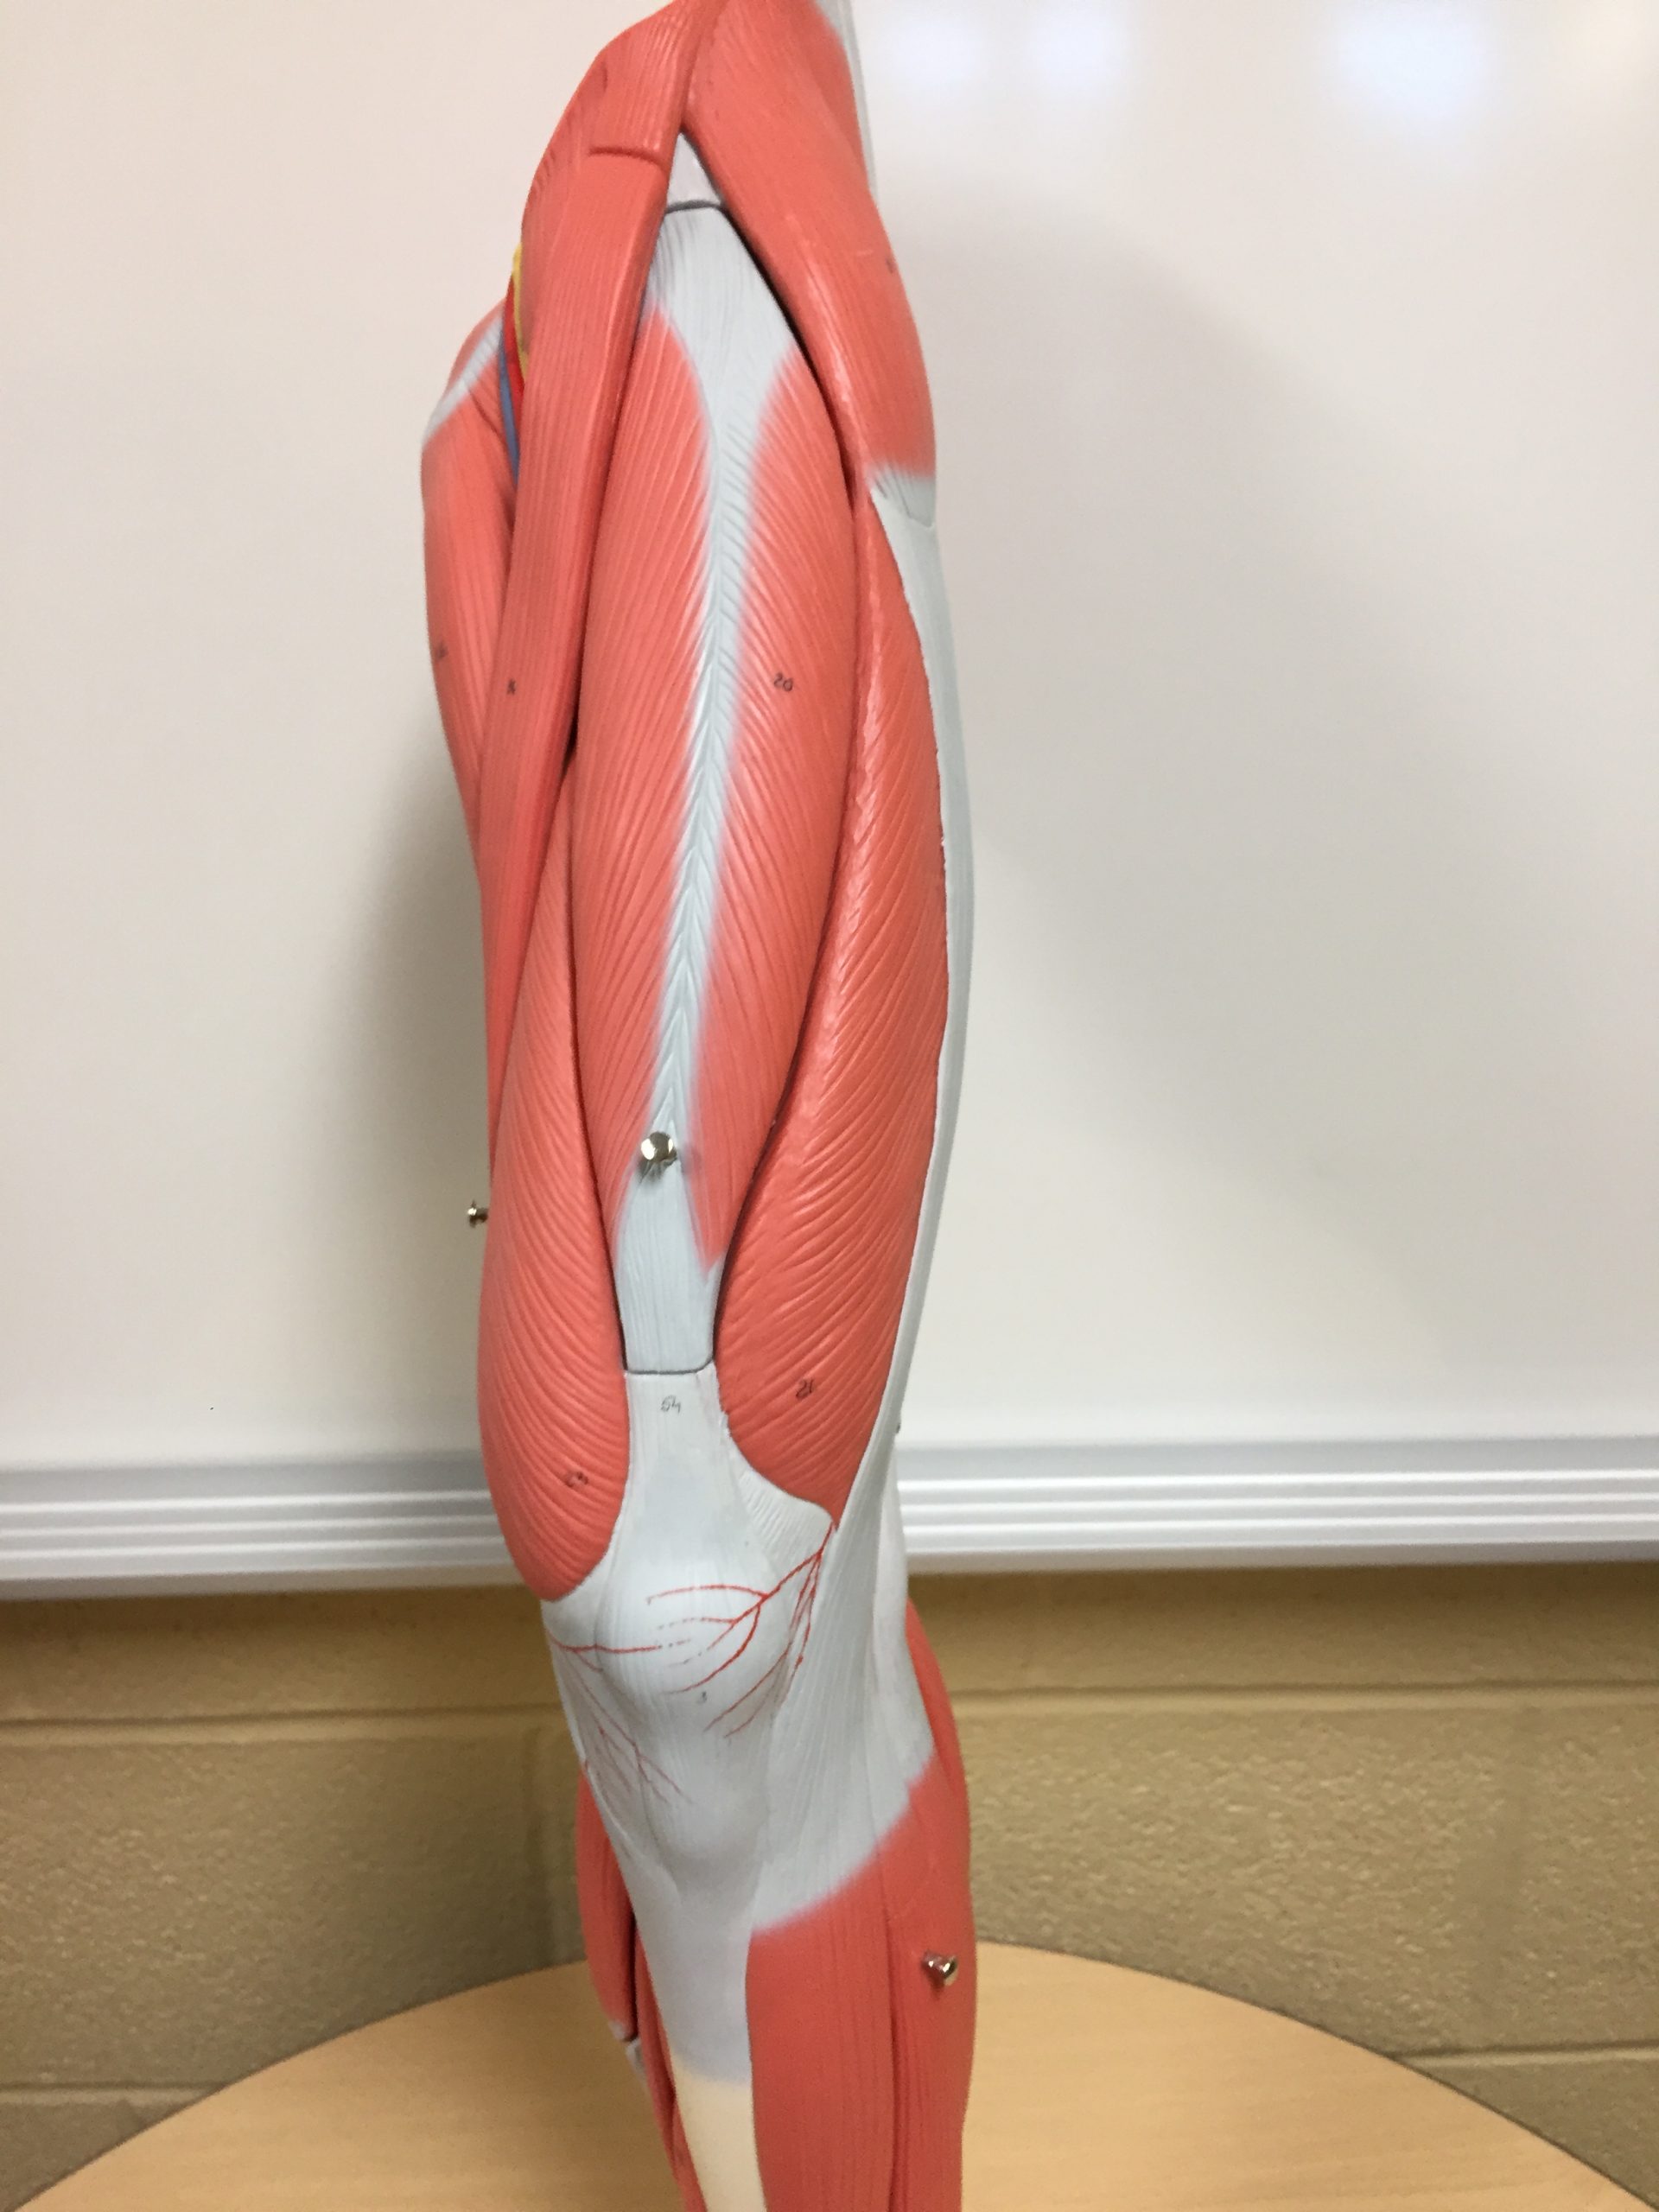
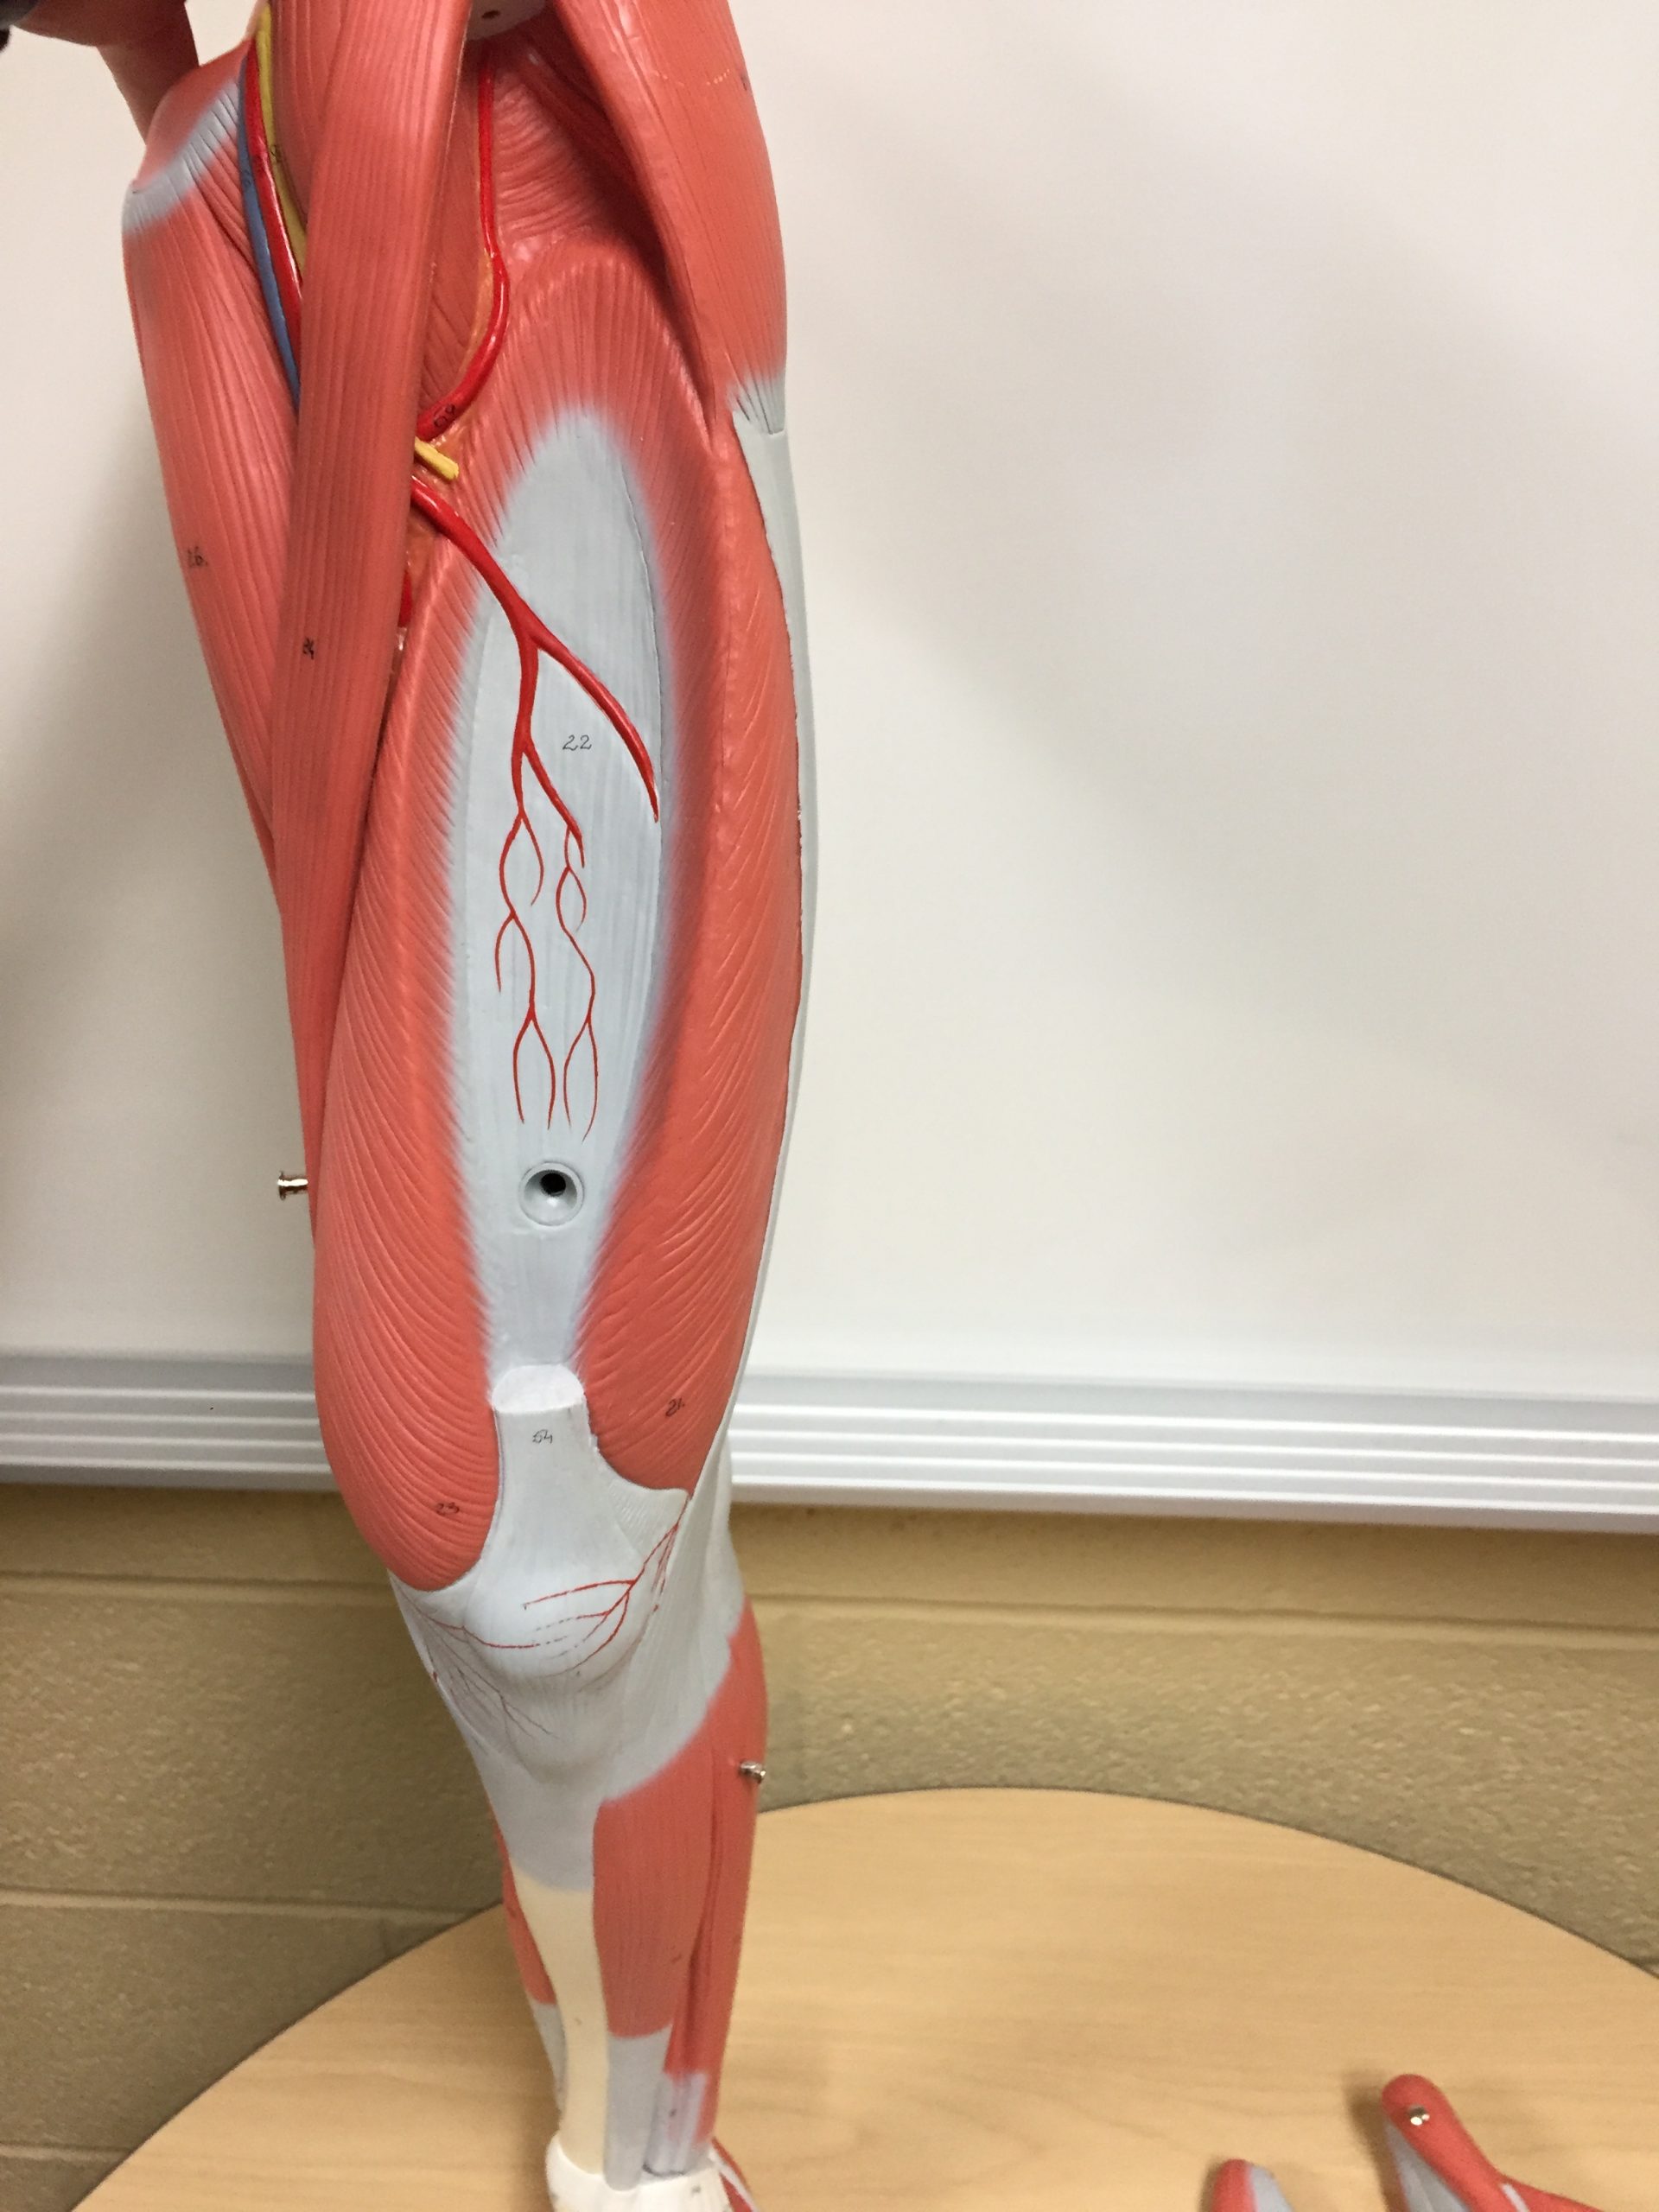
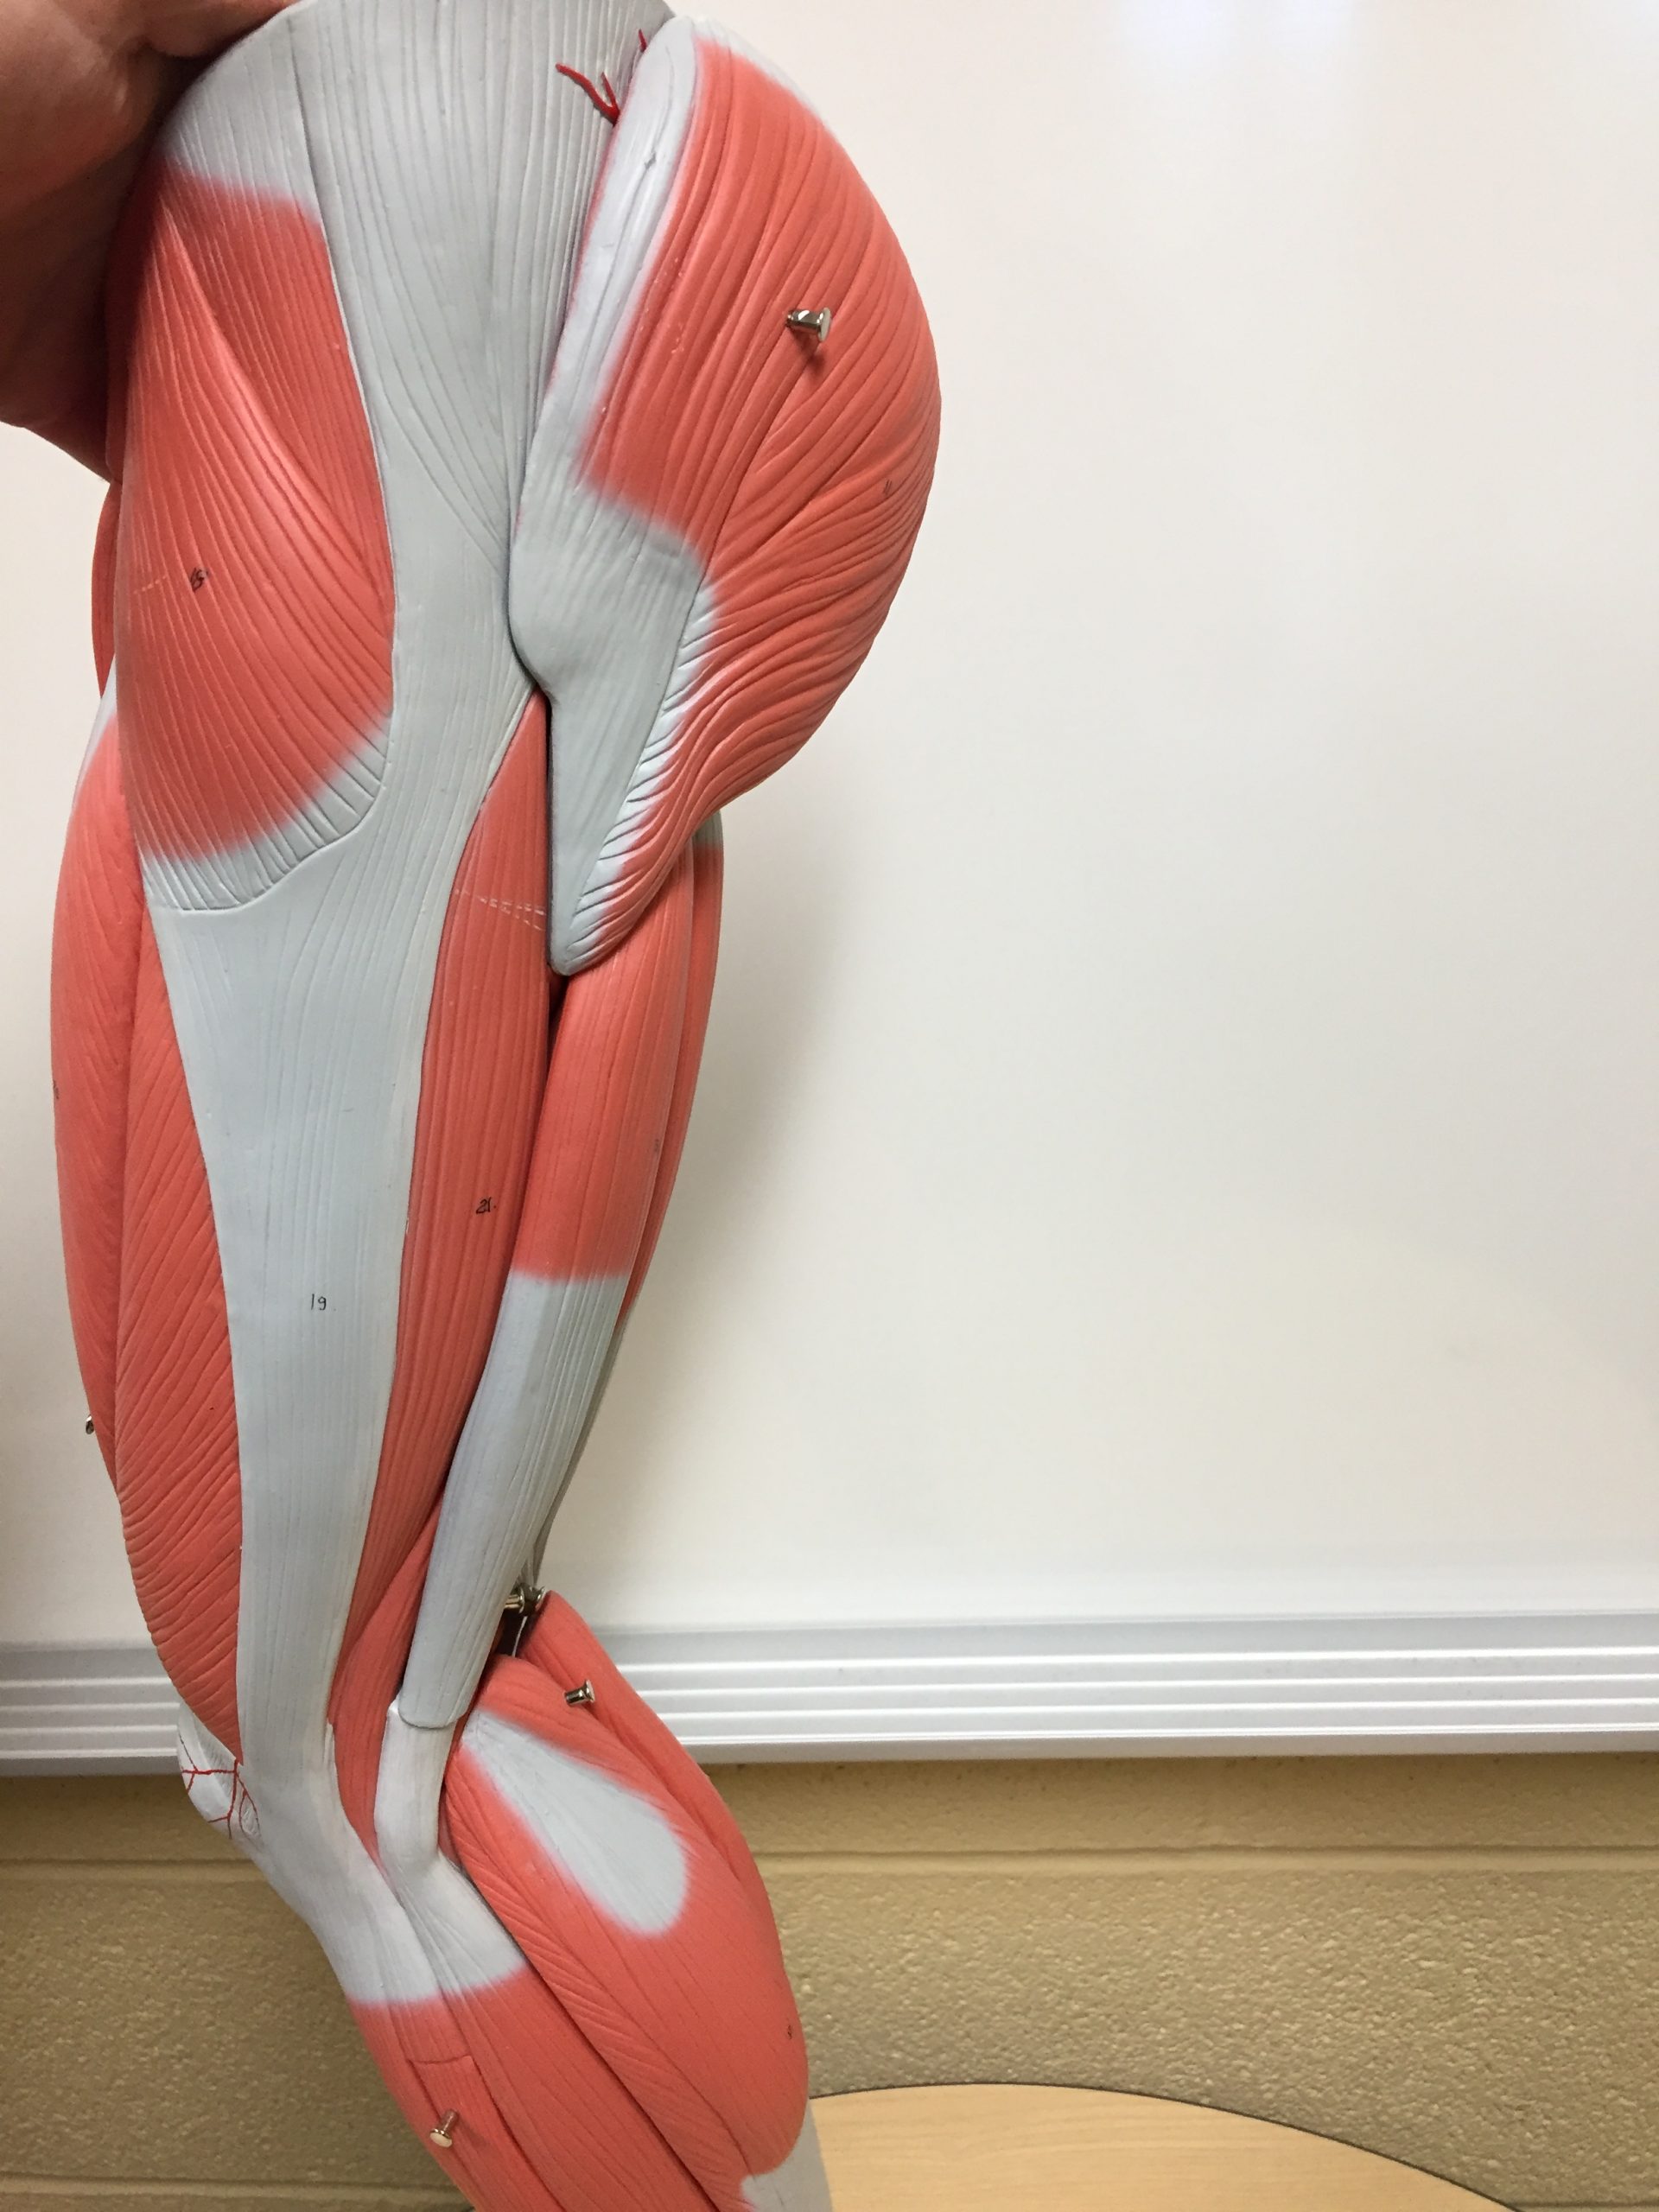
Muscled Leg, Hip and Torso Models – Bringing it all Together

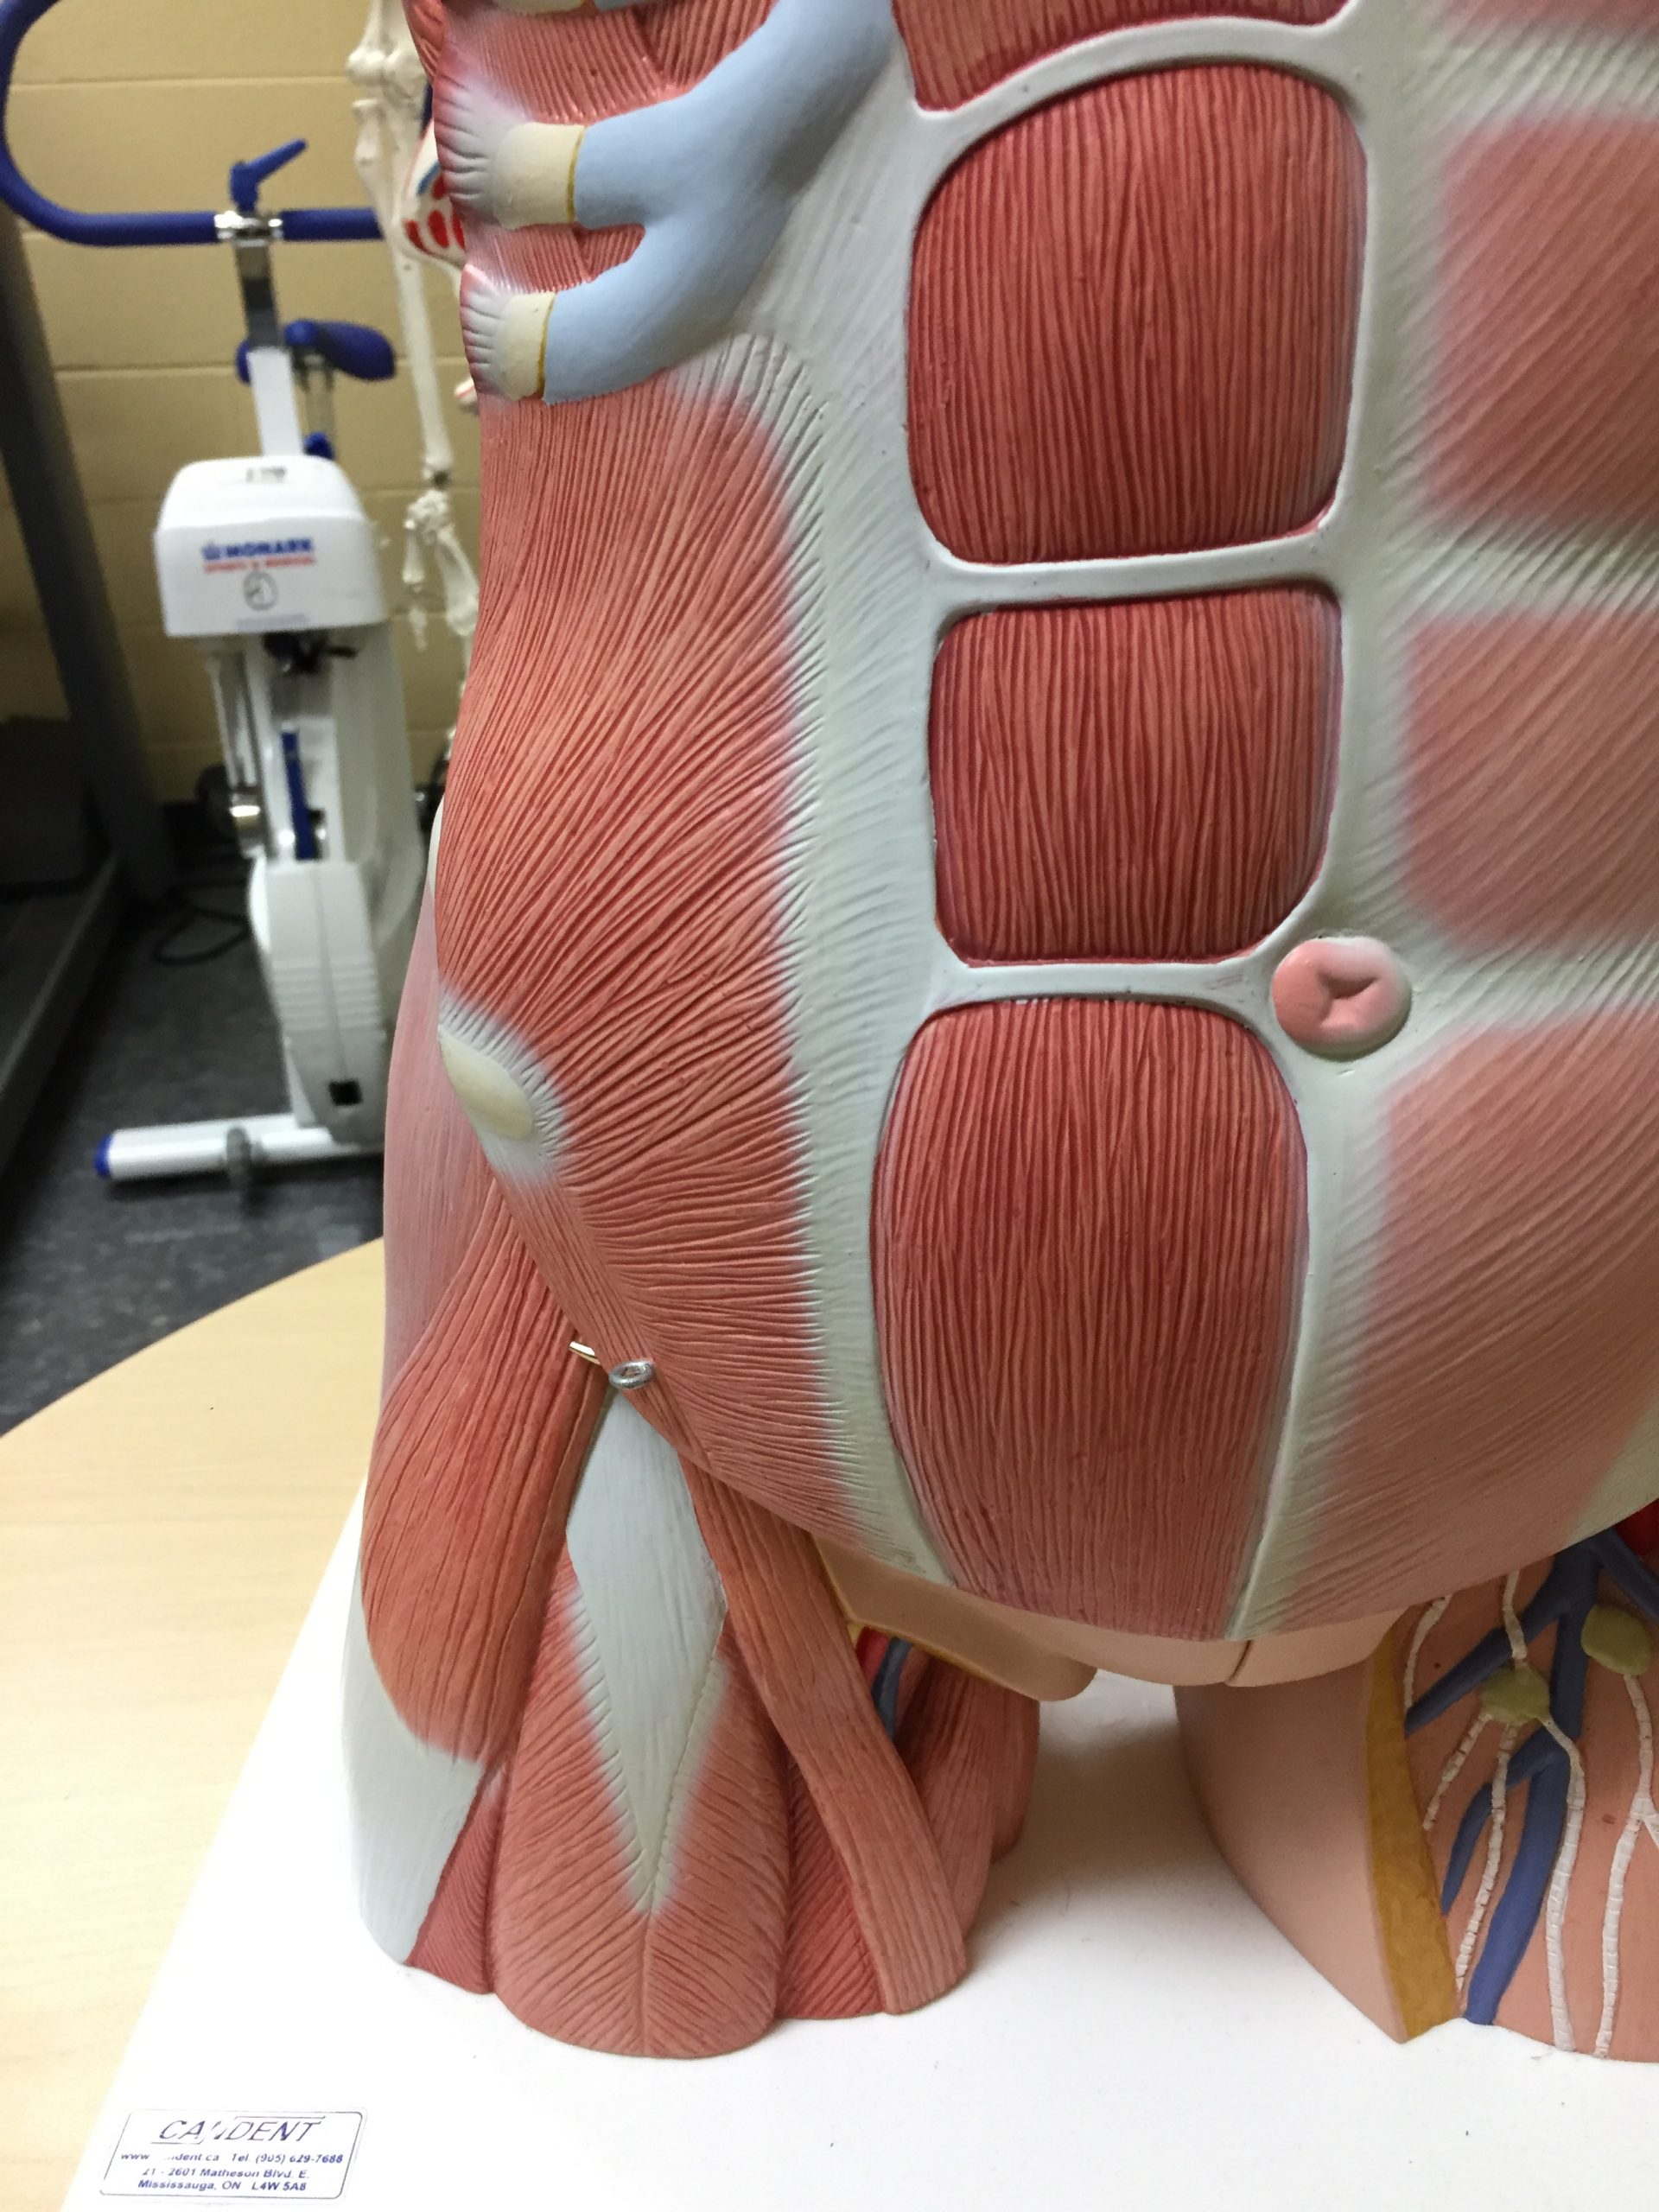
Torso Model

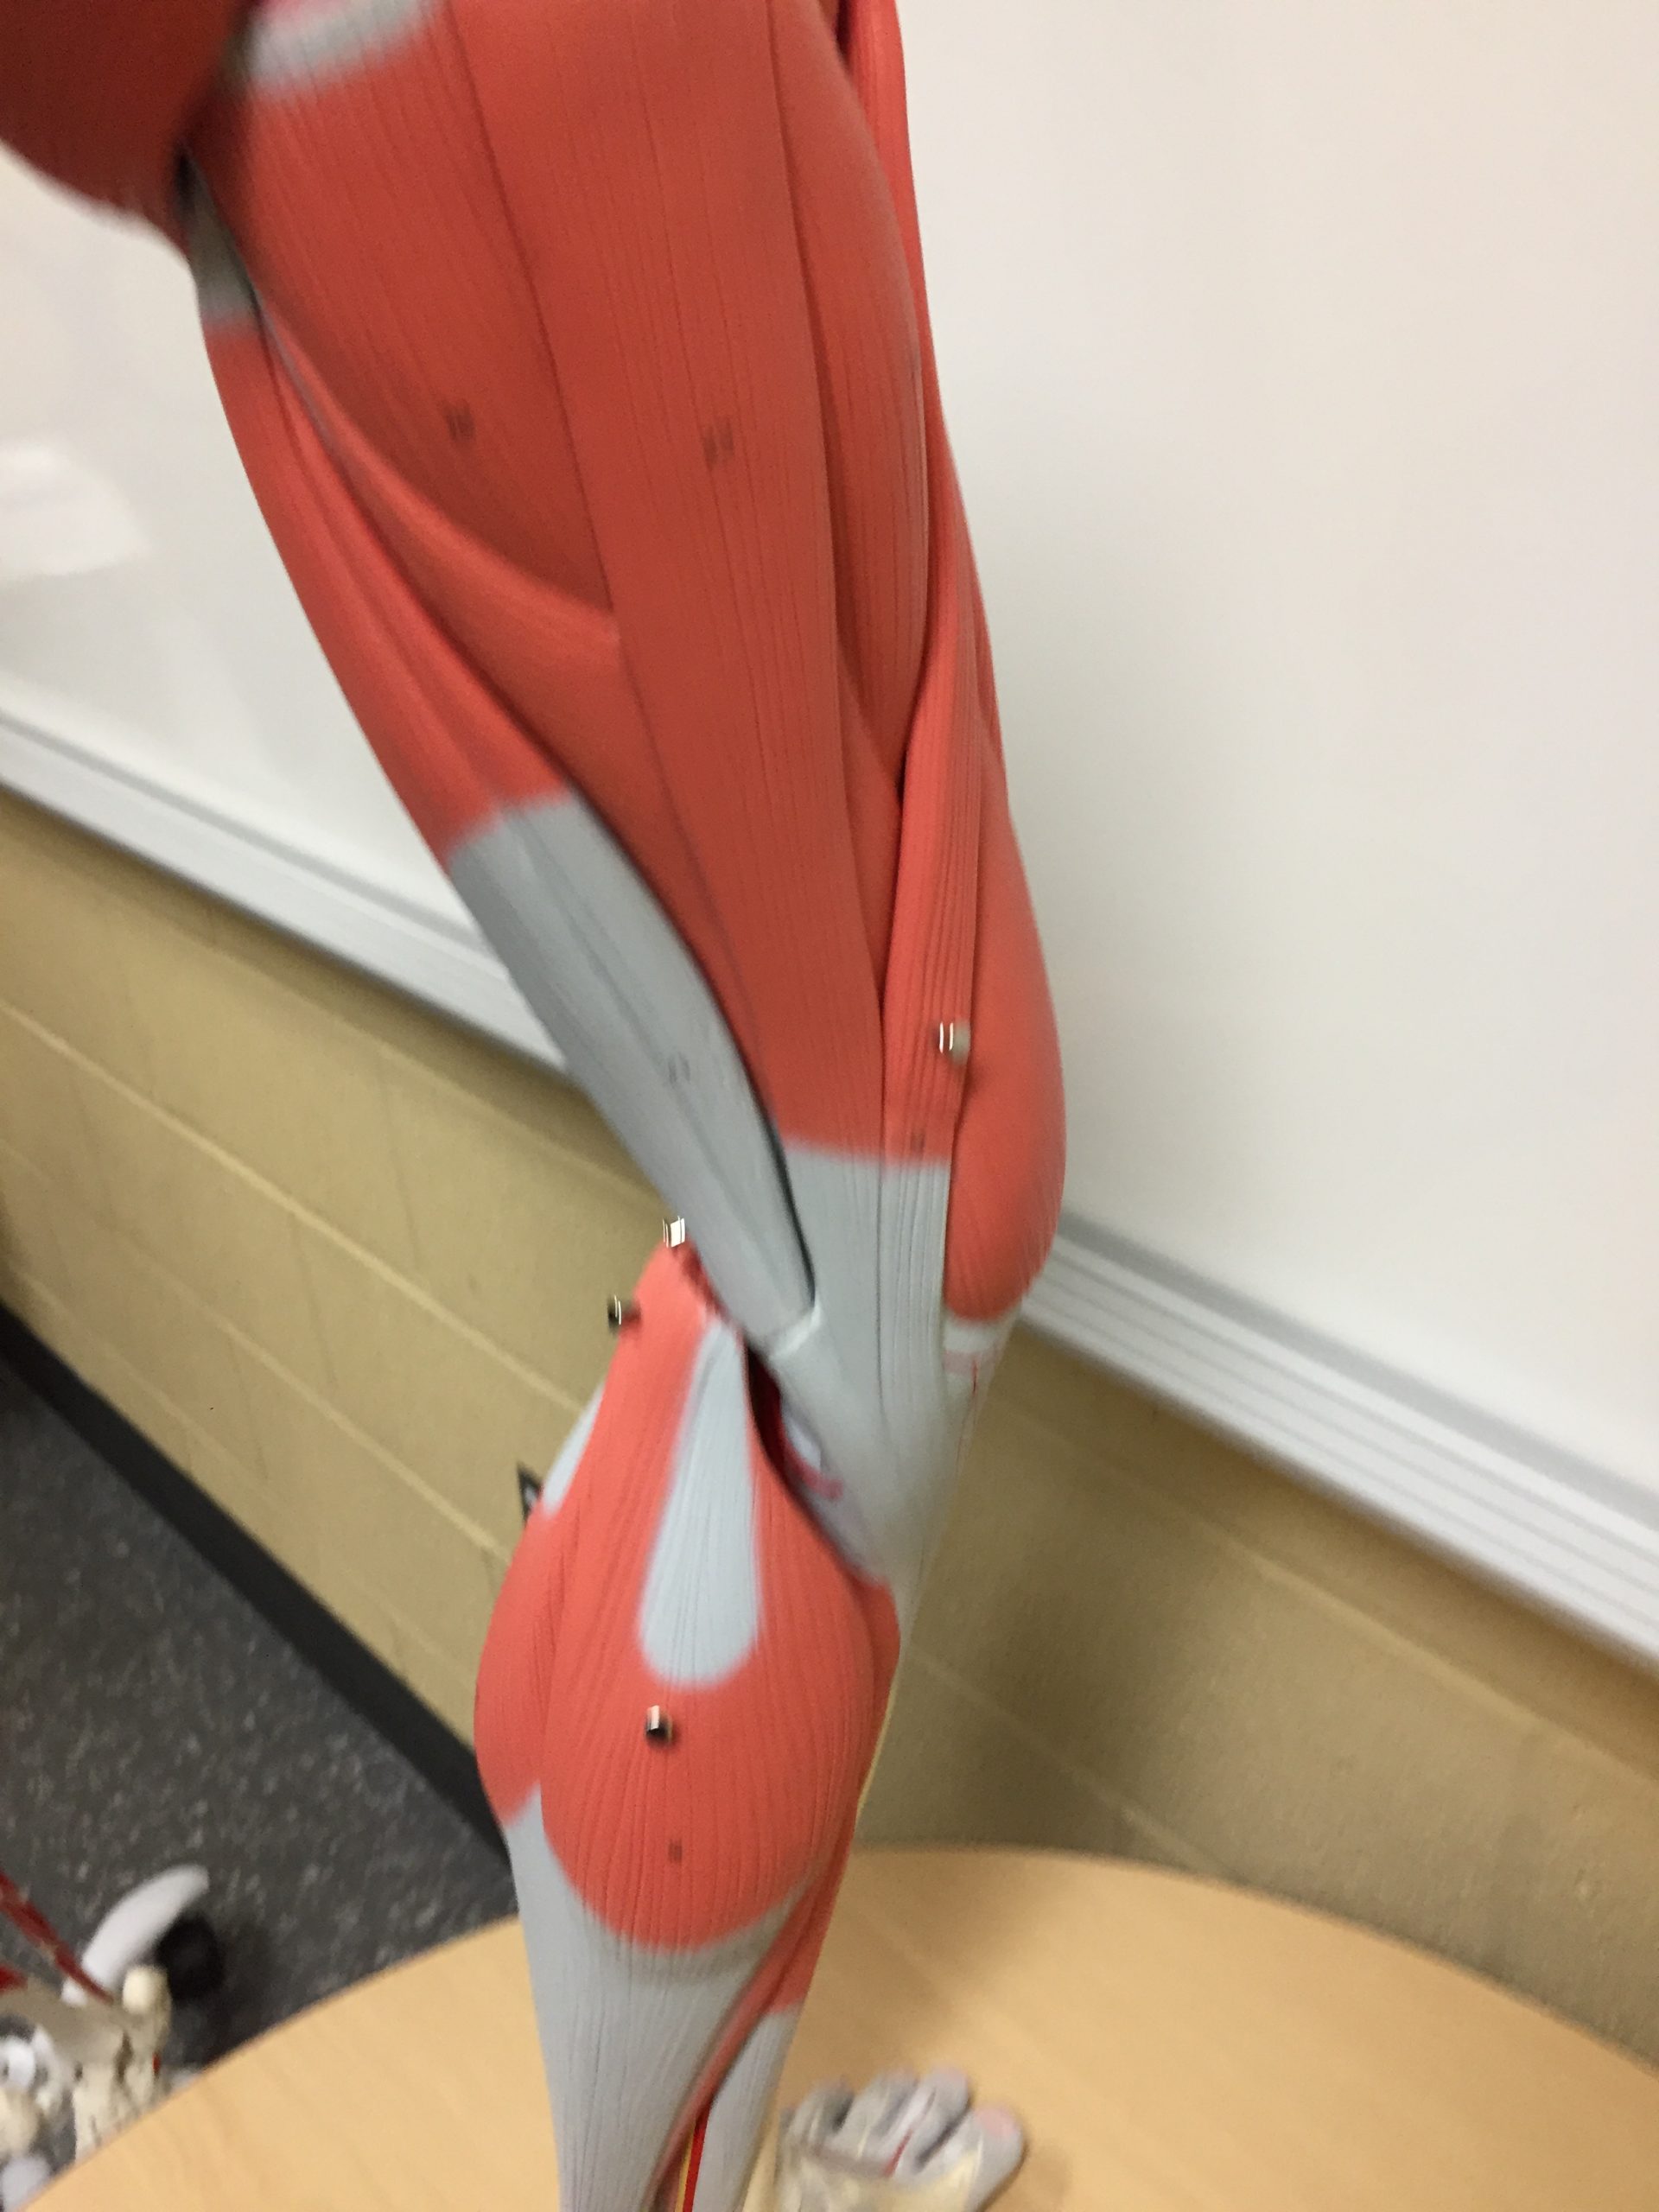
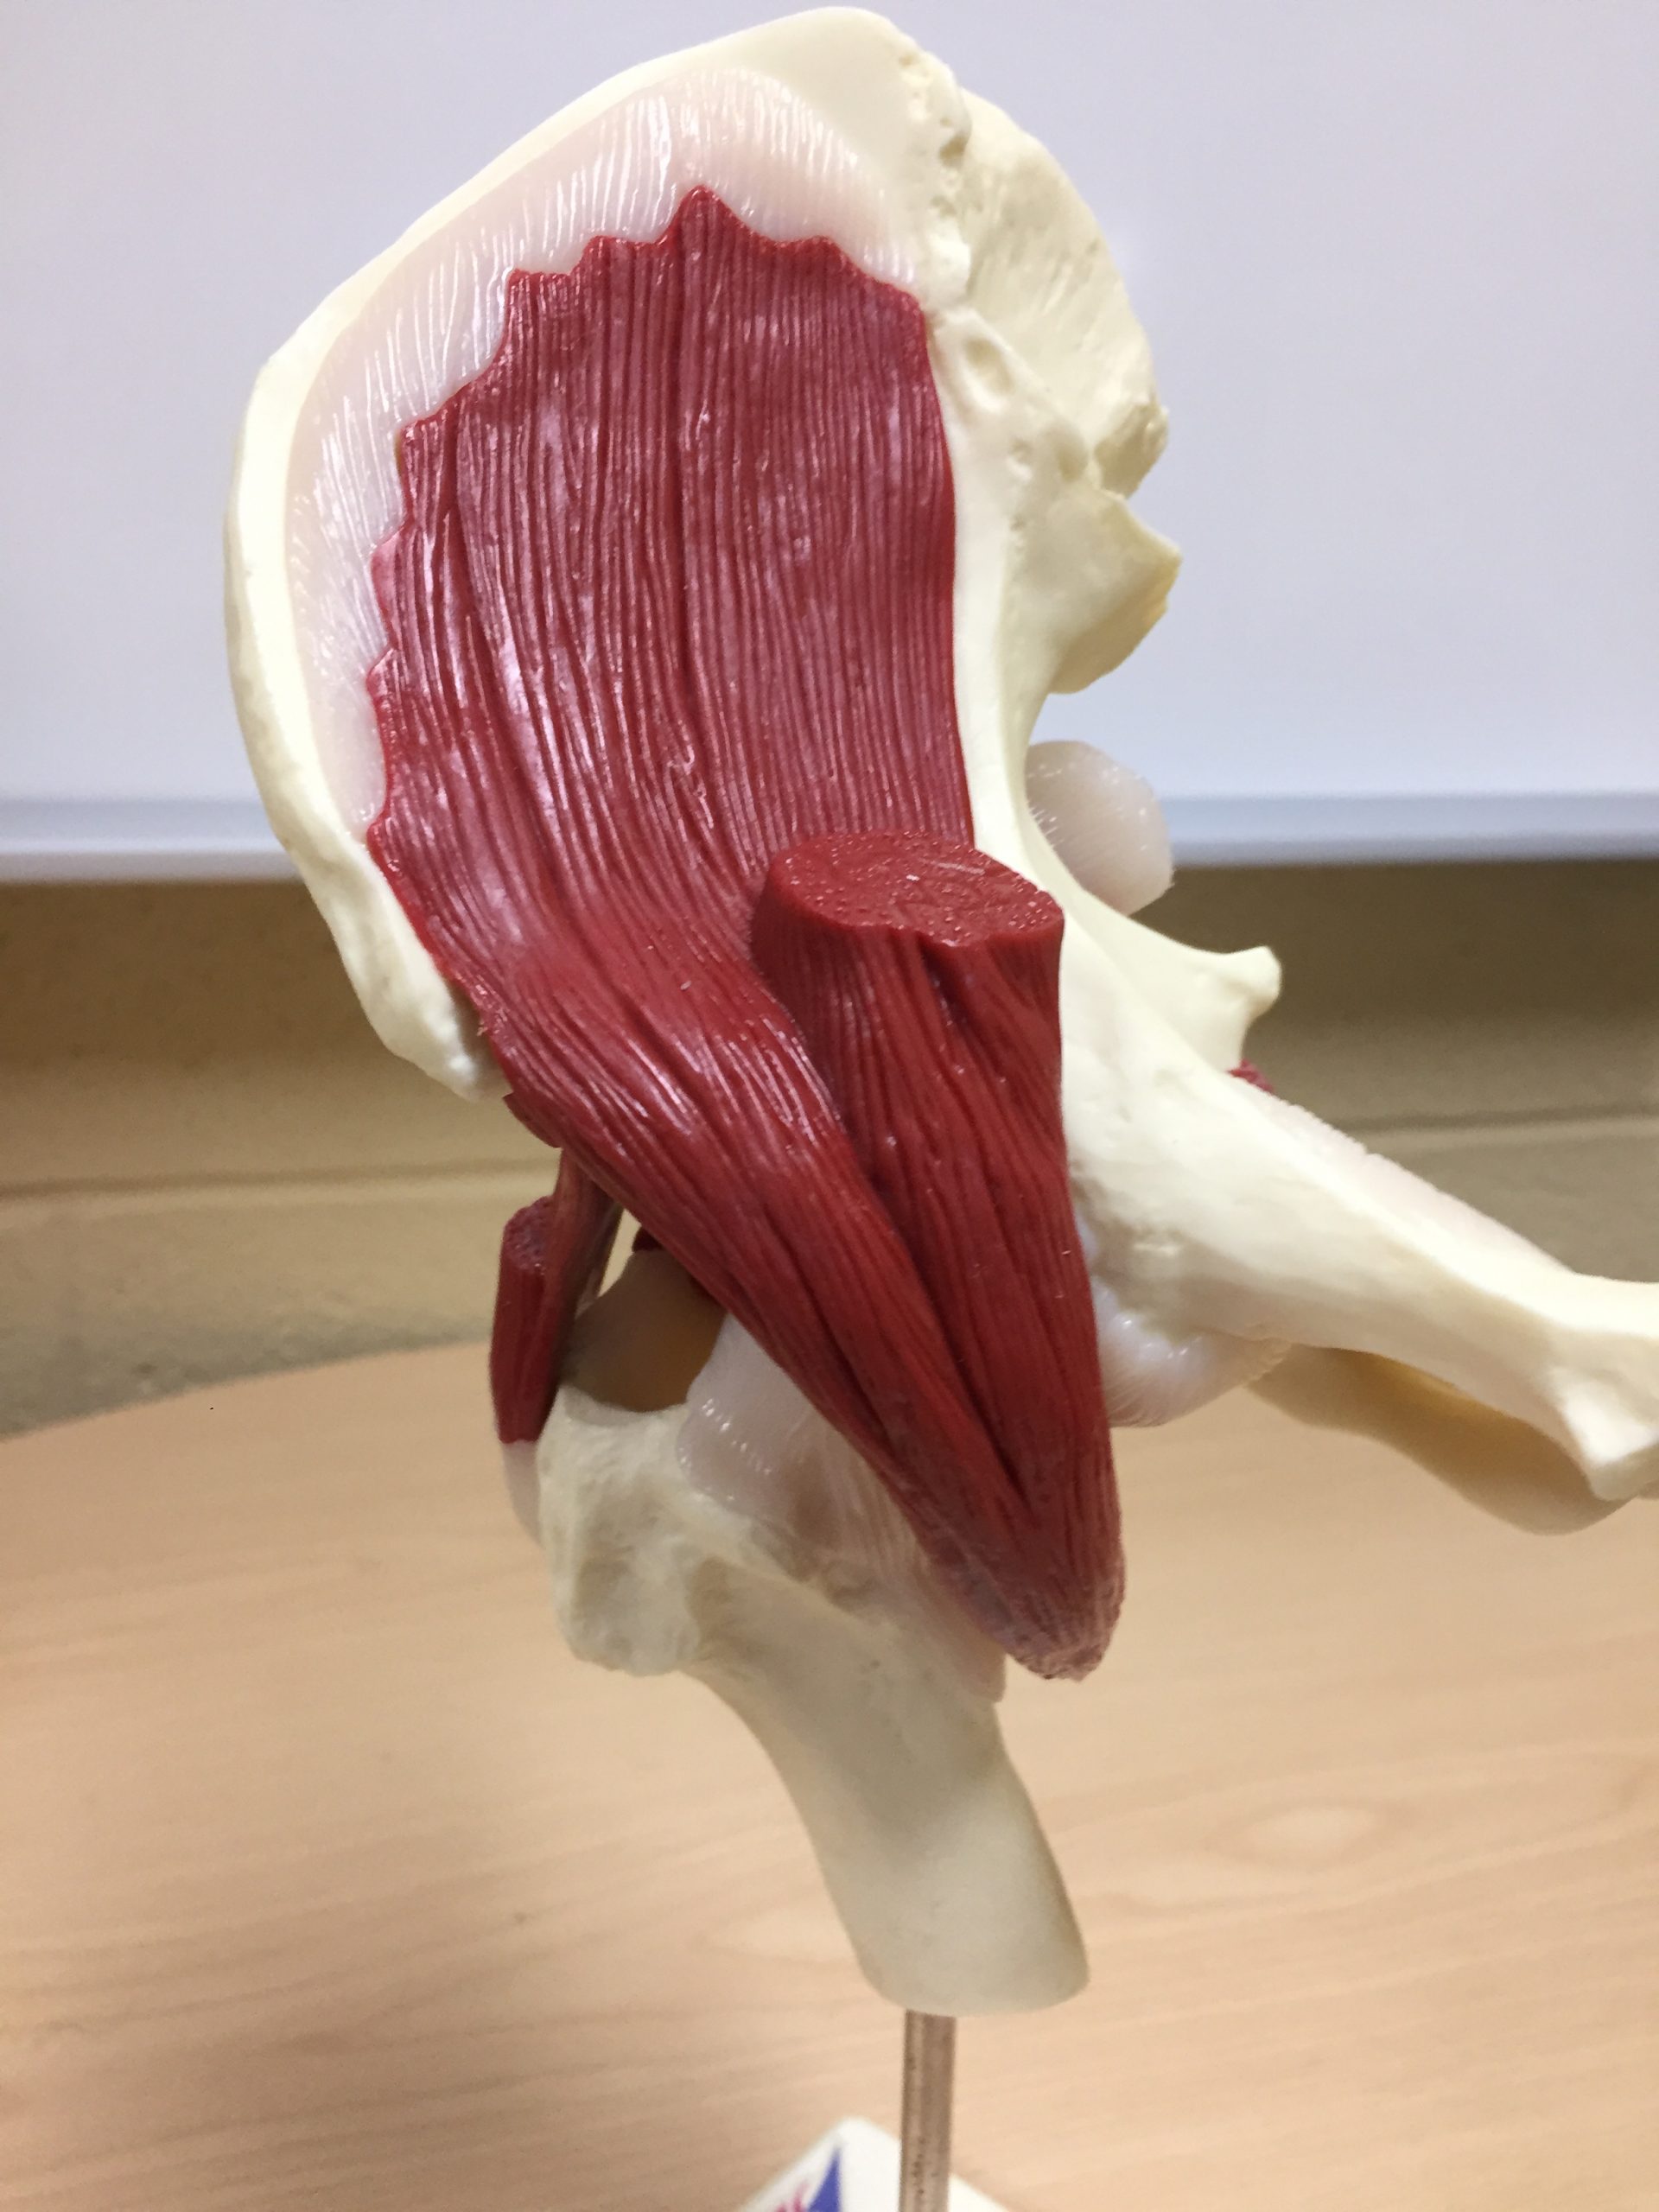
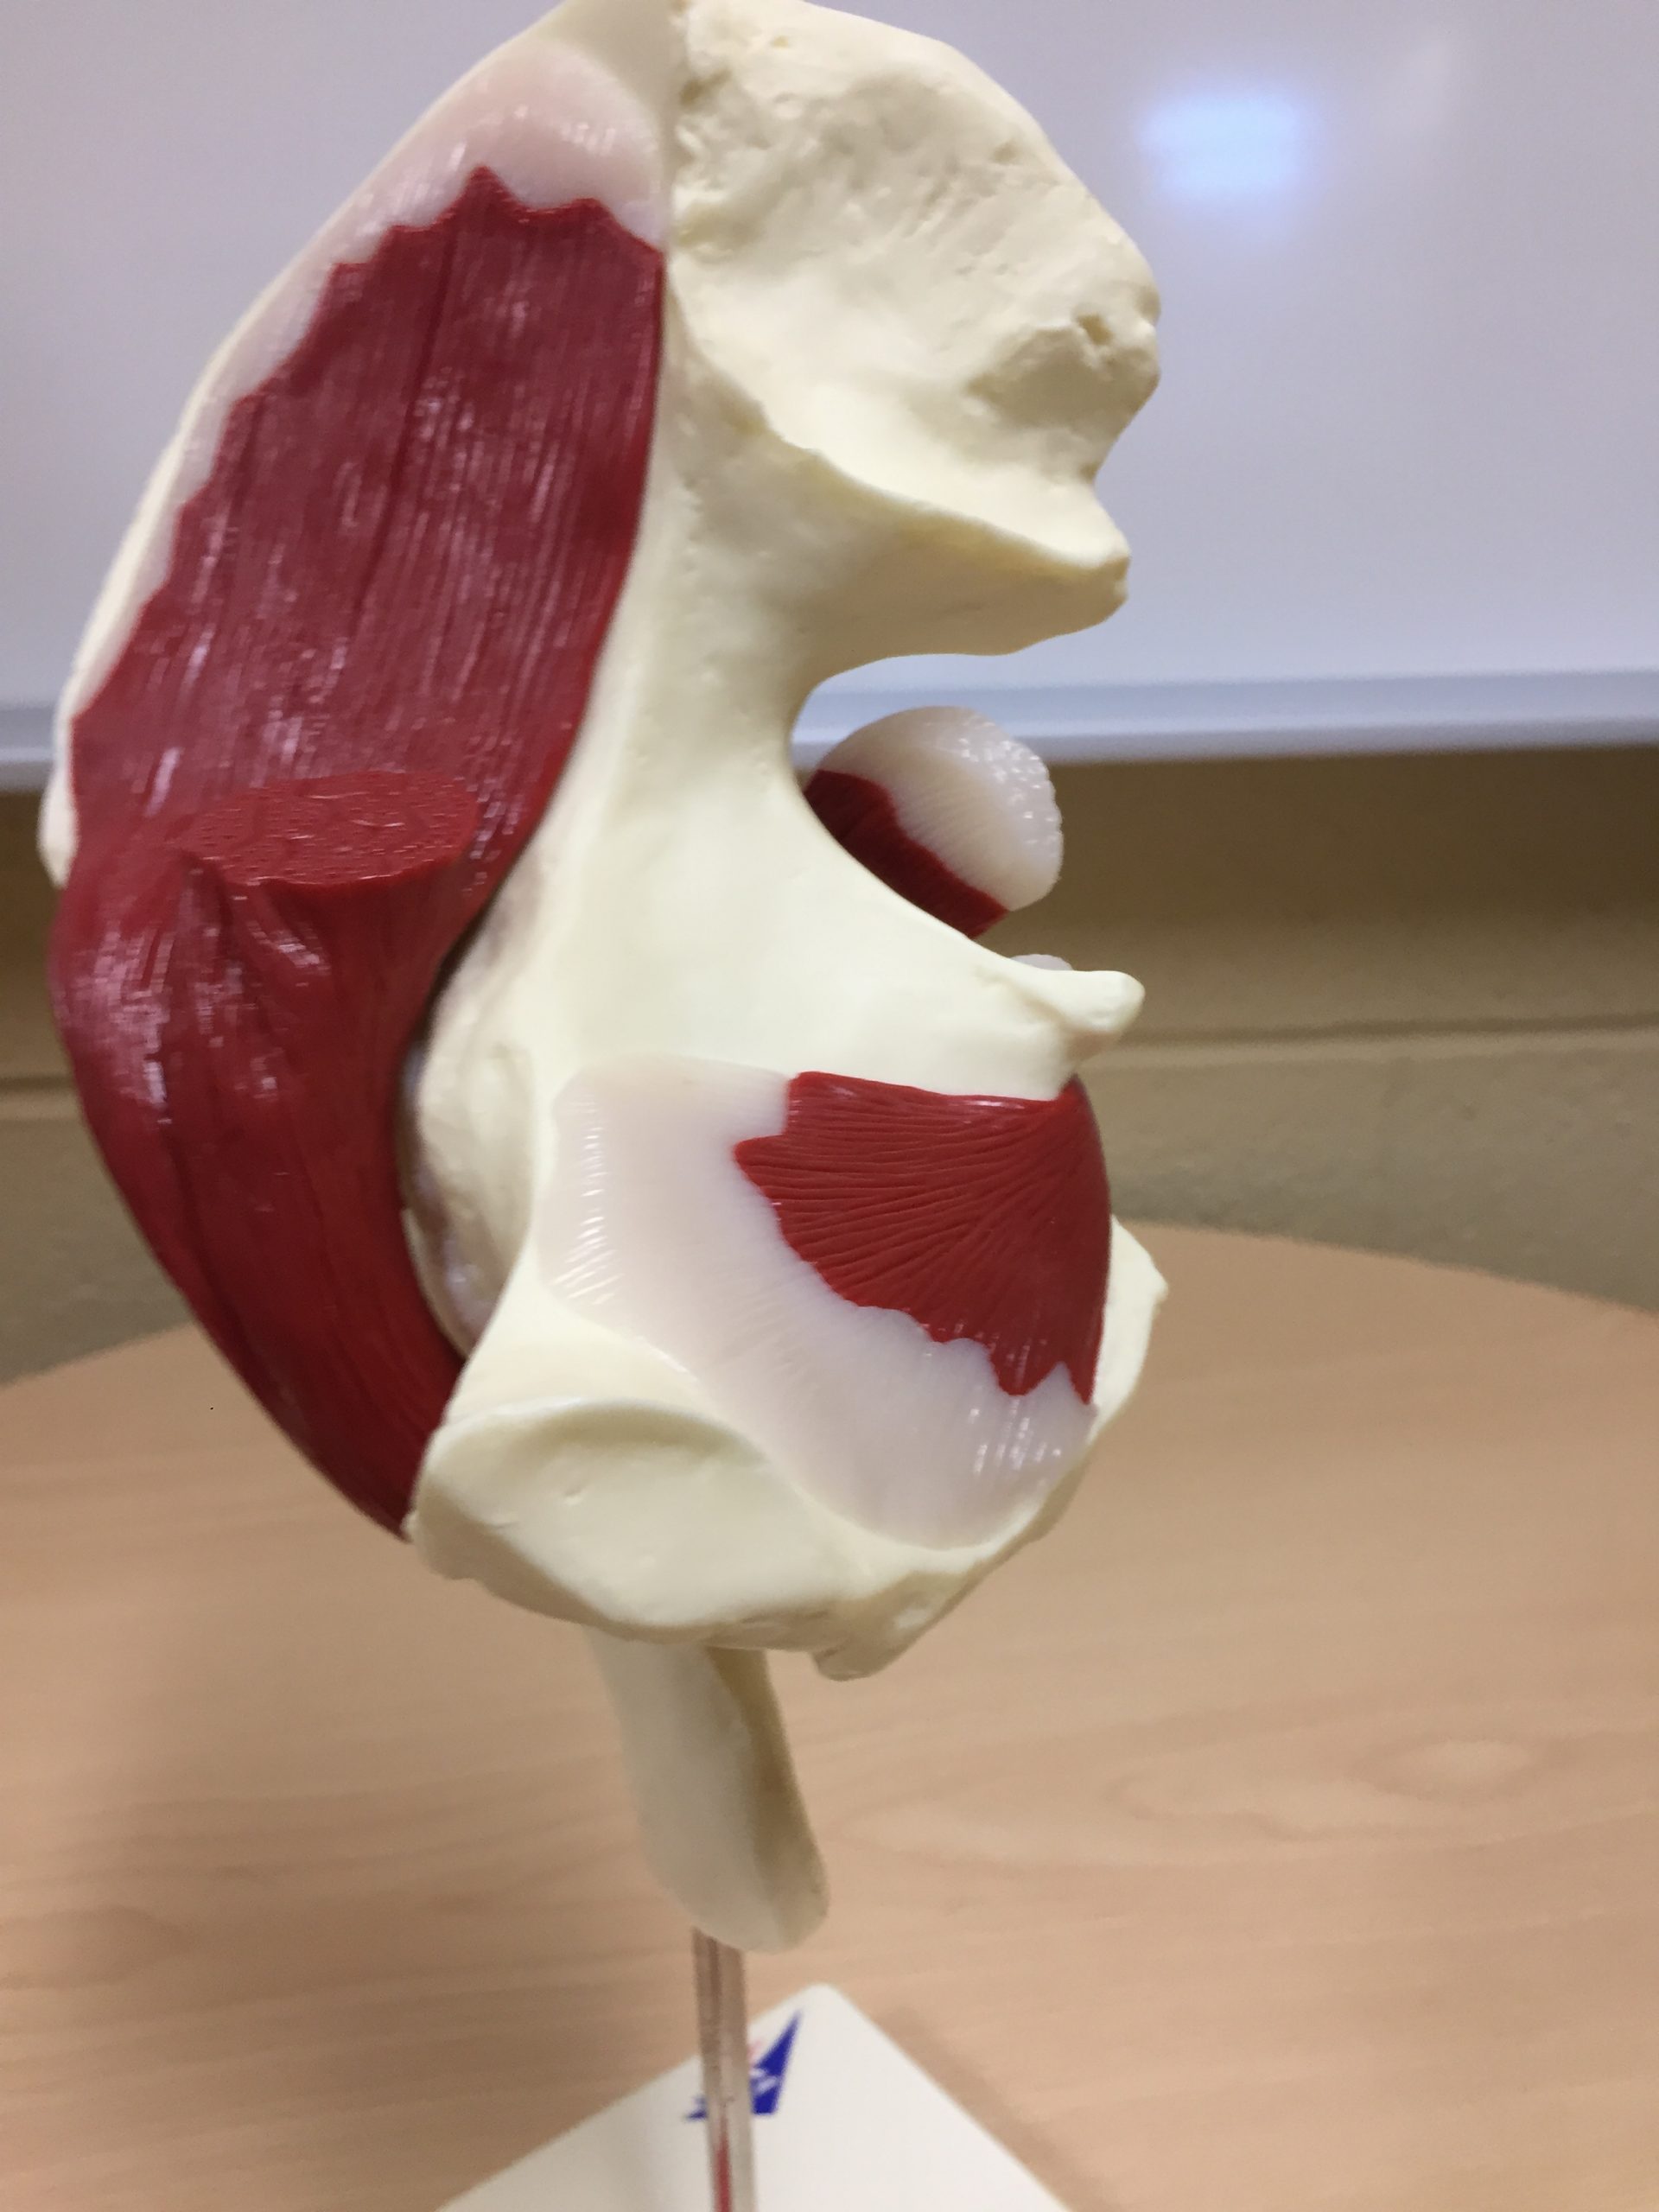
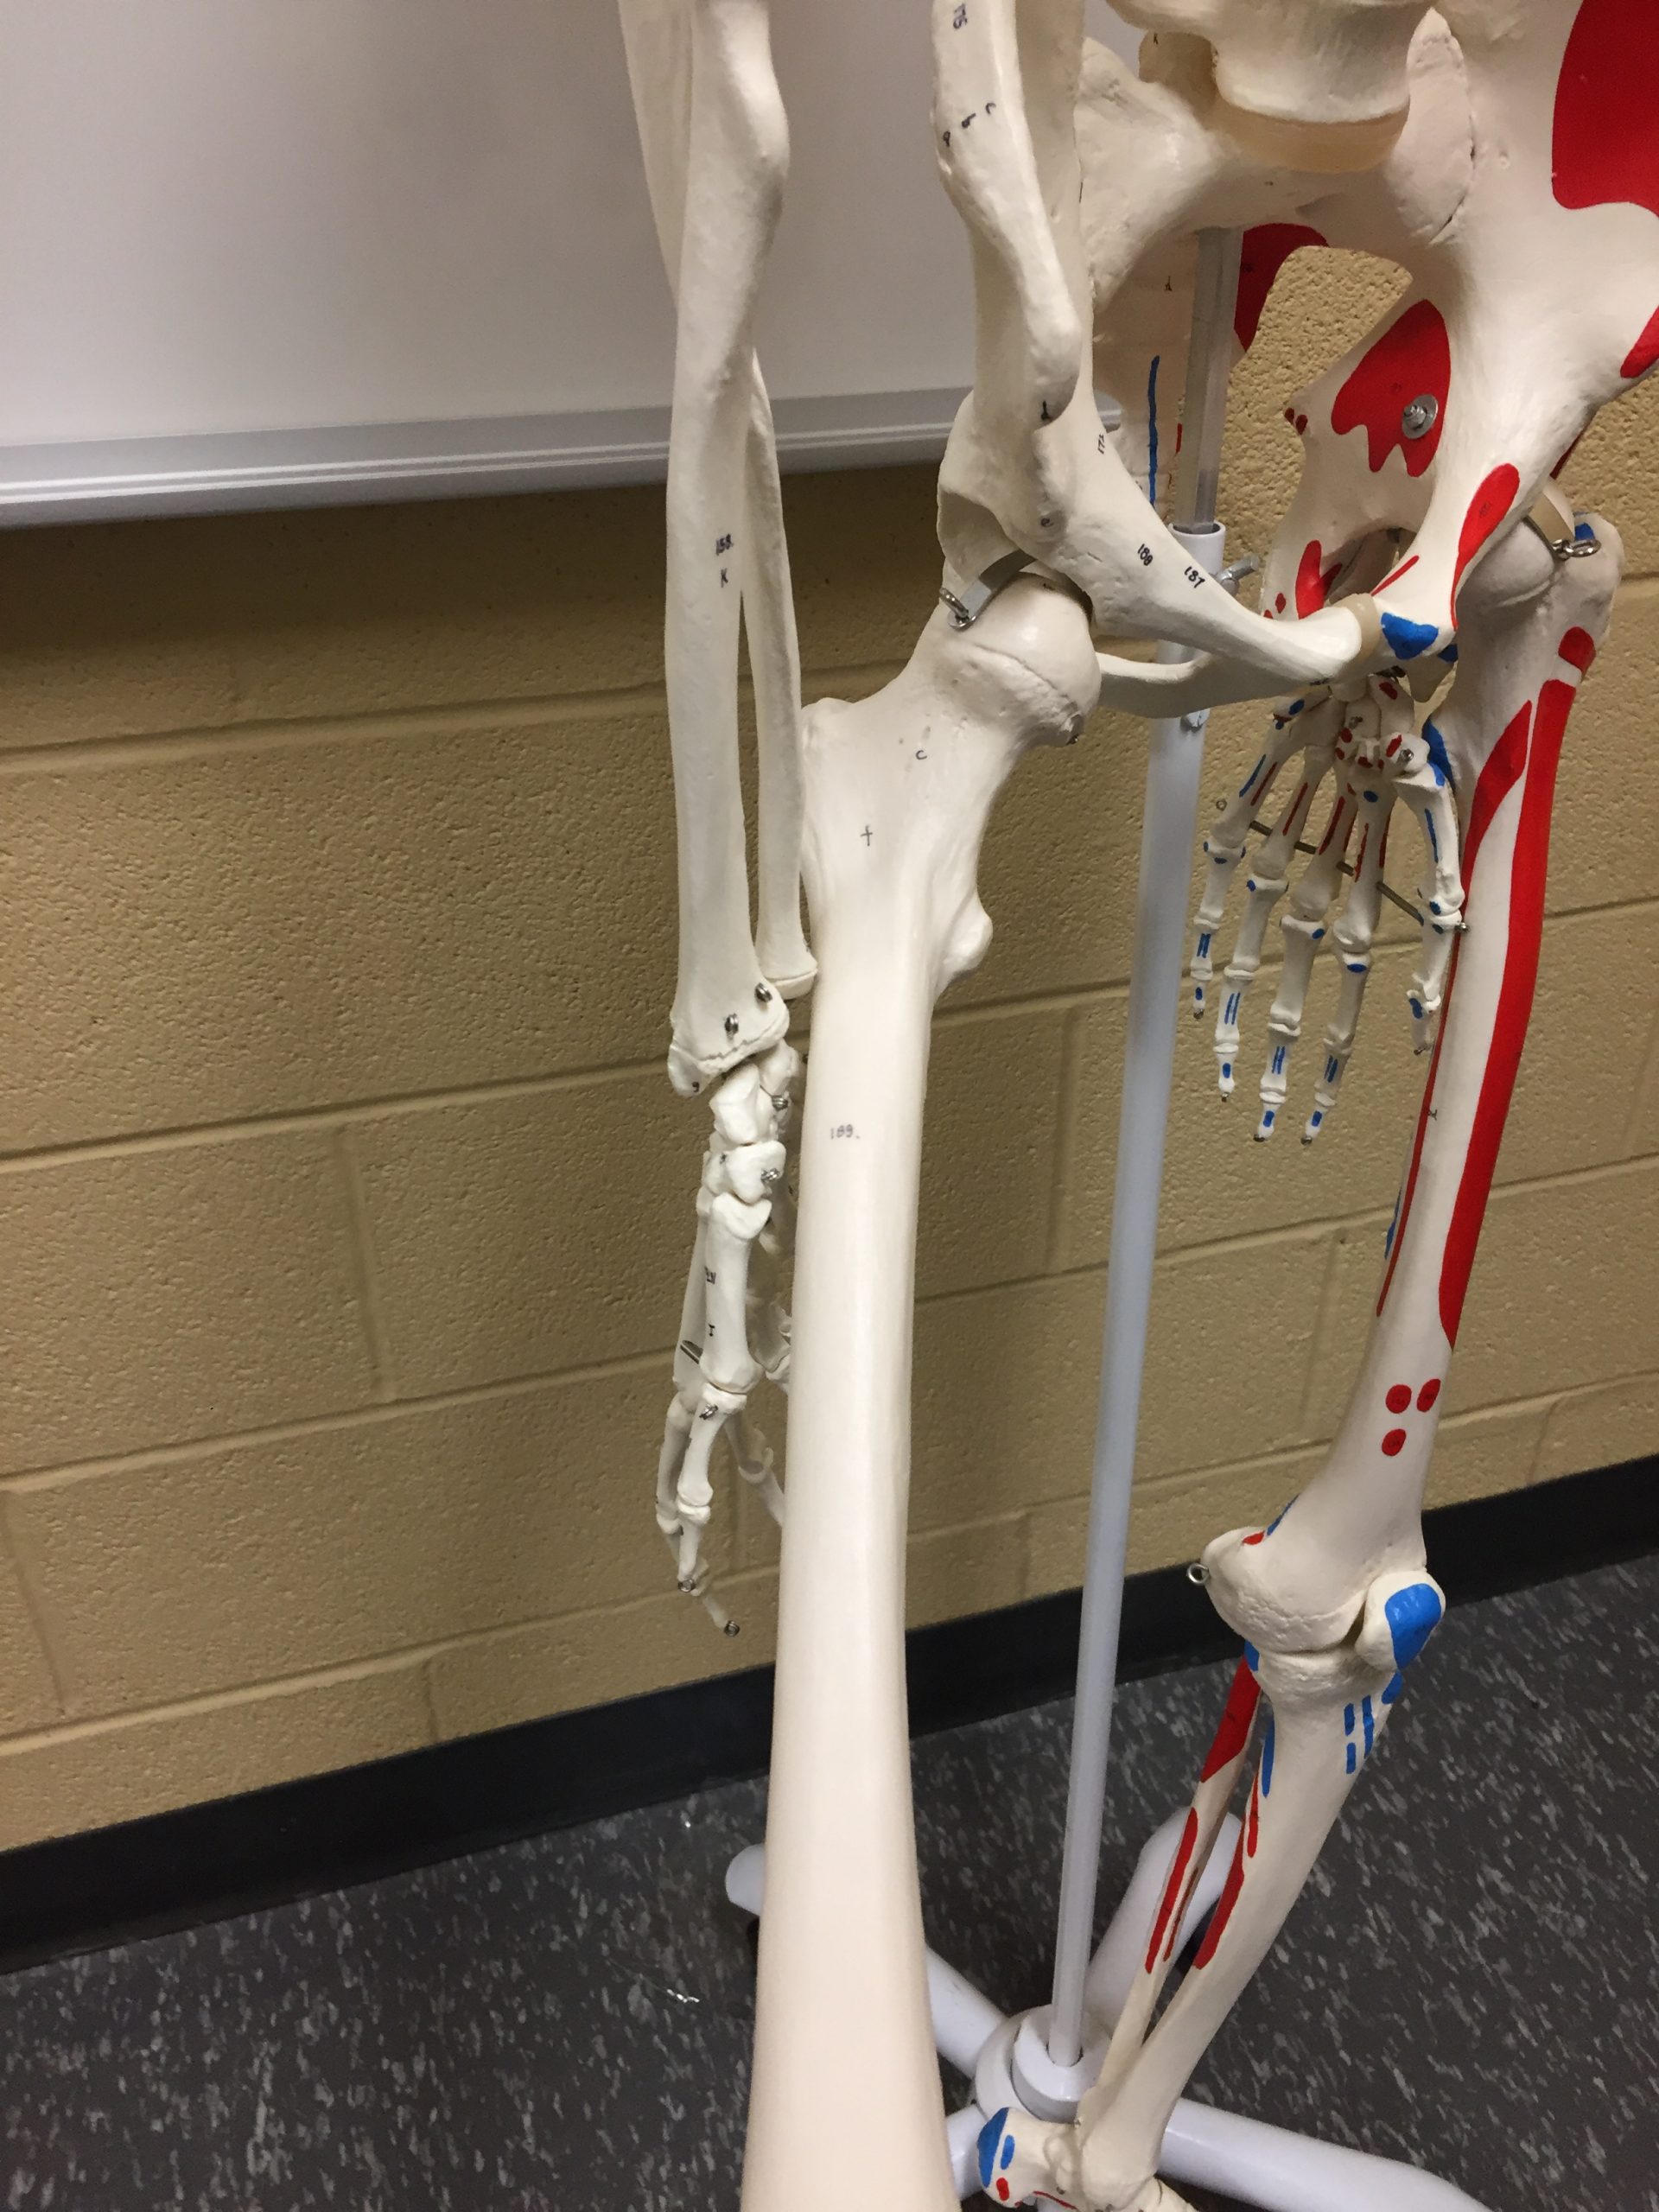
Hip and Leg Muscle Models

Squatting Related Exercises

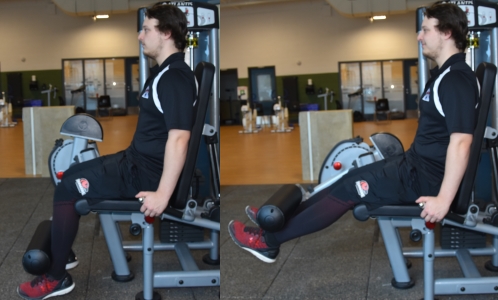
Leg Extension

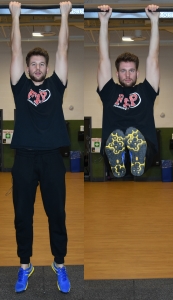
Hanging Leg Raise

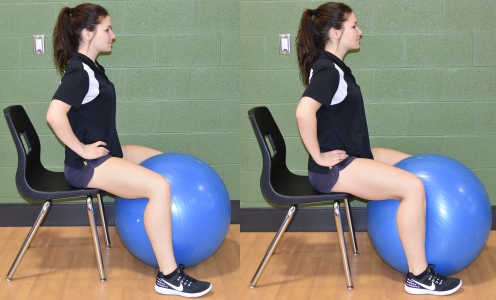
Seated Ball Squeeze

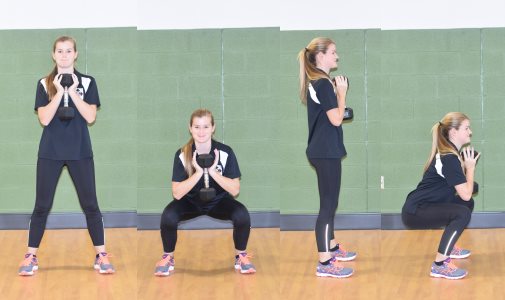
Squat

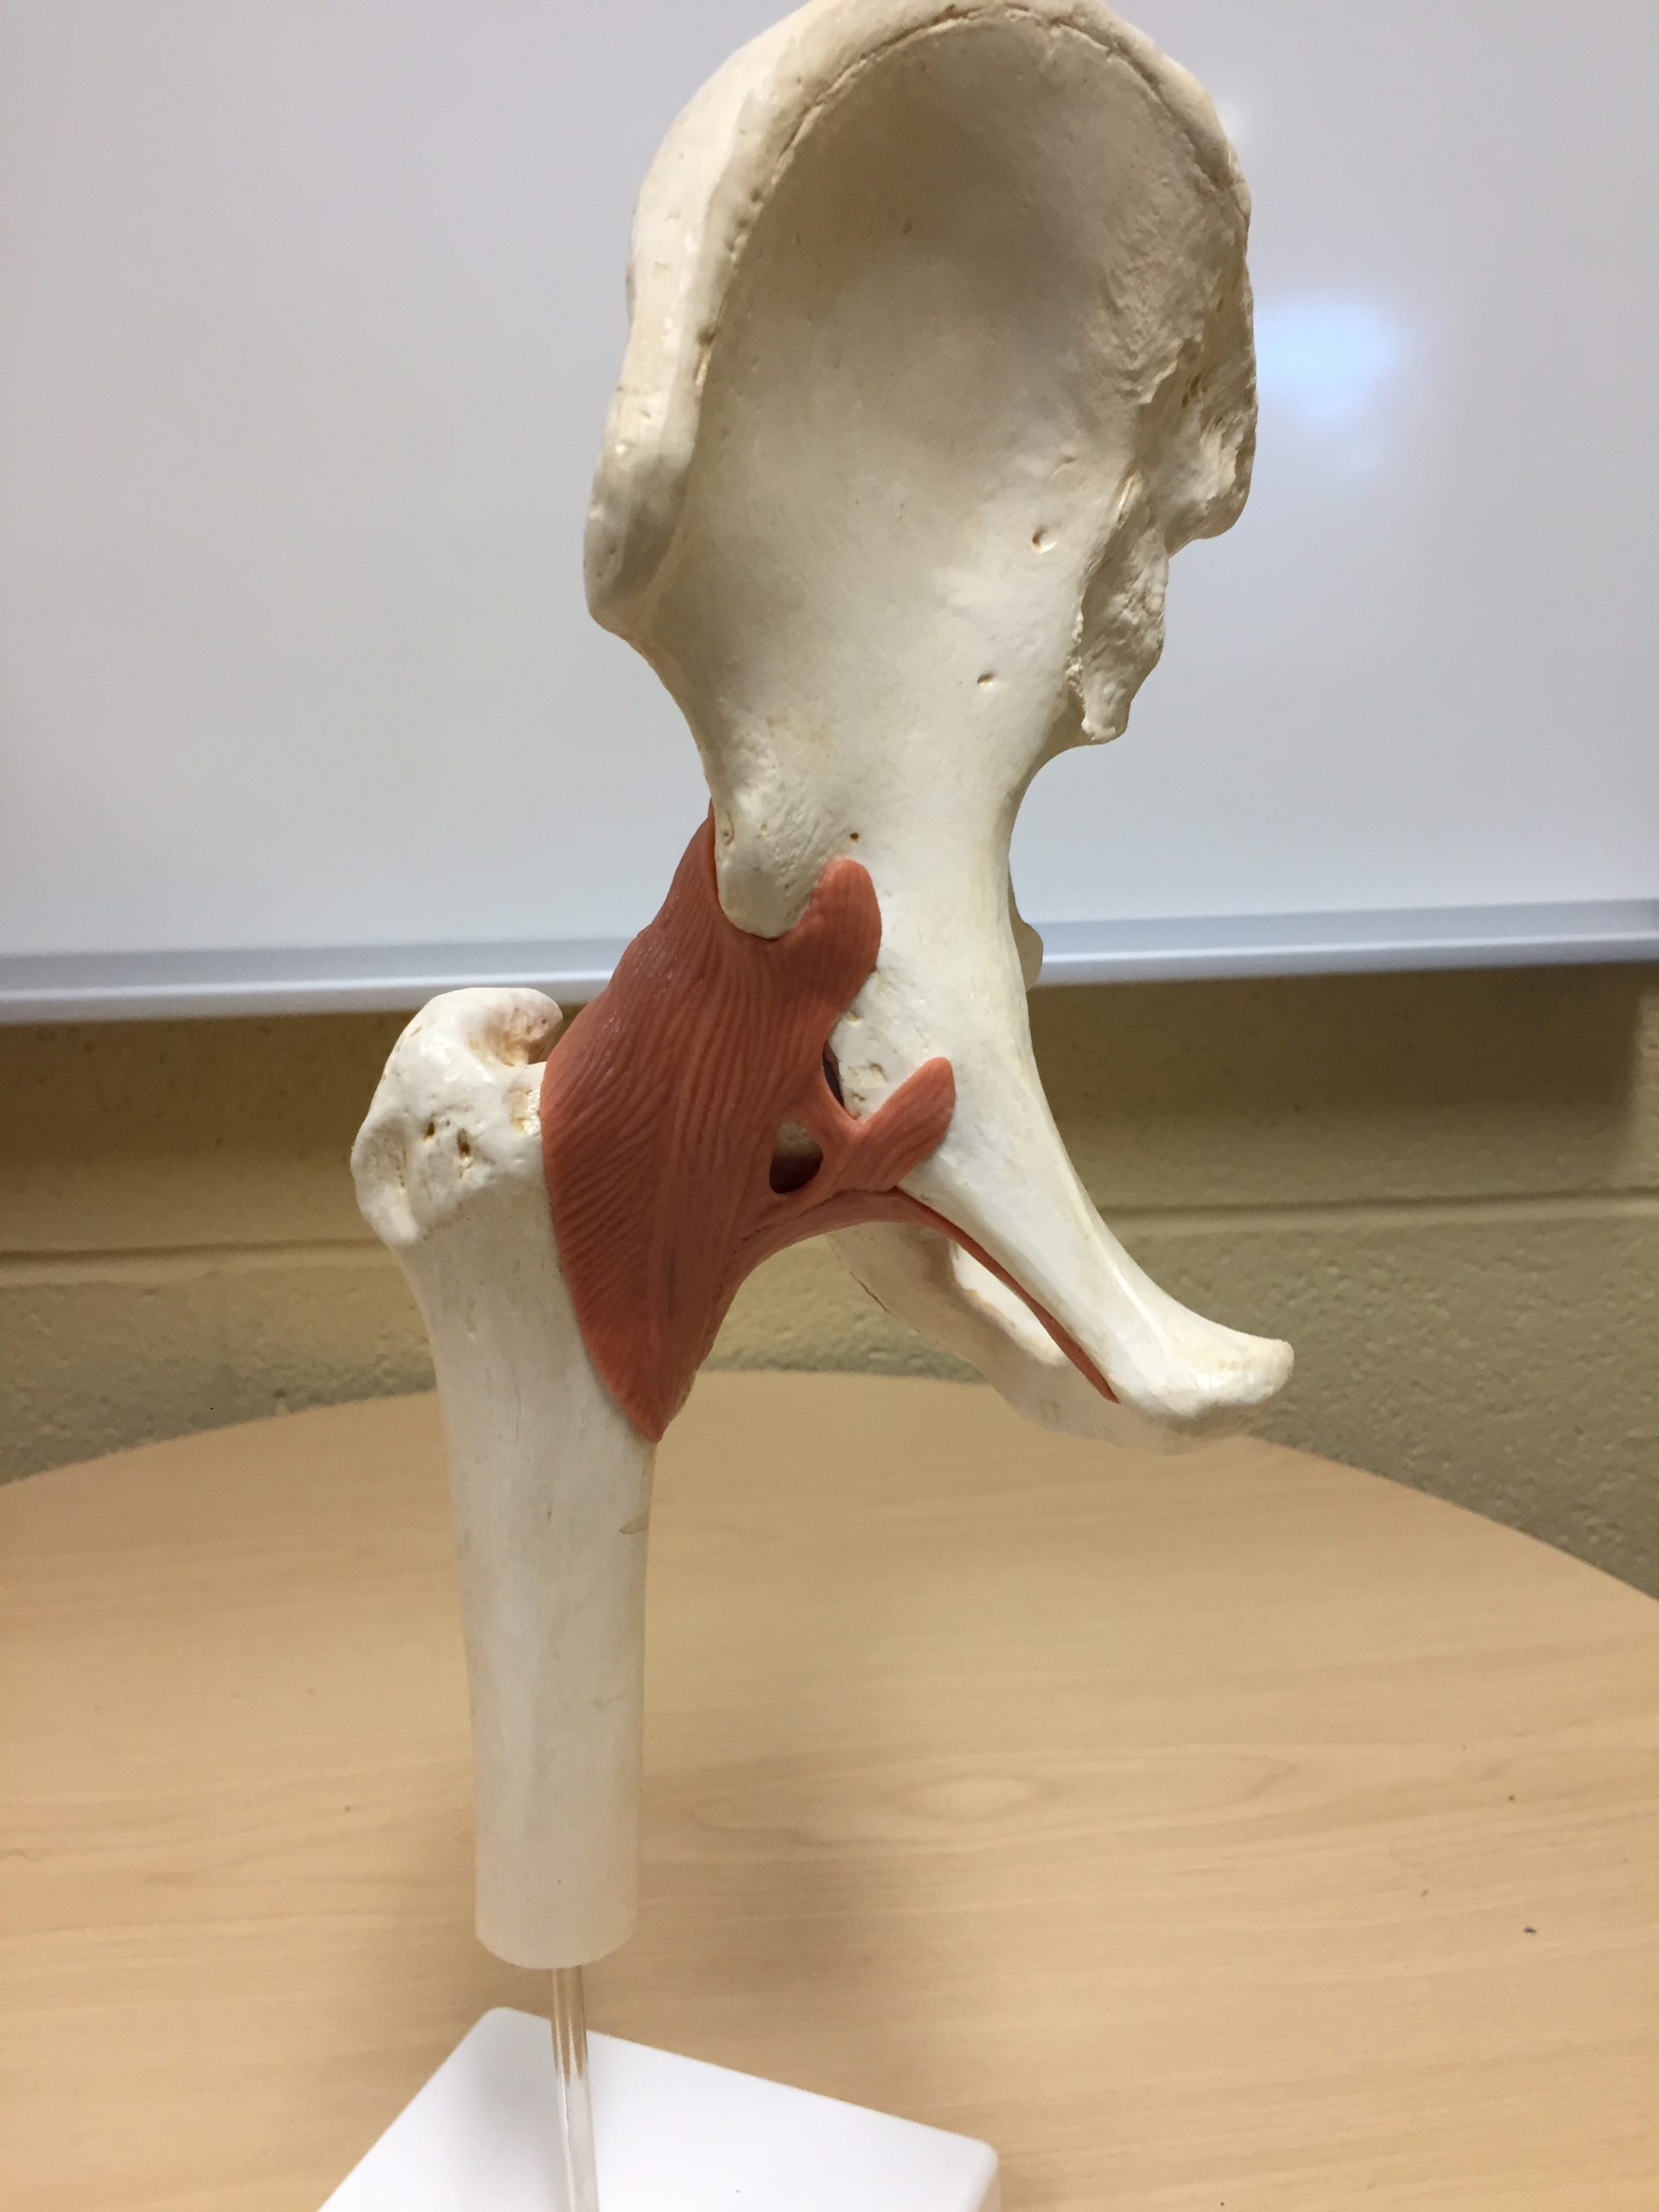
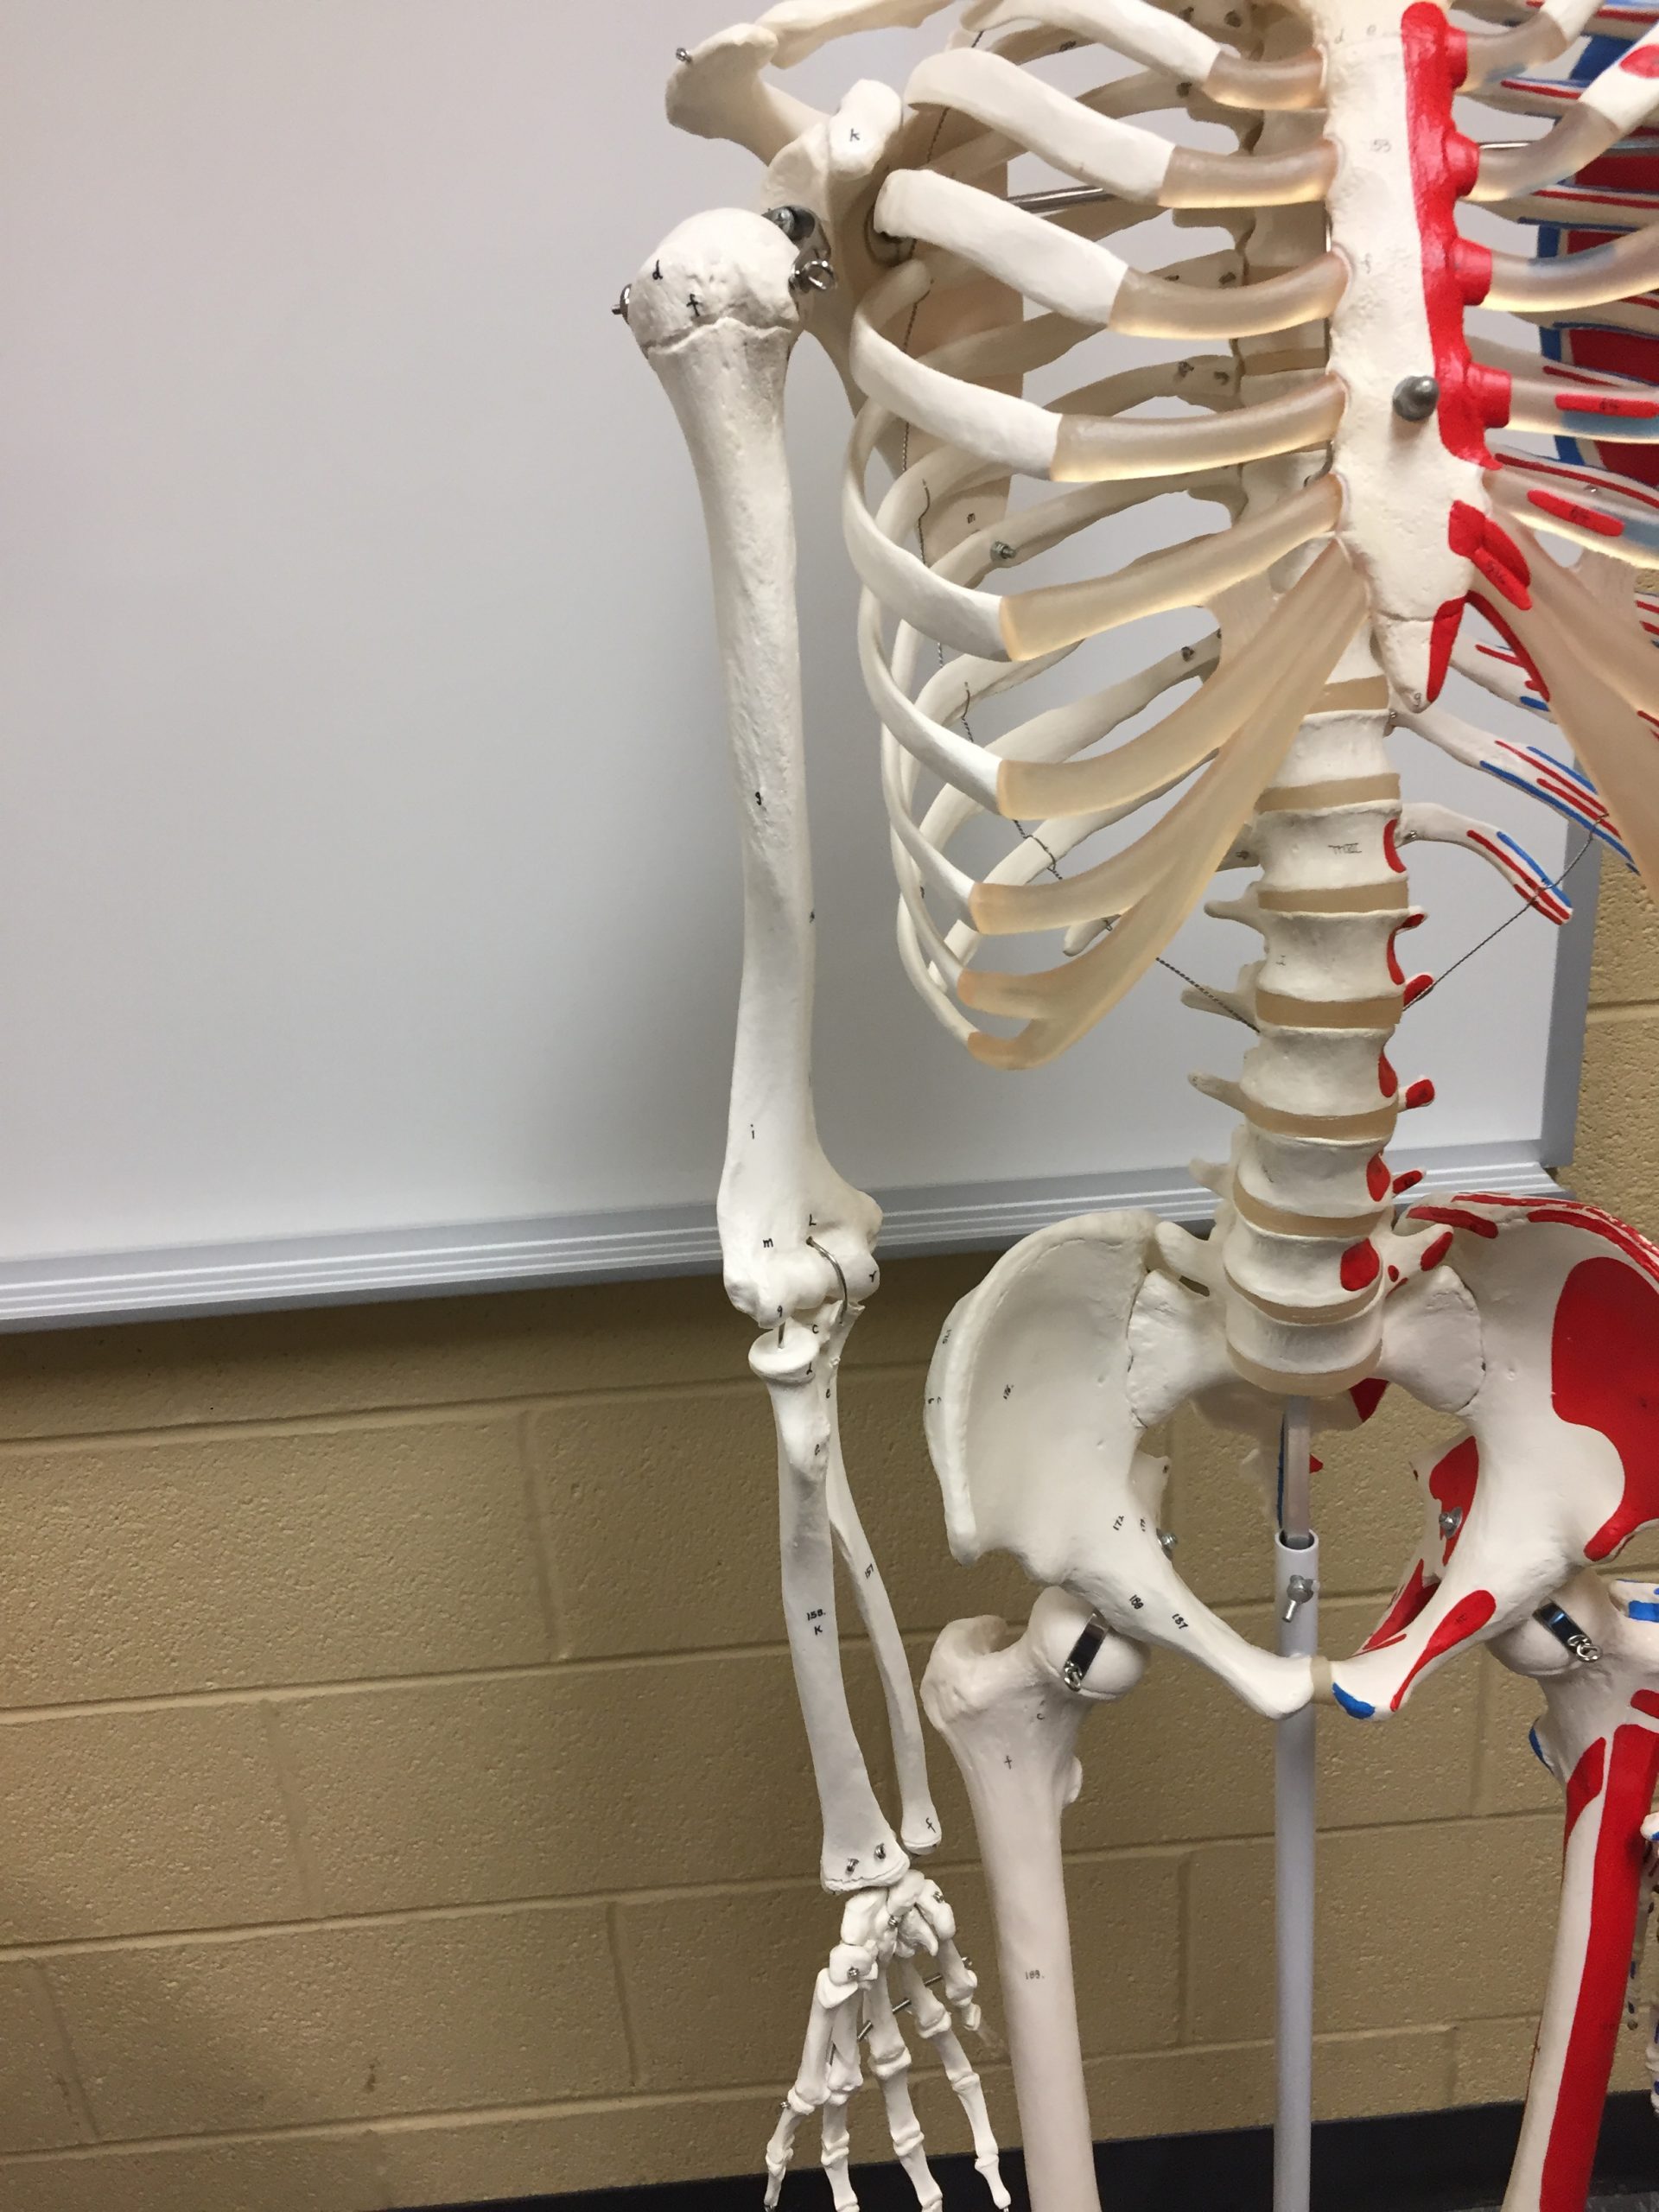
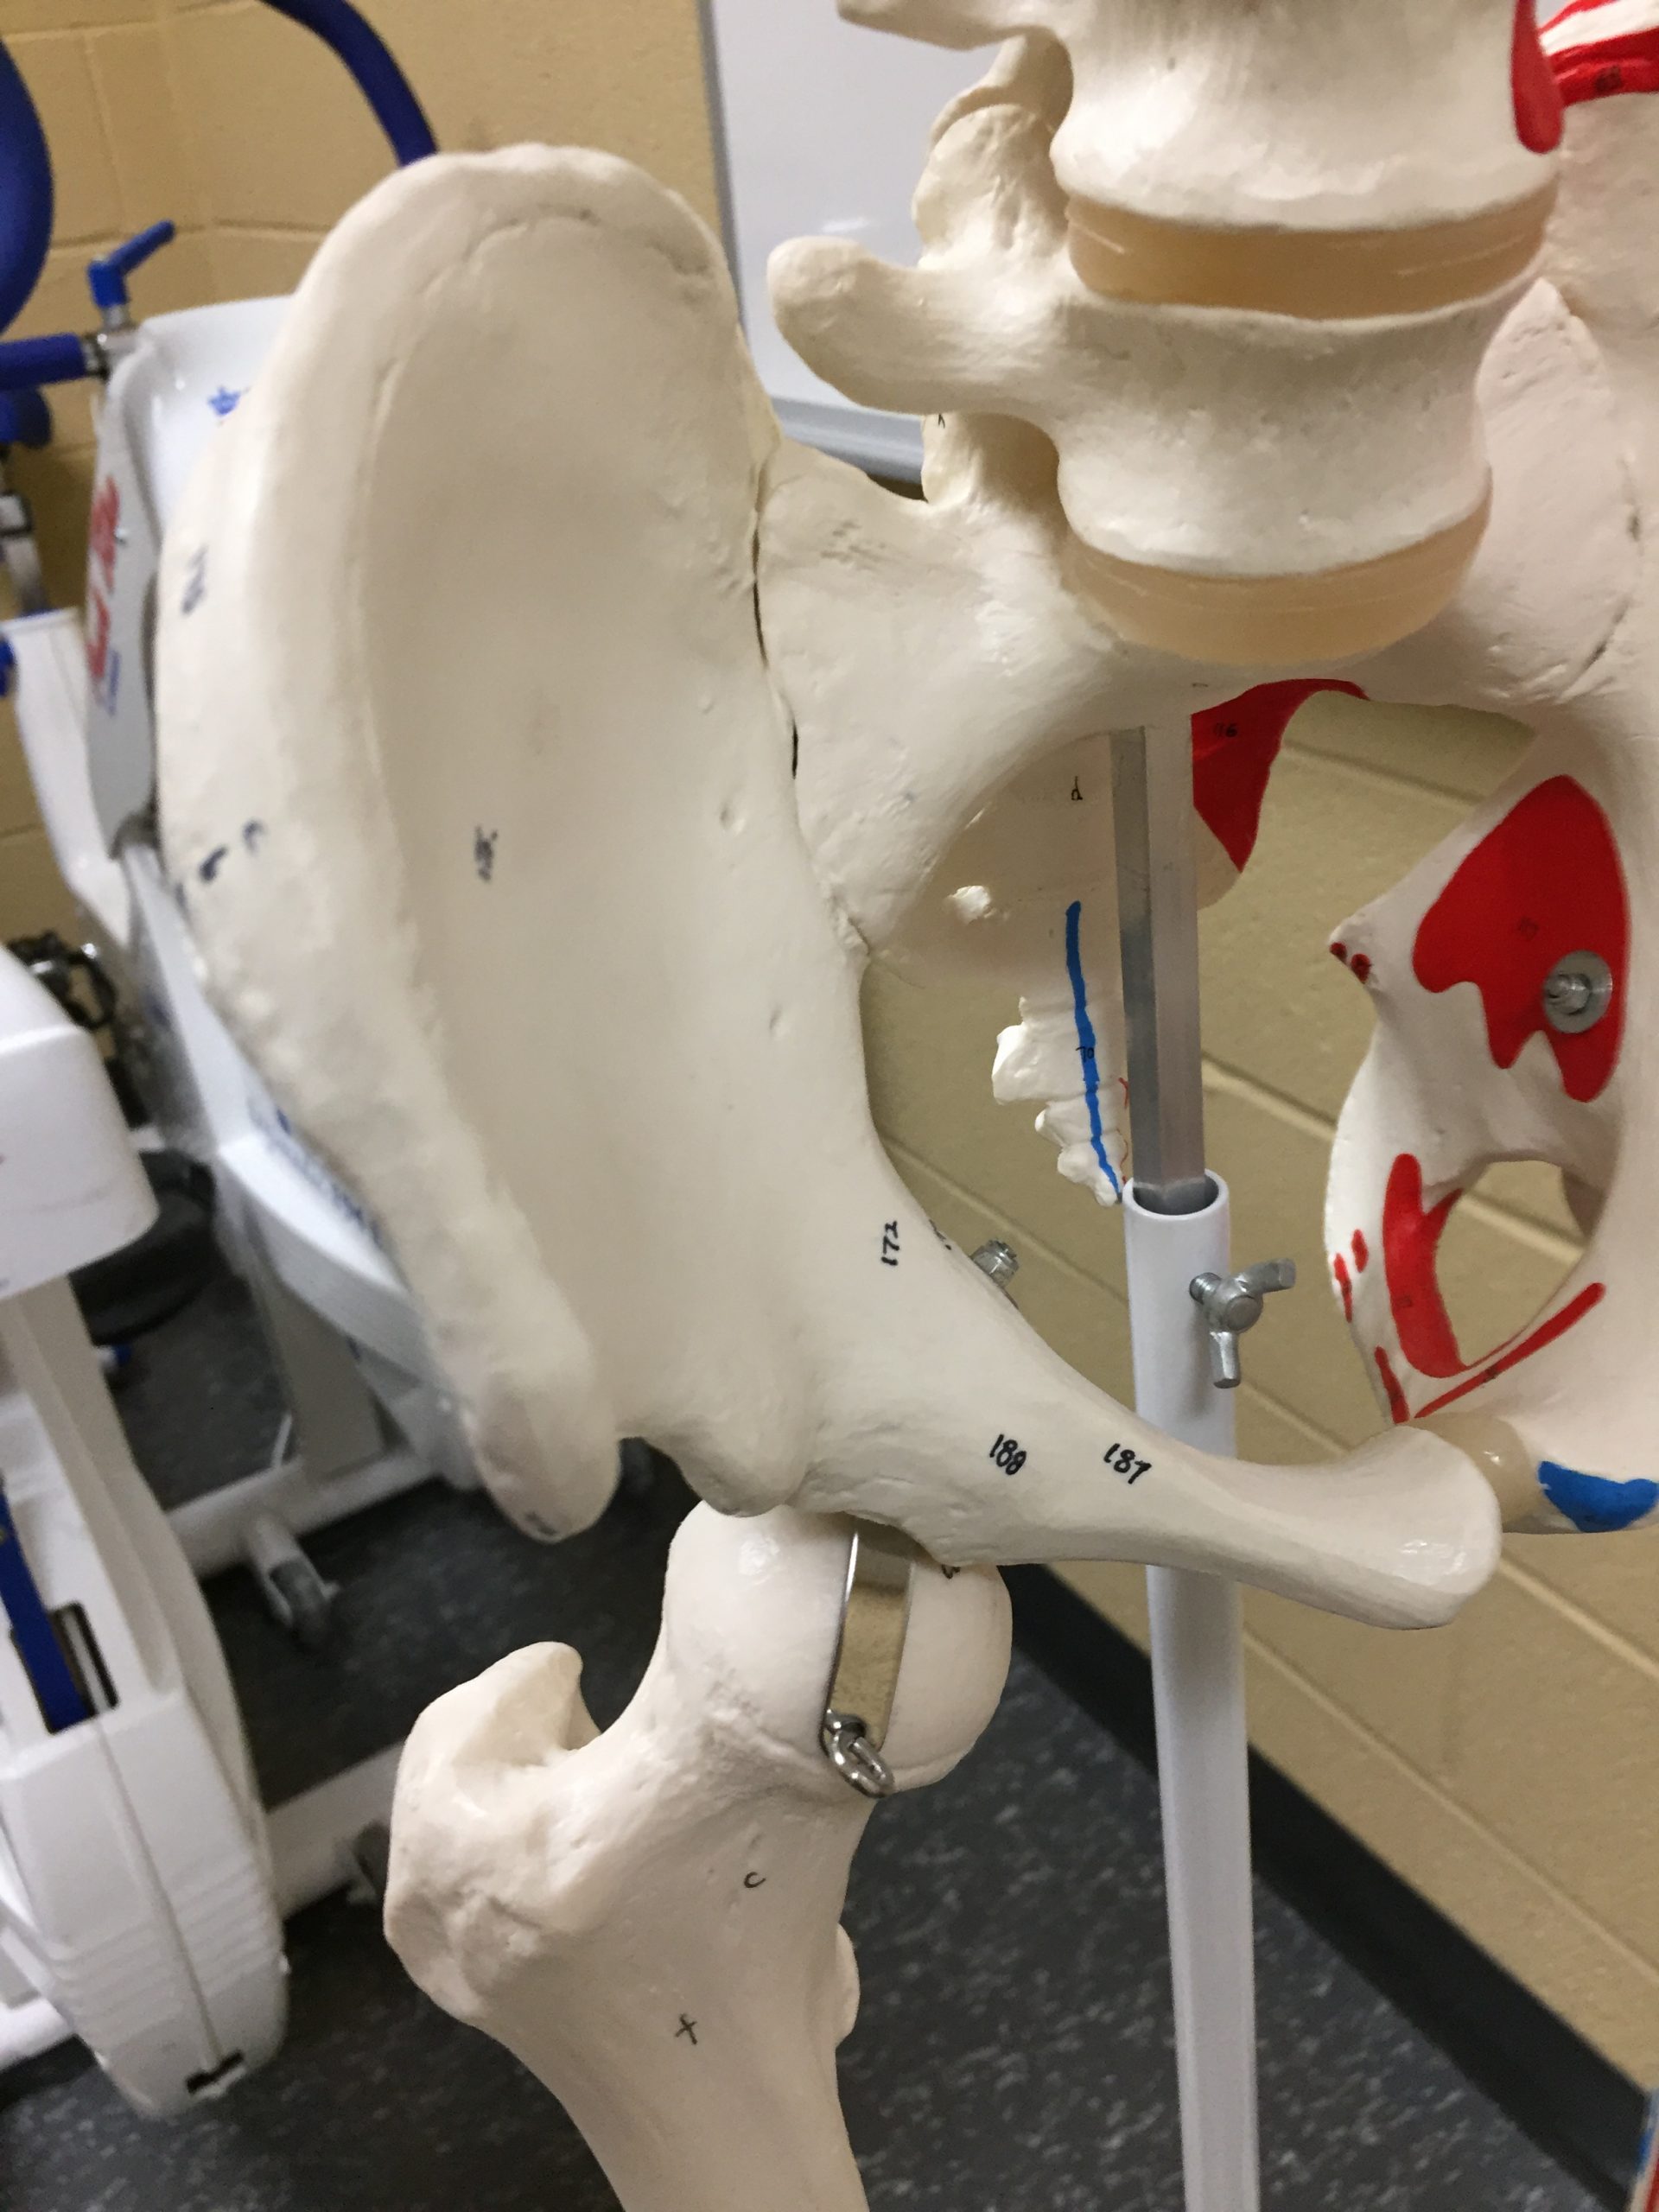
Hip Flexors and Adductors Muscles

Key Bony Markings

Hip Flexor Muscles

Hip Adductor Muscles

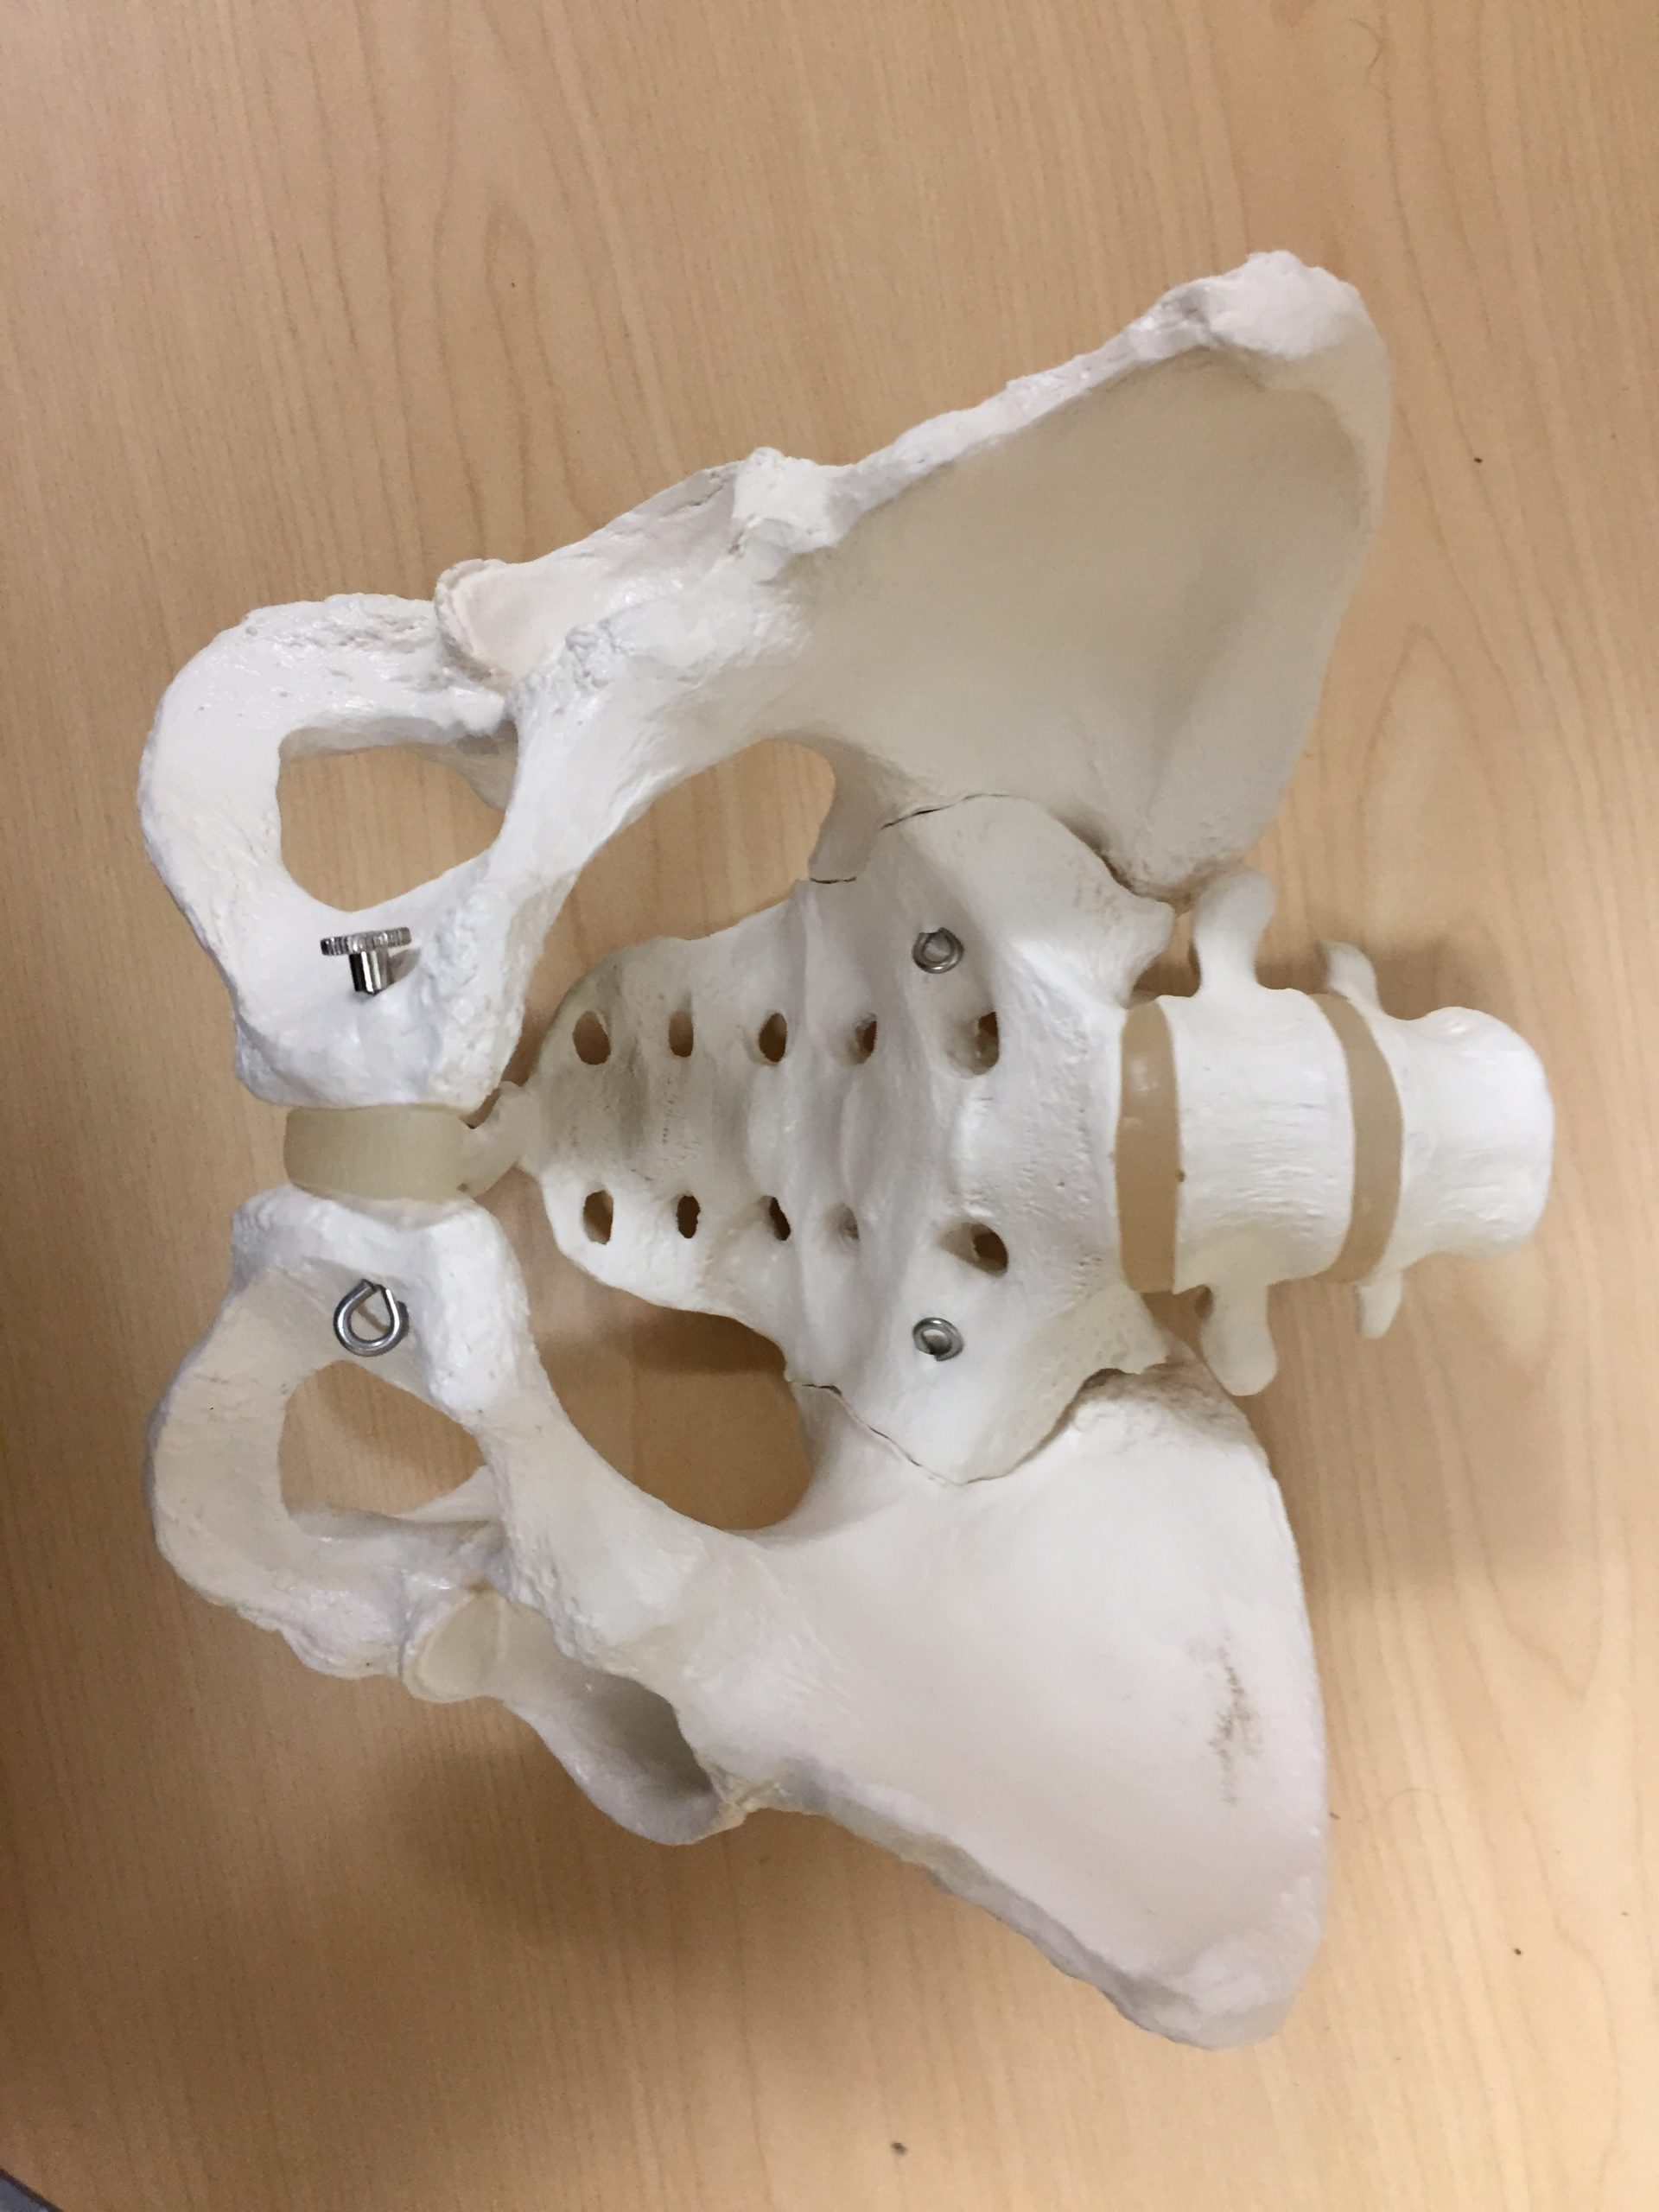
Knee Ligaments and the Pelvis

Pelvis

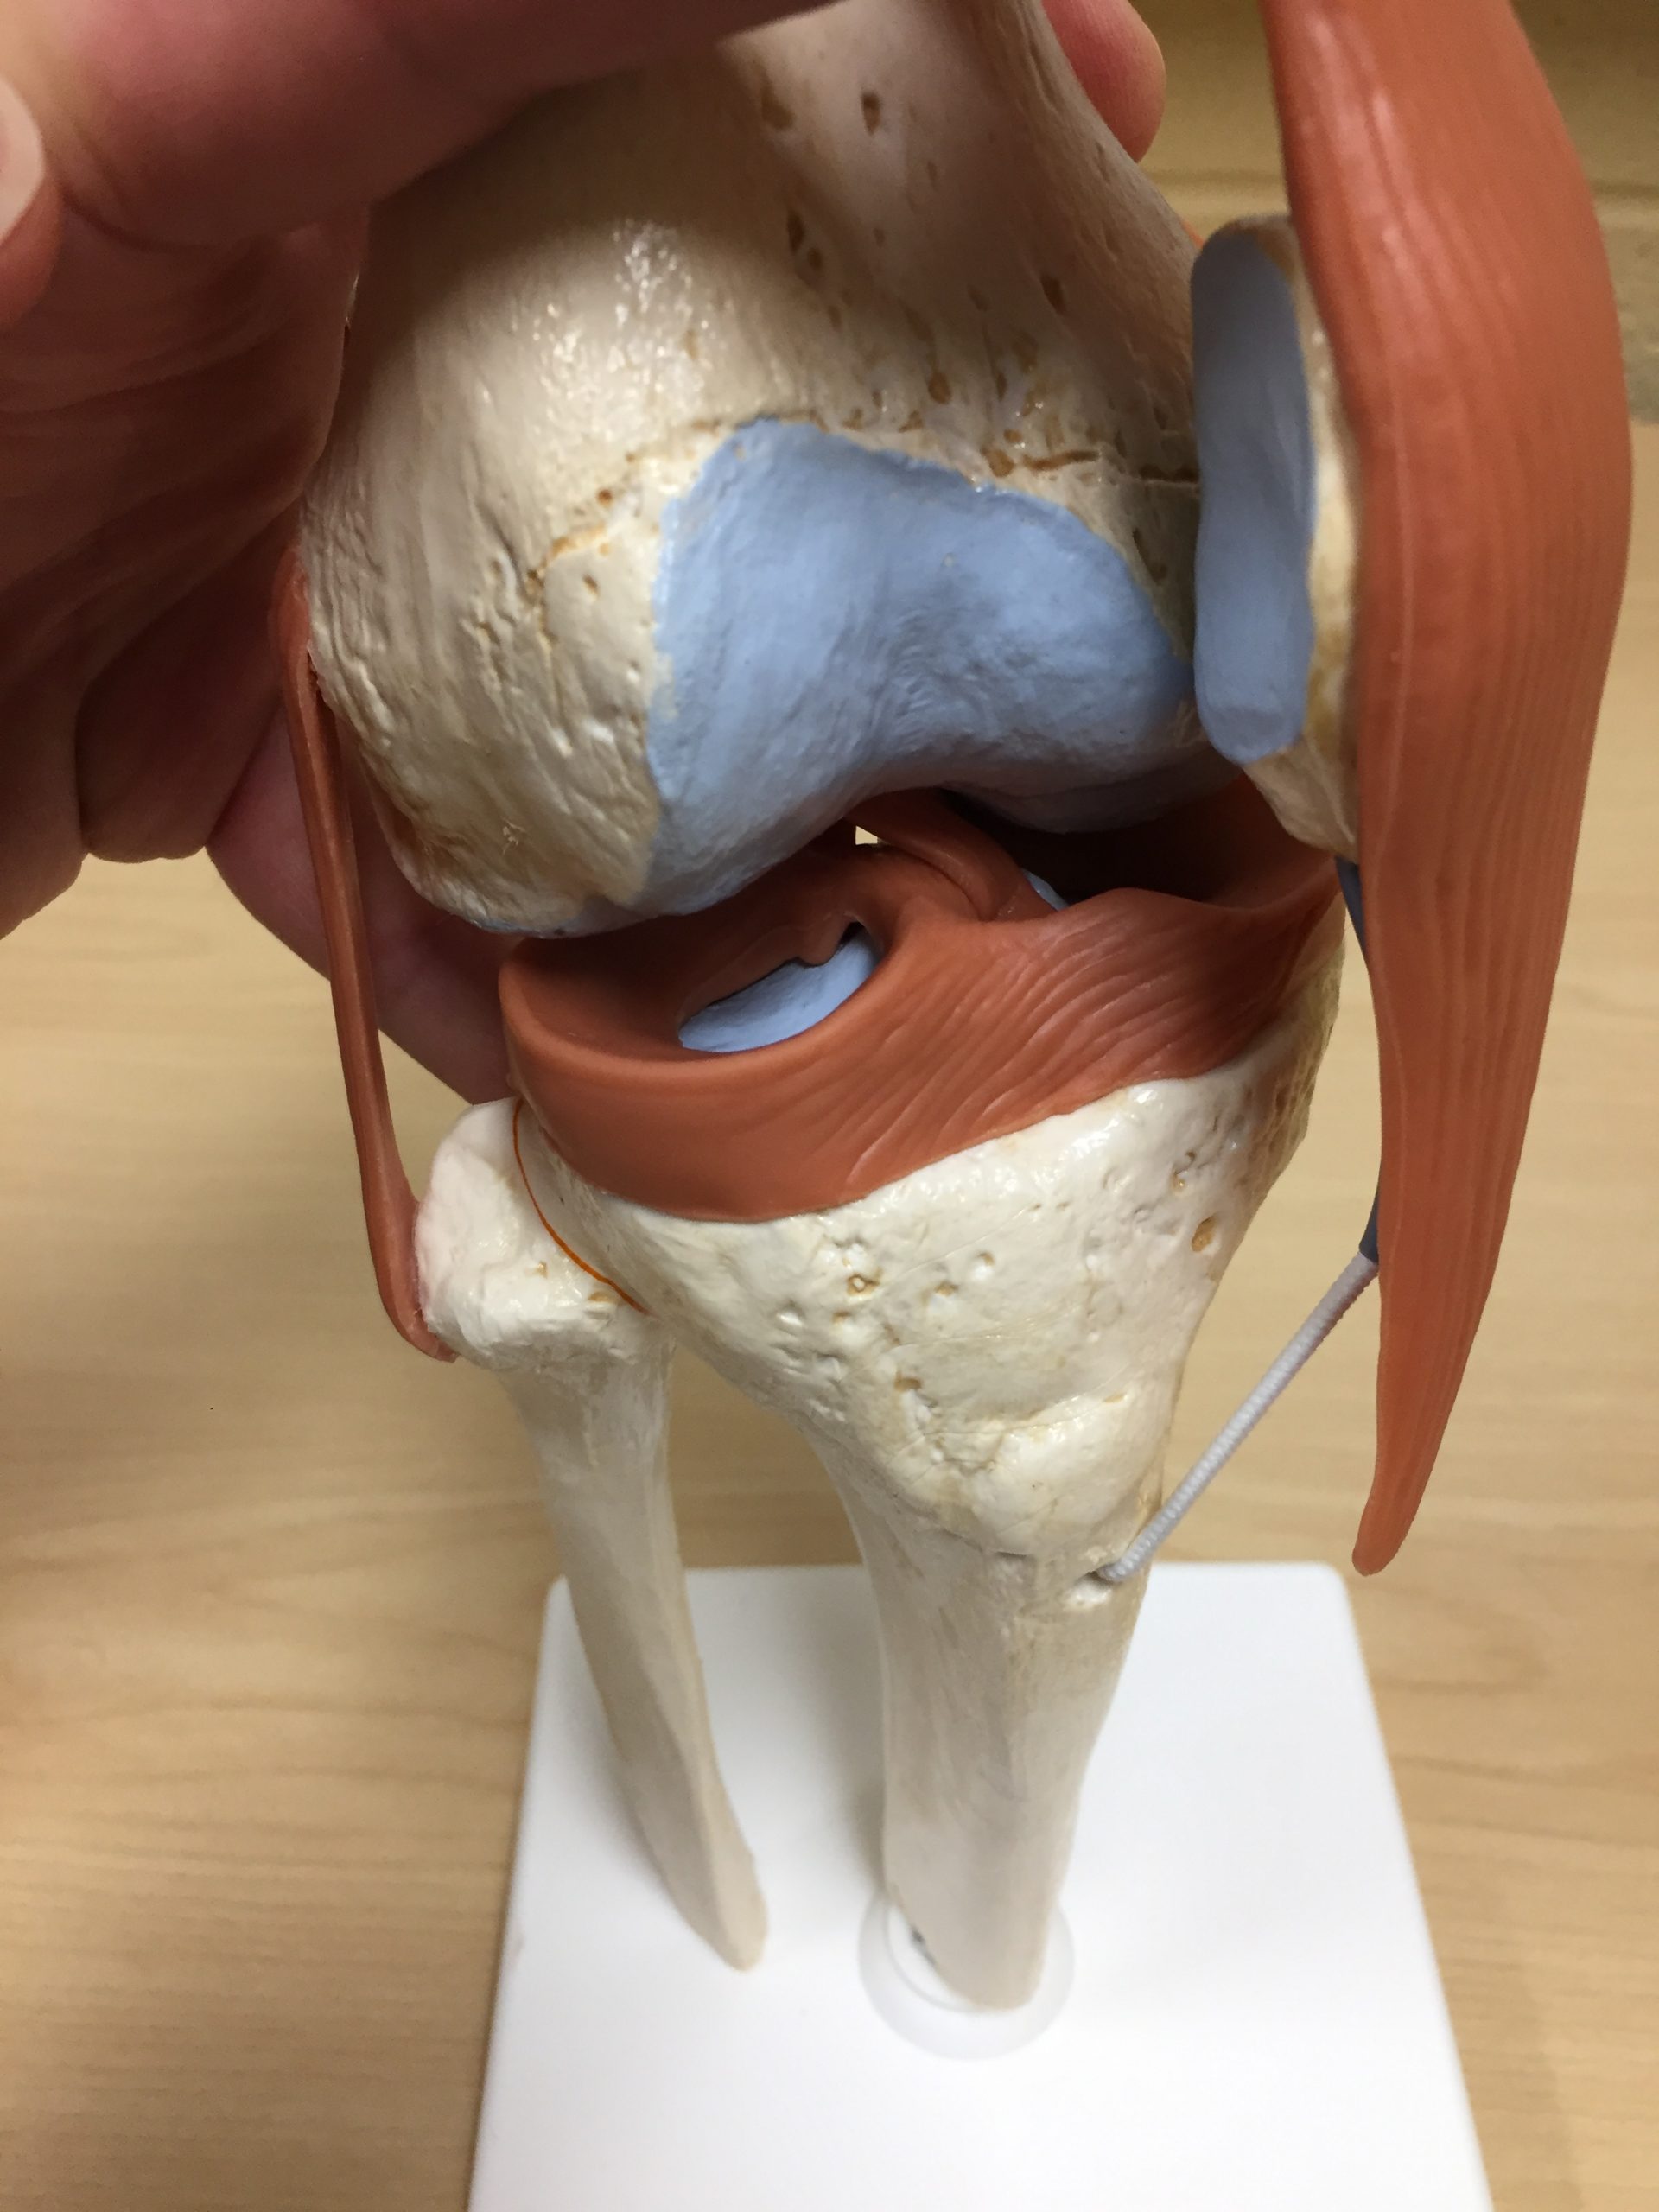
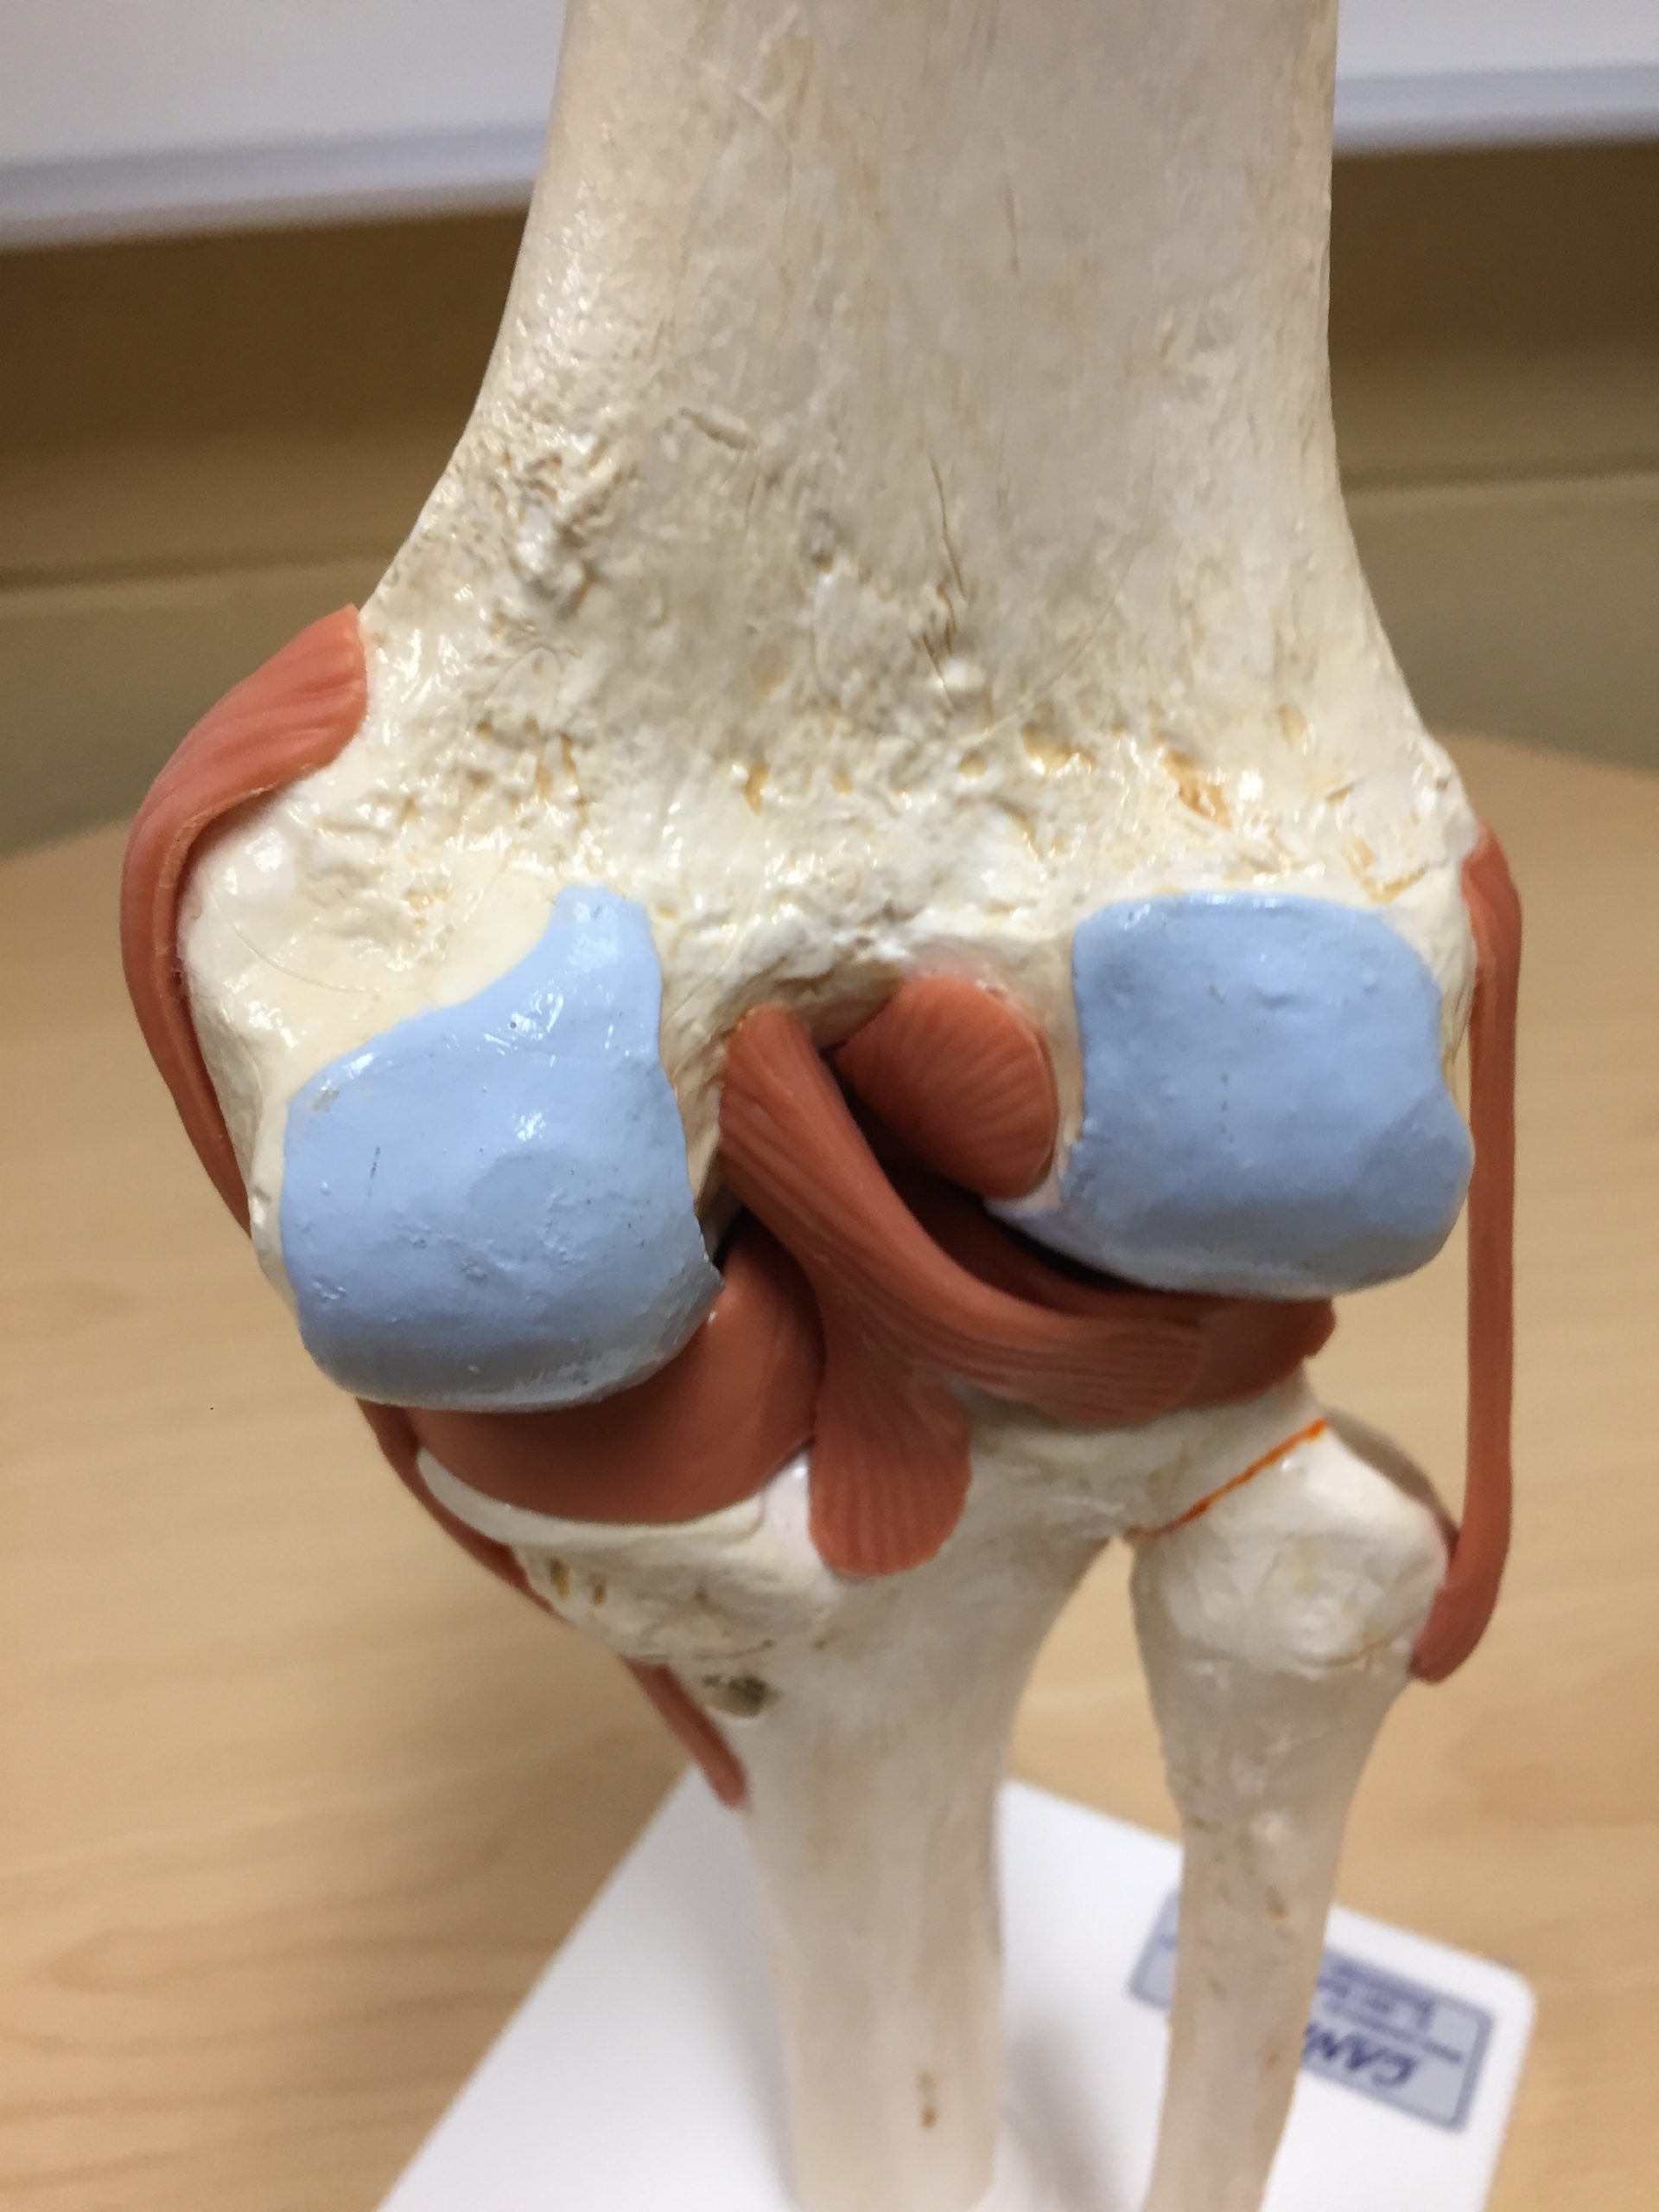
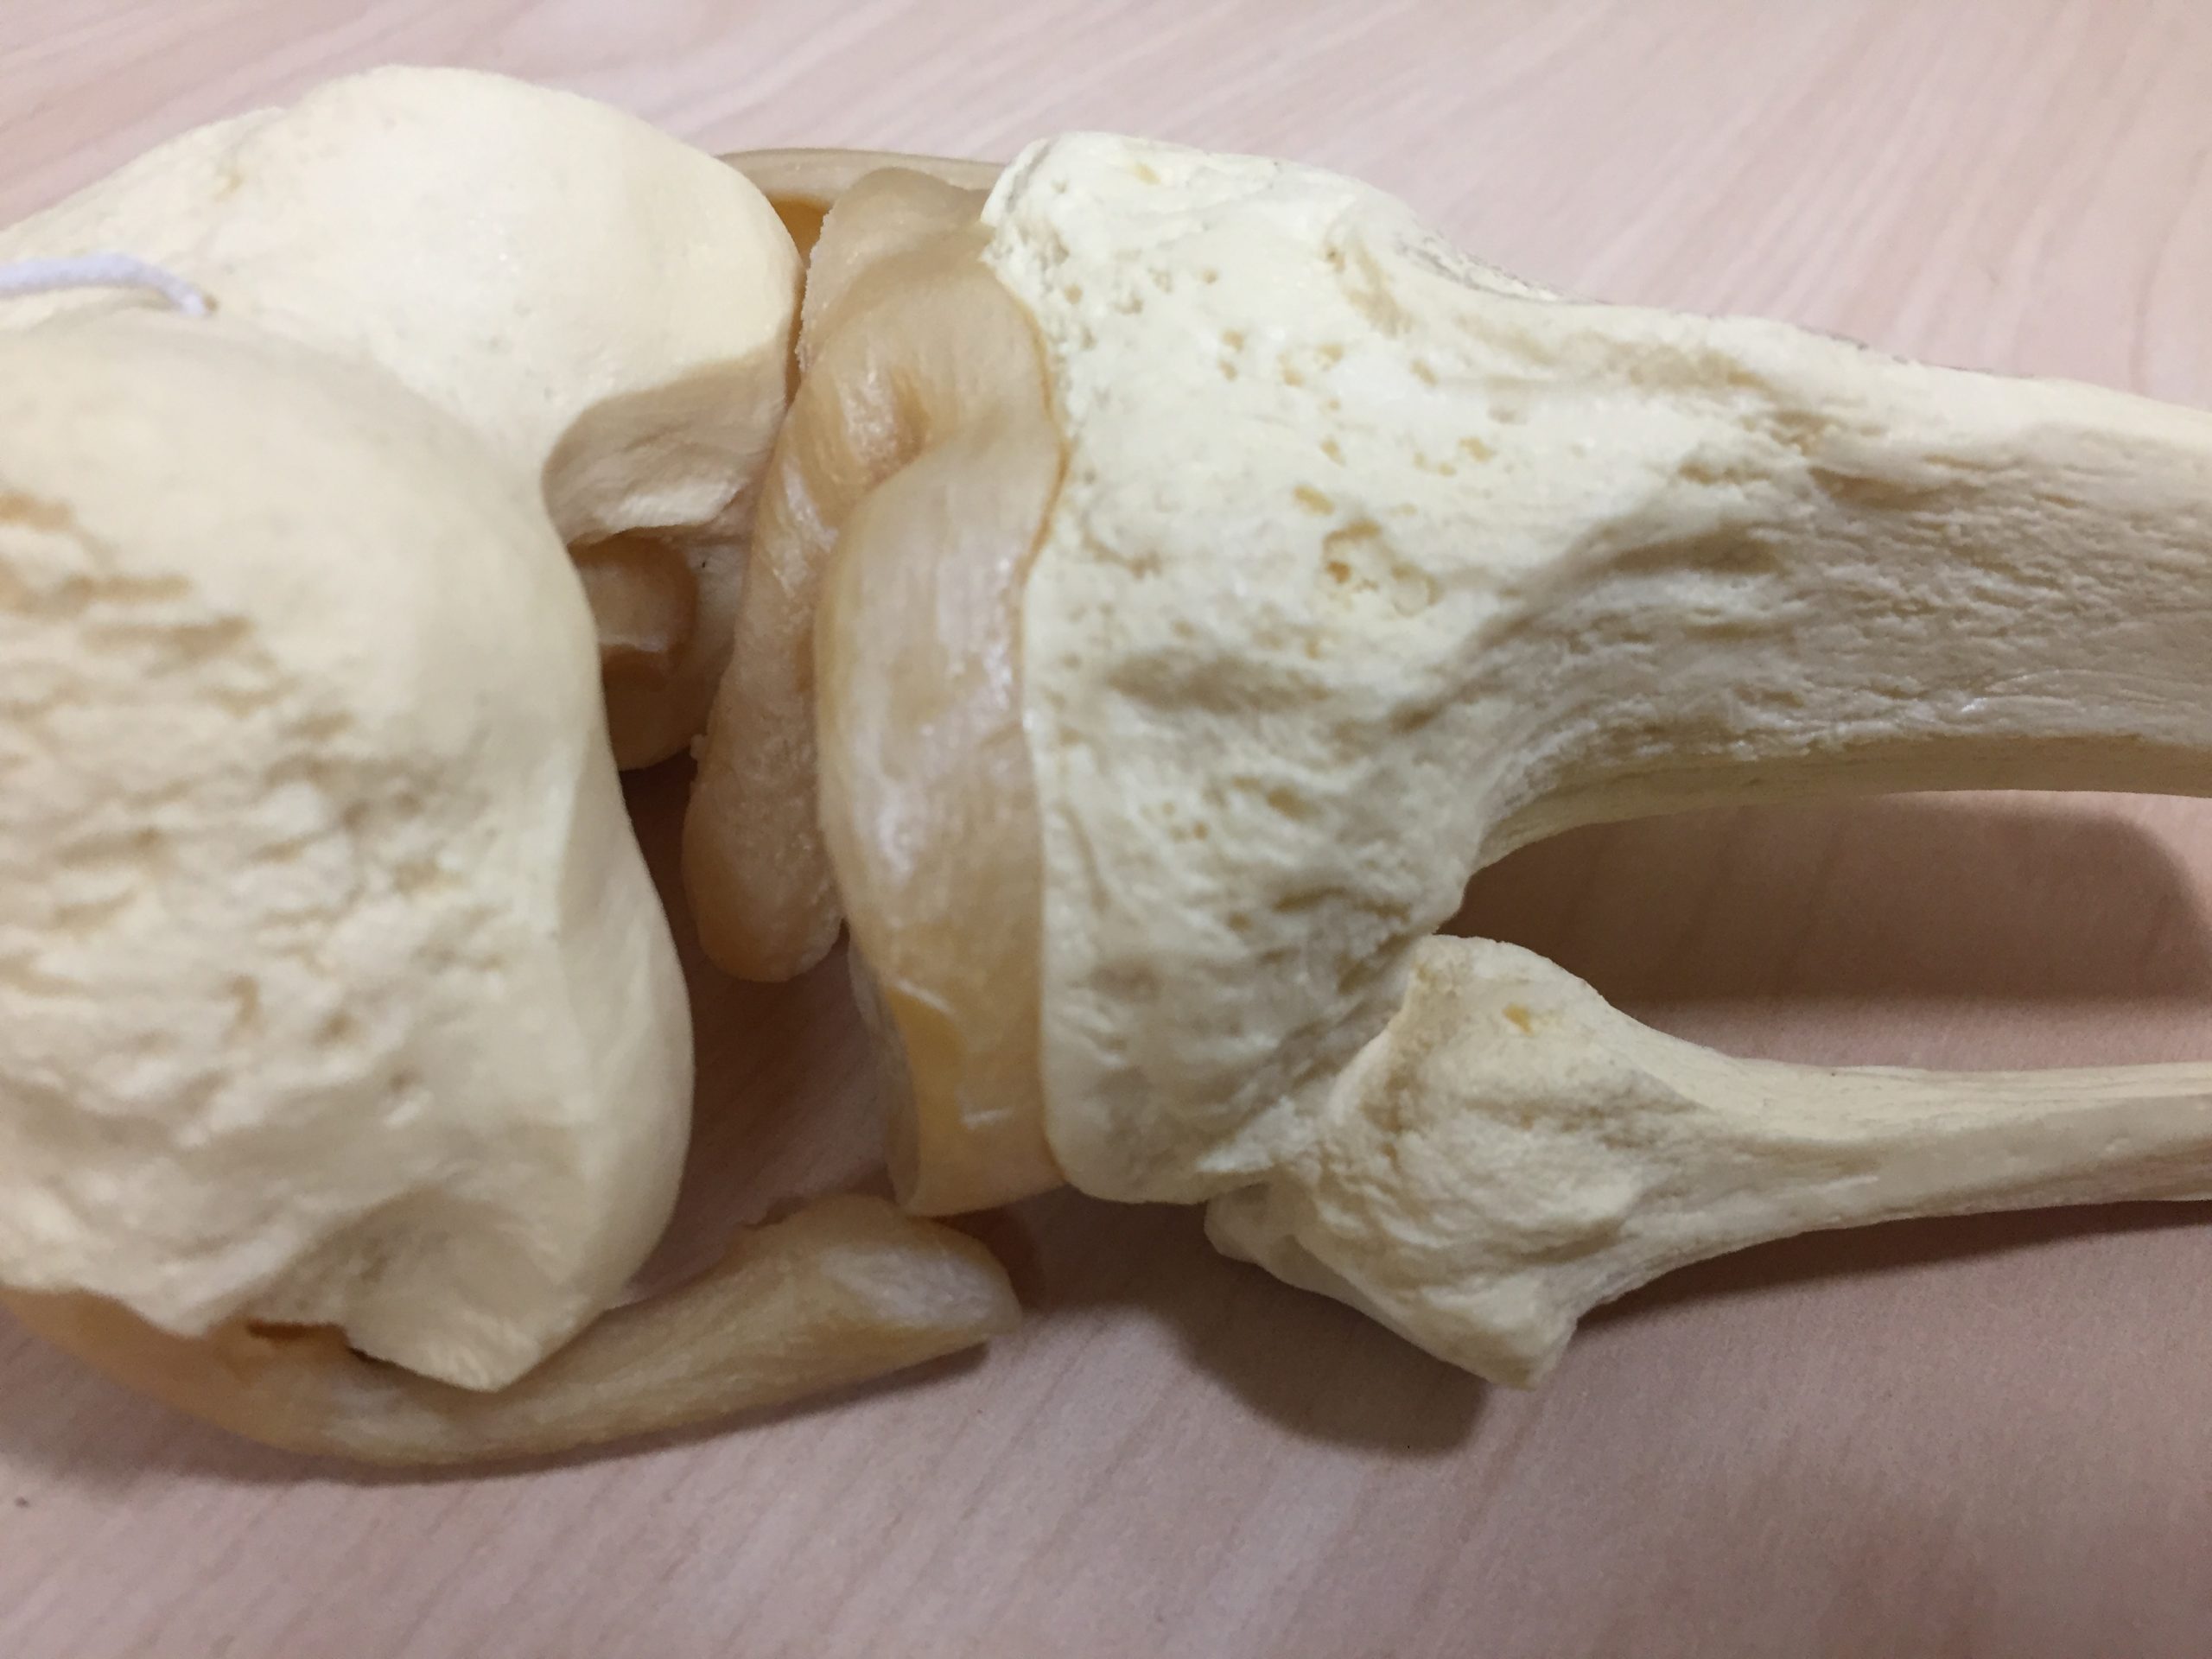
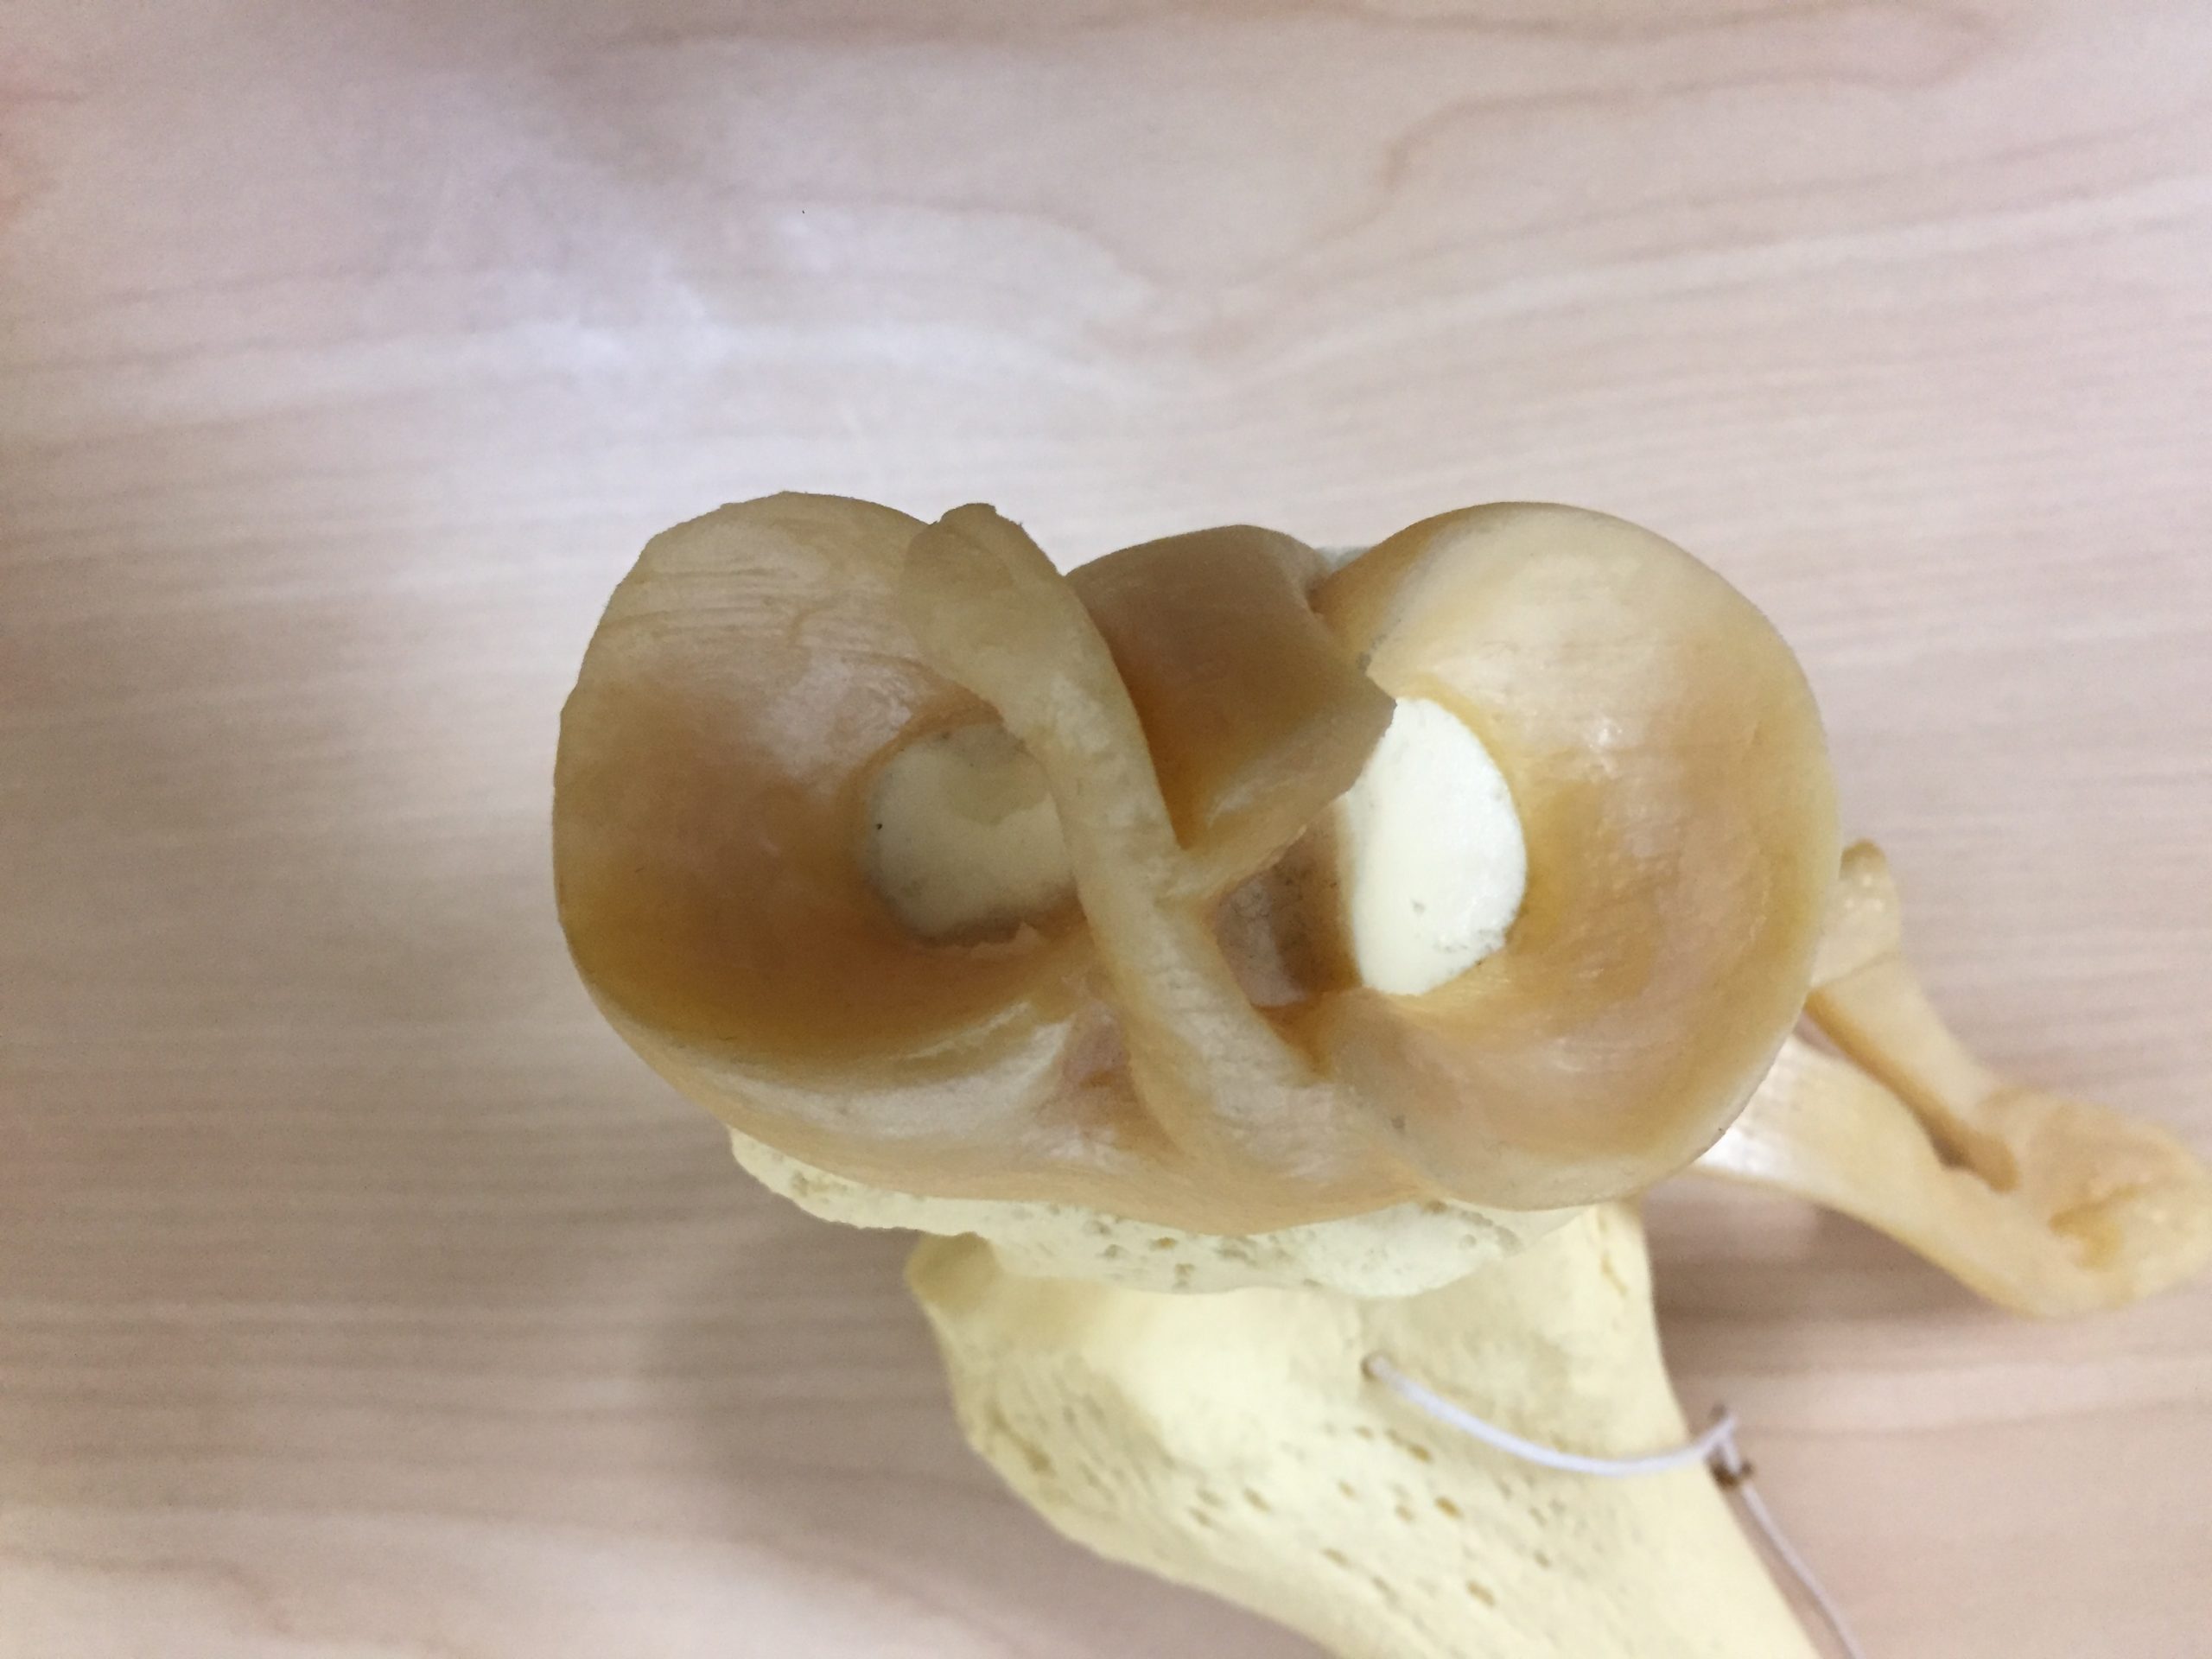
Knee Ligaments

Quadriceps Muscle

Key Bony Markings

Quadriceps Muscle